
R-value is the most important number in home insulation, yet most homeowners have no idea what target they should be hitting. If your attic is sitting at R-19 and you live in Minnesota, you could be losing 30 to 40% more heat than necessary every single winter. If you live in South Florida and someone talked you into R-60, you likely overspent on insulation that delivers almost no additional benefit above R-30 in a hot-humid climate.
The Department of Energy divides the US into eight climate zones, and each zone has recommended R-value ranges for attics, walls, floors, and crawlspaces. These are not arbitrary numbers. They are calculated based on heating and cooling degree days, local energy costs, and the point at which adding more insulation stops paying you back within a reasonable timeframe. Getting this right means lower bills, more consistent comfort, and a smarter use of your renovation dollars.
This guide breaks down the DOE R-value targets by climate zone, explains what actually drives those numbers, and shows you how to check your existing insulation, calculate your gap, and prioritize where to add more first. Whether you want a free weekend DIY project or a professionally installed upgrade, you will leave knowing exactly what your home needs.
What You’ll Need
Click on an item below to shop for the recommended items for this recipe on Amazon.
As an Amazon Associate, we earn from qualifying purchases.
How to Do It
- Find your climate zone using the DOE’s online zip code lookup at energystar.gov or energycode.pnnl.gov. Write down your zone number (1 through 7 for continental US).
- Look up your zone’s recommended R-values: Zone 1 to 2: Attic R-30 to R-60, Floor R-13; Zone 3: Attic R-38 to R-60, Floor R-19 to R-25; Zone 4: Attic R-38 to R-60, Wall R-13 to R-15, Floor R-25 to R-30; Zone 5 to 6: Attic R-49 to R-60, Wall R-15 to R-21, Floor R-25 to R-30; Zone 7: Attic R-49 to R-60, Wall R-21, Floor R-25 to R-30.
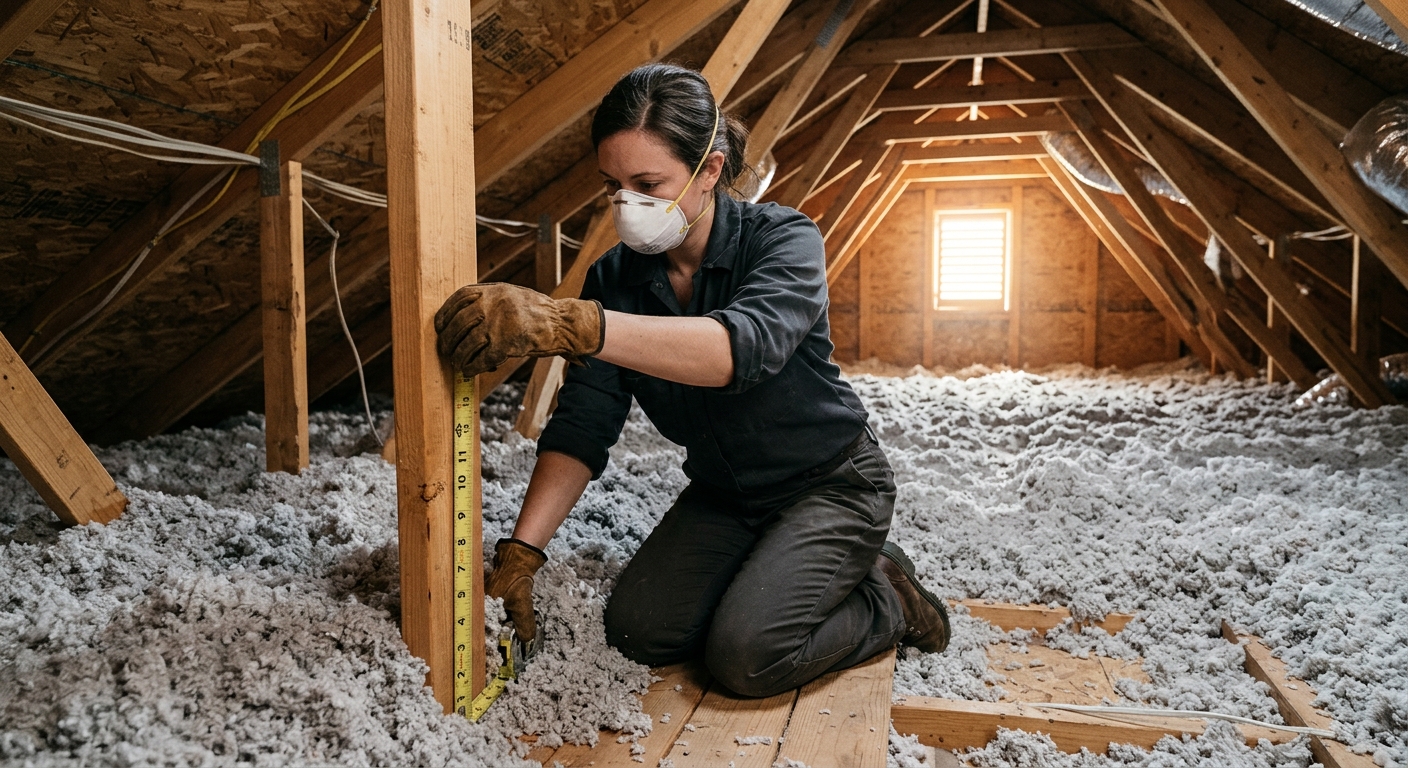
- Go into your attic with a flashlight and a ruler or tape measure. Measure the depth of your existing insulation in three different spots and average the readings.
- Identify your insulation type: loose fiberglass batts are roughly R-2.5 per inch, cellulose is R-3.7 per inch, loose fiberglass blown-in is R-2.5 per inch, and spray foam (closed-cell) is R-6 to R-7 per inch. Multiply your average depth by the R-value per inch to estimate your current total R-value.
- Calculate your gap: subtract your current R-value from your zone’s recommended target. This number tells you exactly how much insulation to add and gives you the information you need to get accurate contractor quotes or buy the right amount of DIY material.
- Prioritize attic first if you have a gap there. Attic insulation has the best cost-to-savings ratio in almost every climate zone because heat rises and attic bypasses are the largest source of conditioned air loss in most homes.
- Seal all air bypasses before adding insulation. Use canned expanding foam or acoustical sealant to close gaps around ceiling light fixtures, plumbing penetrations, and top plates. Air sealing before insulating can add 10 to 20% to your overall energy savings and costs almost nothing extra.
- Confirm your attic ventilation is clear. Install baffles (also called rafter vents) at each eave to maintain an air channel from soffit to ridge vent. Blocking this airway can cause moisture buildup and defeat the purpose of new insulation.
- Calculate how many bags you need using the coverage chart printed on the bag. Most charts show required bag count per 1,000 square feet at a given installed depth. Buy 10% extra to account for settling.
- Set up the blowing machine at the attic hatch or a convenient access point. Run the flex hose into the far corners of the attic and work backward toward the hatch so you are not walking over newly placed insulation.
- Blow cellulose or fiberglass to your target depth. Use a depth marker (a ruler zip-tied to a rafter) to confirm you are hitting your zone’s required R-value. For Zone 5, targeting R-49 with cellulose means approximately 13 inches of installed depth.
- After the job, check that all soffit baffles are still clear, attic hatch is covered with an insulated cover, and pull-down stairs are weatherstripped and insulated on top. These are the three most commonly missed spots that undermine an otherwise solid attic insulation job.
- Schedule a home energy audit through your utility company or a BPI-certified auditor. Many utilities offer free or subsidized audits. The auditor uses a blower door test and infrared camera to show exactly where your home is losing energy and confirm your actual R-values throughout the envelope.
- Review the audit report and ask for prioritized recommendations with estimated payback periods. A good auditor will tell you which improvements return the most savings per dollar invested in your specific climate zone.
- Get three quotes from insulation contractors. Ask each contractor to specify the material type, installed R-value, and whether air sealing is included. Spray foam in rim joists and wall cavities is a common contractor recommendation that delivers R-6 to R-7 per inch in tight spaces.
- Ask about available rebates before signing a contract. ENERGY STAR, your state energy office, and many utilities offer rebates for reaching zone-appropriate R-value targets. The Inflation Reduction Act also provides a federal tax credit of up to 30% of insulation costs (up to $1,200 per year) for improvements made through 2032.
- After installation, request a completed job report showing installed depth and R-value by zone of the home. A reputable contractor provides this documentation, which you will need for any rebate or tax credit applications.
Why It Works: The Benefits
Upgrading an attic from R-19 to the DOE-recommended R-38 to R-60 for colder zones typically reduces heating costs by 15 to 25%. Homes in Climate Zones 4 through 7 with under-insulated attics see the largest and fastest payback from this single upgrade.
Proper insulation reduces the temperature swing between rooms and floors. Homeowners who bring attic insulation up to zone-appropriate levels commonly report a 3 to 6 degree F improvement in upstairs room temperature consistency during summer.
When the thermal envelope is properly insulated, your HVAC system cycles less frequently. This can extend equipment life by 2 to 5 years and reduce repair frequency, adding indirect savings beyond the energy bill.
Pairing insulation upgrades with air sealing reduces infiltration of outdoor pollutants, allergens, and humidity. This is especially valuable in Climate Zones 1 and 2 where hot-humid outdoor air carries high moisture loads that can degrade indoor air quality.
Homes with insulation at or above DOE recommended levels qualify for ENERGY STAR certification and attract buyers. Studies by the National Association of Realtors suggest energy-efficient upgrades including insulation return 60 to 80 cents on the dollar at resale on average.
💰 Savings Impact by Action
Bringing attic insulation from R-19 to DOE-recommended levels reduces heating and cooling losses through the ceiling by up to 25% in Climate Zones 4 through 6.
Sealing attic bypasses before insulating prevents conditioned air loss that undermines R-value and can reduce total energy use by up to 20% according to DOE data.
Dense-packing empty wall cavities in a pre-1980 home to R-13 to R-15 reduces wall heat loss by up to 15% of total home energy use depending on window-to-wall ratio.
Insulating floors over unconditioned crawlspaces or garages to R-19 to R-30 reduces floor heat loss and is especially impactful in Climate Zones 1 through 3 where cooling is the dominant load.
Spray foam insulation in rim joists (R-15 to R-20 in 2.5 inches) eliminates one of the most common and overlooked air leakage paths in homes with basements or crawlspaces.
🏠 Key Concepts Explained
The Science Behind It
Heat always moves from warm to cold, and it does so through three mechanisms: conduction (direct contact transfer through solid materials), convection (movement of air carrying heat), and radiation (infrared energy moving through space). Insulation’s R-value measures its resistance to conductive heat flow only. A higher R-value means more resistance, and therefore less heat transfer through the assembly per hour per square foot per degree of temperature difference. This is why R-value is expressed in units of (degrees F x square feet x hour) per BTU.
The diminishing returns nature of insulation is rooted in the math of heat transfer. The rate of conductive heat flow is inversely proportional to R-value, meaning the first layer of insulation you add provides the steepest drop in heat loss. Adding R-19 to an uninsulated attic reduces heat flow through that assembly by roughly 95%. Adding another R-19 to reach R-38 reduces the already-reduced heat flow by about 50% more, which is a far smaller absolute gain. This is exactly why the DOE’s zone recommendations level off and why there is a point of diminishing financial return that varies by local energy cost and climate severity.
Climate zones are built on heating degree day (HDD) and cooling degree day (CDD) data averaged over decades. A heating degree day is defined as one degree of difference between the outdoor daily mean temperature and 65 degrees F over one day. A city with 5,000 HDDs forces your heating system to work roughly five times harder over a winter than a city with 1,000 HDDs. This accumulated thermal load is what makes a high-R attic essential in Zone 6 Minnesota but only modestly beneficial in Zone 2 Louisiana, where cooling loads dominate and wall and floor insulation may offer better returns per dollar than pushing attic R-value beyond R-38.
Frequently Asked Questions
▼ How do I find my DOE climate zone if I don’t know it?
The simplest method is to visit the ENERGY STAR website and use their zip code climate zone lookup tool. You can also look at any DOE climate zone map, which breaks zones down by county. Once you know your zone number (1 through 7 for the continental US), you can match it directly to the recommended R-value table from DOE’s Building Technologies Office.
▼ My attic already has some insulation. Do I need to remove it before adding more?
In most cases, no. You can add blown-in cellulose or fiberglass directly over existing batts as long as the existing insulation is dry, not compressed from water damage, and does not contain vermiculite (which may indicate asbestos). Blown-in material fills gaps and voids in old batts and brings your total R-value up to the target. If the existing insulation is wet, moldy, or pest-damaged, it needs to come out before you add anything new.
▼ Will adding more insulation than my zone recommends make my home even more efficient?
Beyond a certain point, the additional savings become very small and the payback period stretches to 20 or 30 years, which is longer than the insulation itself typically lasts in peak condition. For example, going from R-49 to R-60 in a Zone 5 attic saves roughly 2 to 4% more on heating costs, which may not justify the added material and labor cost. Follow DOE zone targets and redirect any remaining budget toward air sealing, which typically delivers better returns than over-insulating.
▼ What if my walls are already finished and I can’t easily add insulation?
For existing finished walls, dense-pack blown-in insulation is the most practical option. A contractor drills small holes (about 2 inches in diameter) either from the exterior through the siding or from the interior through the drywall, blows in cellulose or fiberglass to fill the cavity, and patches the holes. Costs typically run $1 to $3 per square foot of wall area. Another option is adding continuous exterior insulation boards during a re-siding project, which also addresses thermal bridging through studs.
▼ Can I get a tax credit or rebate for upgrading my insulation?
Yes. The Inflation Reduction Act’s Energy Efficient Home Improvement Credit covers 30% of insulation material costs (not labor) up to $1,200 per year through 2032. Your utility company may also offer rebates of $100 to $800 for reaching zone-appropriate R-value targets. Check the DSIRE database at dsireusa.org to find state and utility incentives available at your address before starting any project.
Quick Tips
- Check your attic R-value every 10 to 15 years. Fiberglass batts can sag and compress over time, losing 10 to 20% of their rated R-value if disturbed or wet.
- In Climate Zones 1 and 2, prioritize floor insulation over attic upgrades if you are already at R-30 in the attic. Cooling climates lose significant energy through uninsulated floors over crawlspaces.
- If you are insulating a basement rim joist, closed-cell spray foam is the best material for that location because it seals air, resists moisture, and delivers R-6 to R-7 per inch in a space that is often only 1 to 2 inches deep.
- Do not confuse R-value with U-factor on windows. U-factor is the inverse of R-value. A window with a U-factor of 0.25 is equivalent to about R-4. Even a very well-insulated wall assembly around a code-minimum window loses far more heat through the glass than through the wall.
- When getting contractor quotes for wall insulation in an existing home, ask specifically about dense-pack blown-in cellulose or fiberglass. It can be installed through small holes in exterior siding or drywall without full wall removal and typically achieves R-13 to R-15 in a 2×4 wall cavity.
Variations for Your Situation
- Apartment or Renter: Renters cannot typically modify attic or wall insulation, but you can still address thermal performance at the unit level. Start by applying interior window insulation film kits ($15 to $30 per window) which can add roughly R-2 to R-3 to single-pane glass. Use draft stoppers at doors and apply removable rope caulk (about $5 per window) to leaky window frames over winter. These steps together can reduce your heating and cooling load by 5 to 10% at minimal cost and without any permanent modification.
- Tight Budget (Under $50): Focus first on the attic hatch or pull-down stair cover, which is often uninsulated and can be a major bypass. A pre-made insulated attic stair cover costs $30 to $50 and takes 30 minutes to install. This single fix can save $40 to $100 per year in a cold climate. Also use a can of expanding foam ($5 to $8) to seal any visible penetrations from the attic side around plumbing, wiring, and light fixtures. These zero-to-minimal-cost steps often deliver 10 to 15% of the benefit of a full insulation upgrade.
- Older Home Pre-1980: Homes built before 1980 often have little to no wall insulation and may have only 2 to 4 inches of attic insulation. Before any work, test for vermiculite with a professional asbestos screen ($25 to $50 per sample at most labs). If the home has knob-and-tube wiring, get an electrician’s sign-off before covering it. Once clear, prioritize attic blown-in as the highest-return upgrade, and factor in that older homes with original single-pane windows and minimal air sealing may have baseline infiltration rates 3 to 5 times higher than newer construction. An energy audit is especially valuable here to identify where the largest losses are occurring before spending on insulation alone.
