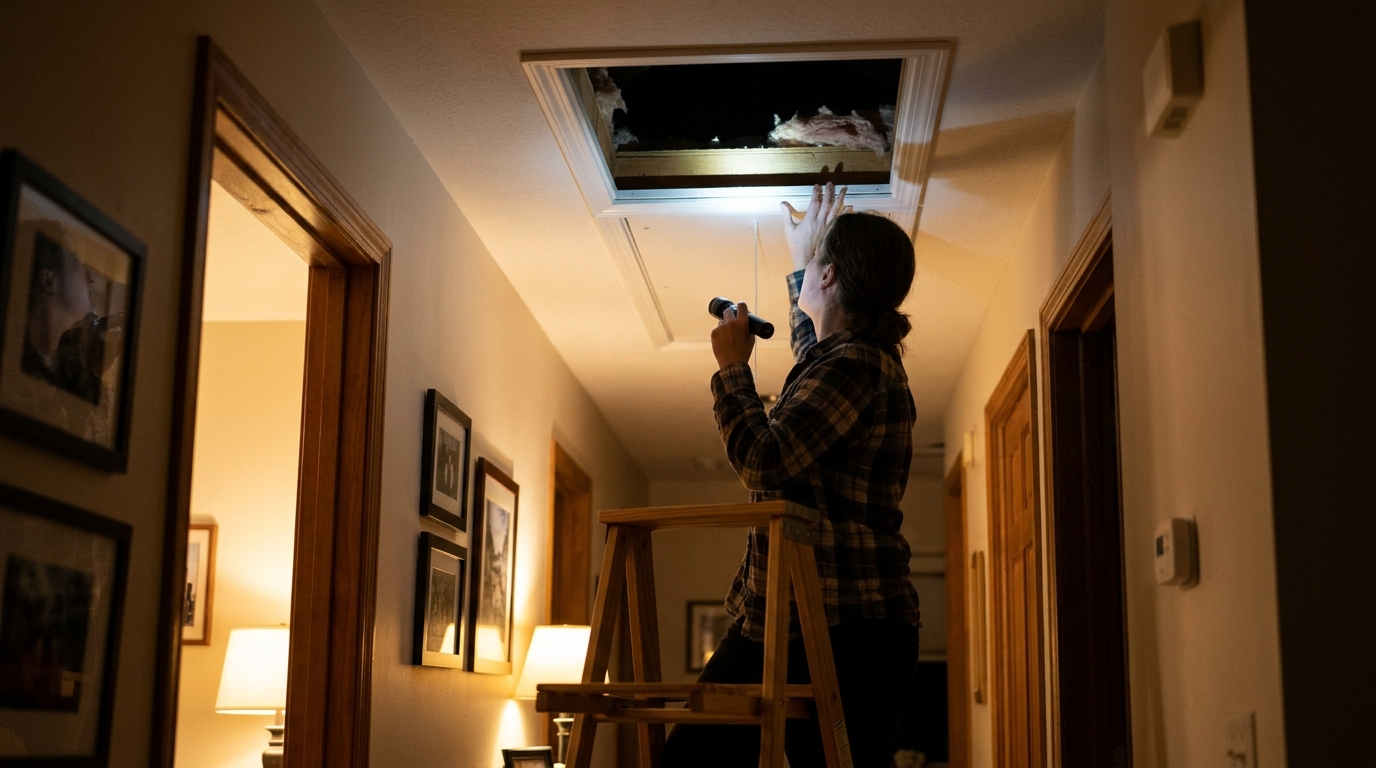
If one bedroom always feels colder than the rest of the house, no matter how long you run the heat, the culprit might be hiding in plain sight: the attic hatch or pull-down stairs in the ceiling. Most of these access points are little more than a thin sheet of plywood or a flimsy panel with no insulation and no weatherstripping. In winter, that makes a hole in your thermal envelope roughly the size of a small window, sitting at the very top of your home where warm air naturally wants to escape.
Here is why it matters. Warm air rises, and the attic hatch gives it a direct path out. Meanwhile, cold attic air can sink back down through gaps around the frame, creating drafts and a cold spot in the room below. Depending on your attic’s insulation and how leaky the hatch is, this one opening can account for a surprising share of your ceiling heat loss, and it is especially noticeable when the hatch is in a hallway or bedroom closet.
The good news is that this is one of the cheapest and fastest efficiency fixes in the house. In this post, we will walk through how to check your hatch tonight, a zero-cost quick fix you can do in minutes, and a more durable DIY upgrade that seals and insulates the hatch properly. Most homeowners can finish the whole job in under an hour for less than the price of a pizza dinner for four.
What You’ll Need
Click on an item below to shop for the recommended items for this recipe on Amazon.
As an Amazon Associate, we earn from qualifying purchases.
How to Do It
- Stand under the hatch on a cold day and feel around the edges with your hand or a lit stick of incense. Any wavering smoke or cold air shows where the leaks are.
- Remove the hatch panel and clean the dust off the frame and the panel’s edges so adhesive will stick.
- Apply self-adhesive foam weatherstripping or rubber V-seal around the top of the frame where the hatch rests, pressing it firmly in place.
- Cut a piece of rigid foam board or a stack of foam board layers to match the size of the panel and glue it to the attic side of the hatch to add insulation.
- Set the hatch back in place and check for a snug fit. If it rocks or leaves a visible gap, add a second row of weatherstripping or a small latch to pull it down tight.
- Measure the full footprint of your hatch or pull-down stairs, including the frame, so your cover clears everything when closed.
- Build or buy an insulated cover. For a DIY box, cut rigid foam board (R-10 or higher) into a top and four sides, then tape the seams with foil tape to make an airtight lid.
- Add weatherstripping around the base of the cover where it will sit on the attic floor, and seal any gap between the hatch frame and the ceiling drywall with caulk.
- For pull-down stairs, install adjustable latches or a compression catch so the door pulls tight against the frame, since the springs alone rarely hold a good seal.
- Place the cover over the opening from the attic side and lay extra loose insulation around its edges so there is no bare spot.
- Close the hatch and recheck for drafts. If you still feel air, add another strip of foam tape or caulk until the leak stops.
Why It Works: The Benefits
Stopping the draft and cold ceiling surface can raise how warm the room feels by several degrees, often eliminating the need for a space heater.
Air sealing the ceiling plane, including the hatch, can trim heating costs by roughly 5 to 10% according to ENERGY STAR estimates for whole-house air sealing.
Sealing the hatch keeps warm, humid indoor air from reaching the cold attic, where it can condense on roof sheathing and contribute to mold or frost.
A tight hatch cuts the dust, insulation fibers, and attic odors that can drift into living space, and it dampens noise from the attic.
Materials usually cost $15 to $60, so even modest energy savings pay for the project within a single heating season.
💰 Savings Impact by Action
Weatherstripping and sealing the hatch frame cuts ceiling air leakage and can trim heating costs by around 5%.
Adding an R-10 or better foam cover closes the R-value gap and reduces conduction heat loss through the ceiling opening.
Combining the hatch with sealing around lights, vents, and wiring penetrations can save an estimated 10% on heating.
Eliminating the draft and cold ceiling surface can remove roughly 40% of the perceived chill in the room below, based on typical homeowner reports.
🏠 Key Concepts Explained
The Science Behind It
Heat moves three ways: conduction through materials, convection through moving air, and radiation. A bare attic hatch is bad at all three. The thin plywood conducts heat quickly, the gaps around the edge let warm air convect straight out, and the cold underside of the panel radiates chill back into the room. Because your ceiling is the biggest horizontal surface between your living space and a very cold attic, even a small flaw there matters far more than the same flaw in a wall.
The stack effect makes it worse. In winter, warm air inside your home is lighter than the cold air outside, so it rises and pushes out through any opening in the ceiling plane. That outflow creates slightly lower pressure at the bottom of the house, which pulls in cold air through gaps in the walls, windows, and floors. The attic hatch is one of the biggest holes at the top of that system, so sealing it reduces the pressure driving air leakage everywhere else.
Insulation alone is not enough because air carries heat much faster than still material conducts it. That is why the order of operations matters: air seal first, then insulate. A weatherstripped, foam-backed hatch stops the air movement and adds thermal resistance at the same time, which is why a small project can produce a big comfort improvement in the room directly below.
Frequently Asked Questions
▼ Why is my bedroom still cold after sealing the attic hatch?
The hatch is only one air leak. Check for gaps around recessed lights, ceiling fixtures, and wall top plates, and look at whether the room has enough supply airflow from your vents. Also confirm the attic insulation above that room is not thin or compressed.
▼ Can renters do this without landlord permission?
Removable, non-damaging options like adhesive foam weatherstripping and a loose foam board cover are usually fine, but if the hatch is in a shared or landlord-controlled space, ask first. Skip caulking or screws unless you have written approval.
▼ How long before I notice savings on my bill?
You will likely feel the comfort difference the same night. Bill savings typically show up in the next billing cycle, though a single hatch fix may be a modest few percent, so combine it with other air sealing for bigger results.
▼ What if my home is older than 30 years?
Older homes often have thinner attic insulation and more ceiling leaks, so the hatch is just a starting point. Seal it first, then have the rest of the attic floor checked, since adding insulation to R-38 or higher often delivers the biggest payoff.
▼ Is it safe to put foam board in the attic?
Standard foam board is fine for a hatch cover, but keep it away from heat sources like chimneys, flues, and old recessed lights that are not rated for insulation contact. Check local code, as some areas require a thermal or ignition barrier over exposed foam.
Quick Tips
- Check the hatch on a cold, windy day when leaks are easiest to feel and see.
- Aim to match the hatch insulation to your attic floor, ideally R-30 or higher where practical.
- Use foil tape, not regular duct tape, on foam board seams since it holds up better to temperature swings.
- Seal the gap between the hatch frame and the drywall with paintable caulk to stop hidden air leaks.
Variations for Your Situation
- Apartment/Rental: Stick to removable fixes like adhesive foam strip weatherstripping ($8 to $15) and a loose-fit foam board cover that lifts out. Avoid caulking or drilling so you can restore everything at move-out, and ask your landlord before touching shared attic access.
- Tight Budget (under $50): Use self-adhesive foam weatherstripping ($8 to $12) and a piece of rigid foam board ($10 to $20) cut with a utility knife. Add a hook-and-eye latch ($2) to pull the hatch tight, and you have a meaningful upgrade for the price of lunch.
- Older Home (pre-1980): Expect thinner insulation, gaps around the hatch frame, and possibly a poorly fitted wooden panel. Seal the frame with caulk, build an insulated cover, and plan to top off attic insulation to R-38 or more. Wear a respirator and have any suspect vermiculite insulation tested for asbestos before disturbing it.