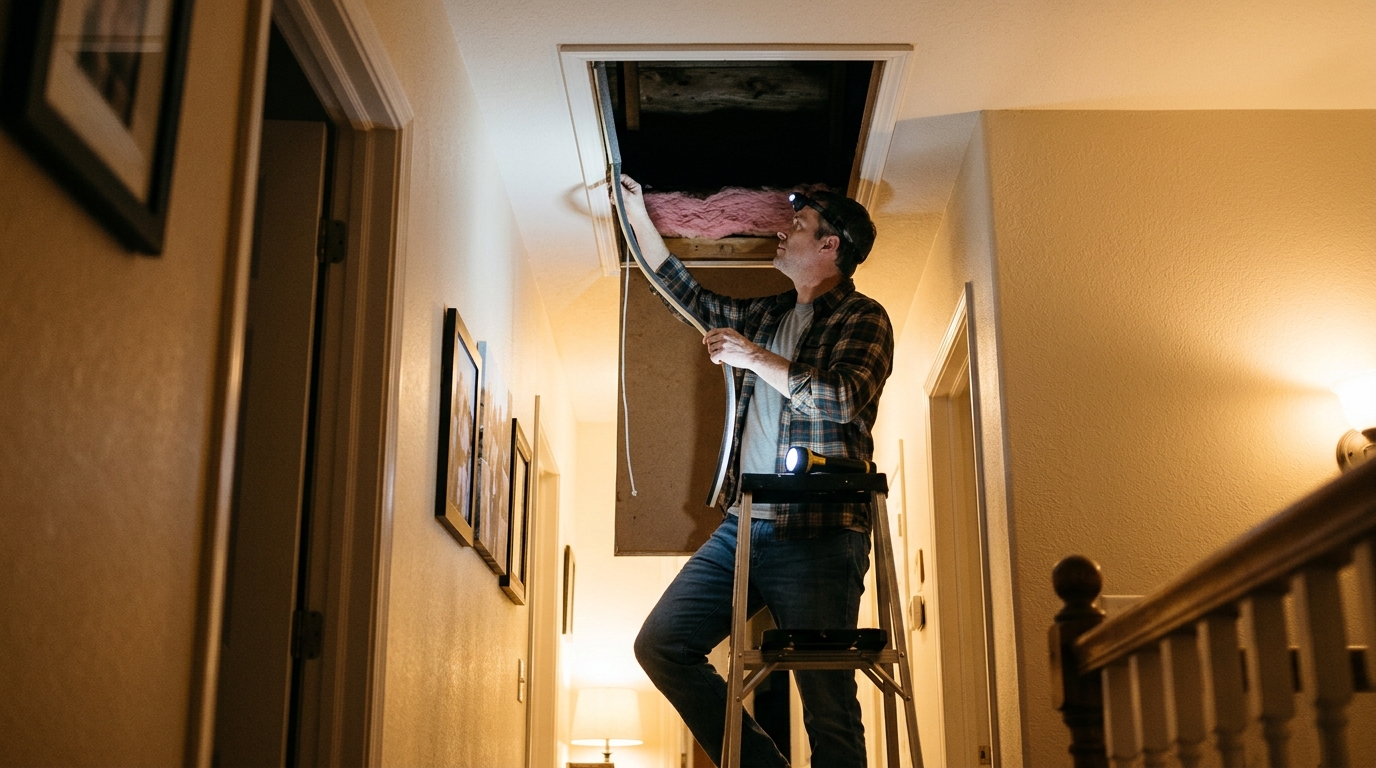
Walk into your hallway or closet and look up. That square of painted plywood or thin drywall in the ceiling is your attic hatch, and in most homes it is the weakest link in the entire thermal envelope. While you spent money on attic insulation rated R-38 or higher, the hatch is often a bare panel with an effective R-value closer to R-1 to R-2, sitting on a frame with no weatherstripping at all.
This matters most at night. As temperatures drop, the difference between your warm living space and the cold attic grows, and the stack effect pulls warm air up through every gap in your ceiling. Your hatch becomes a chimney opening. Studies from the Department of Energy and building performance labs consistently list attic access points among the top air leakage sites in older homes, alongside recessed lights, plumbing penetrations, and duct boots.
In this post we cover why the hatch leaks so badly, how to measure the problem with a simple dollar bill test, and two practical fixes: a 30-minute quick fix and a more durable DIY insulated hatch cover. We also cover troubleshooting, variations for renters and older homes, and the numbers so you know what payback to expect.
What You’ll Need
Click on an item below to shop for the recommended items for this recipe on Amazon.
As an Amazon Associate, we earn from qualifying purchases.
How to Do It
- Do the dollar bill test: close the hatch on a dollar bill and try to pull it out. If it slides out easily, your seal is poor and air is leaking around the perimeter.
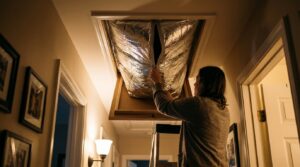
- Apply self-adhesive foam weatherstripping (closed-cell, 3/8 to 1/2 inch thick) around the full perimeter of the frame where the hatch panel seats. Clean the surface with rubbing alcohol first so it sticks.
- Cut a piece of rigid foam board (1 to 2 inches of polyiso or XPS) to match the size of the hatch, and attach it to the attic side of the panel with foam-safe construction adhesive or tape. This brings the panel to roughly R-6 to R-12.
- Place the hatch back in position and repeat the dollar bill test. You should feel firm resistance when pulling the bill out.
- Add a few strips of foil tape or caulk to any visible gaps between the trim and ceiling drywall to cut residual leakage.
- Measure the hatch opening and build a five-sided box from 3/4-inch plywood or 1×4 lumber that sits on the attic side and fits over the entire opening. Make it at least as tall as your attic insulation depth (usually 12 to 16 inches).
- Line the inside of the box with rigid foam board, 2 to 4 inches thick, or fill with unfaced fiberglass batts held in place by a thin plywood or hardboard liner. Aim for R-30 to R-49 to match your attic floor.
- Install 1/2-inch closed-cell foam gasket or EPDM weatherstripping around the opening frame. Use a compression gasket that seals when the box is lowered or latched.
- Add hook-and-eye latches or cam latches on two sides that pull the box down tightly onto the gasket. This compression is what actually stops airflow.
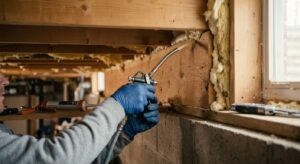
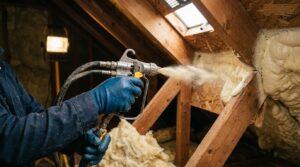
- Caulk the interior frame joint with fire-rated or acrylic latex caulk and seal any gaps between the frame and the ceiling drywall with spray foam or foil tape.
- Add a ‘Do Not Cover’ label if the hatch is near recessed lights or exhaust fans, and keep insulation at least 3 inches away from any heat sources.
- Have a contractor measure the stair opening and recommend an insulated attic stair cover (typically R-38 to R-50 rated, with gasketed lid and compression latches).
- Install the cover over the stair assembly on the attic side, sealing it to the attic floor with caulk or spray foam. Many covers include a built-in hinged lid for access.
- Air seal the stair frame to the ceiling opening with foam and caulk, and add spring-loaded latches so the stair folds up tight against the gasket.
- Verify with a blower door test or thermal camera if available, which usually confirms a 50 to 70% drop in leakage at the stair.
Why It Works: The Benefits
Air sealing and insulating an attic hatch typically trims 1 to 3% off annual HVAC costs, which is $20 to $60 per year on a $1,500 energy bill, and more in older, leakier homes.
Cutting the chimney effect reduces cold drafts on hallway ceilings and upstairs bedrooms, and often raises the perceived comfort by 2 to 3 degrees without touching the thermostat.
Stopping warm, humid air from reaching the cold roof deck lowers the risk of frost, condensation, and mold, protecting insulation and roof sheathing worth thousands of dollars.
A sealed hatch blocks attic dust, fiberglass fibers, and outdoor noise from filtering down into living space, and keeps pests from using it as an entry route.
With materials costing $30 to $150, most homeowners recover the investment in one heating season, making this one of the highest-return insulation projects available.
💰 Savings Impact by Action
Weatherstripping and sealing the hatch frame can cut air leakage through the ceiling plane at that point by up to 80%, which equals about 20% of the total attic bypass losses in a typical home.
Raising the hatch from R-1 to R-13 or higher reduces conductive heat flow through that panel by about 90%, contributing roughly 10% of the potential attic-related savings.
Stopping humid air from reaching the cold roof deck reduces frost and wet insulation, preserving the 8% performance loss that damp insulation typically causes.
Reducing the chimney effect cuts nighttime drafts on the upper floor, often equivalent to raising the felt temperature 2 to 3 degrees.
🏠 Key Concepts Explained
The Science Behind It
Heat moves in three ways: conduction, convection, and radiation. At an attic hatch, all three are in play, but convection (moving air) is the biggest culprit. The stack effect creates a pressure difference, called a pressure differential, that pushes warm indoor air toward the top of the house. The bigger the temperature difference between inside and outside, the stronger this pressure. On a 20 degree winter night, even a 1/8-inch gap around a 22 by 30 inch hatch adds up to roughly 12 to 15 square inches of open area, which is similar to leaving a window cracked open.
Conduction matters too. A bare plywood or drywall hatch has an R-value near R-1. Heat flows through that panel roughly 30 to 40 times faster than through the surrounding R-38 insulation. Because heat takes the path of least resistance, the hatch becomes a thermal short circuit. Adding 2 inches of polyiso foam board raises the panel to about R-13, and a gasketed insulated box can reach R-30 or more.
Finally, moisture. Warm indoor air carries water vapor. When it escapes through the hatch and meets the cold roof deck, it condenses or freezes. A single hatch can deposit a surprising amount of moisture over a winter, leading to frost, wet insulation, and eventually mold. Sealing the air path is the single best way to keep that moisture inside the conditioned space where it belongs.
Frequently Asked Questions
▼ Why is my upstairs still cold at night even after I sealed the hatch?
The hatch is only one of several ceiling leak points. Check recessed lights, bathroom fan housings, plumbing and wiring penetrations, and the top plates of interior walls. A thermal camera or a smoke pencil will show you where air is still moving. Seal those with caulk or fire-rated foam for the next round of savings.
▼ Can renters do this without landlord permission?
Yes, if you stick to removable materials. Apply peel-and-stick foam weatherstripping to the hatch frame and set a cut piece of rigid foam board on top of the hatch panel from inside the attic, held down with its own weight. Both come off cleanly when you move out. Always ask before drilling or cutting framing.
▼ How long before I notice savings on my bill?
You will usually feel less draft within the first cold night. Bill savings show up in your next full billing cycle, typically a 1 to 3% drop on heating costs. Compare month over month using the same degree-day range for a fair reading, because weather swings can hide small gains.
▼ What if my home is older than 30 years?
Older homes tend to have more air leakage and often no weatherstripping at all, so the savings are usually higher, sometimes 3 to 5%. Check the hatch frame for gaps between the trim and the drywall, and be cautious about old wiring, vermiculite insulation, or stained wood in the attic before you start working.
▼ Is it safe to put foam board directly on my hatch?
Rigid foam is safe as long as it is kept away from heat sources and, if exposed in an attic, covered with a thermal barrier like 1/2-inch drywall or plywood per local code. Check your local building code or use mineral wool board if you want a non-combustible option.
Quick Tips
- Check your hatch on the coldest night of the year with your hand: if you feel a cold draft near the ceiling or see frost around the edges in the attic, you have a leak.
- Use closed-cell foam weatherstripping rather than open-cell, because it holds its shape and compresses against the hatch for years without crumbling.
- If your hatch is in a closet, put a small mark on the ceiling so you remember where it is, and check the seal each fall before heating season.
- Do not use fiberglass batts alone on top of the hatch because they do not stop air movement. Air seal first, then insulate.
Variations for Your Situation
- Apartment/Rental: Most apartments do not have attic hatches, but if you have one in a closet or hallway, use removable peel-and-stick foam weatherstripping ($8 to $12) and lay a rigid foam board ($15 to $25) on top of the hatch from the attic side. No tools, no permanent changes, and it takes under 30 minutes.
- Tight Budget (under $50): Skip the lumber and buy two things: a roll of closed-cell foam weatherstripping ($10) and a 2-foot by 4-foot sheet of 1-inch XPS or polyiso foam board ($15 to $20). Cut the foam to size, glue it to the back of the hatch, and apply the weatherstripping. You will cut most of the leakage for under $35.
- Older Home (pre-1980): Expect a gap of 1/4 inch or more around the hatch, no gasket, and possibly a missing or damaged panel. Replace the panel if it is warped, add a 2-inch rigid foam cover, and seal the trim-to-ceiling joint with paintable caulk. Also check for open wall cavities or chases near the hatch, which can create extra leakage paths.
- Pull-Down Attic Stairs: Pull-down stairs leak far more than a flat hatch. Skip the DIY foam and install a premade insulated stair cover ($100 to $250) that fits over the folded stairs on the attic side, then caulk the stair frame to the ceiling.