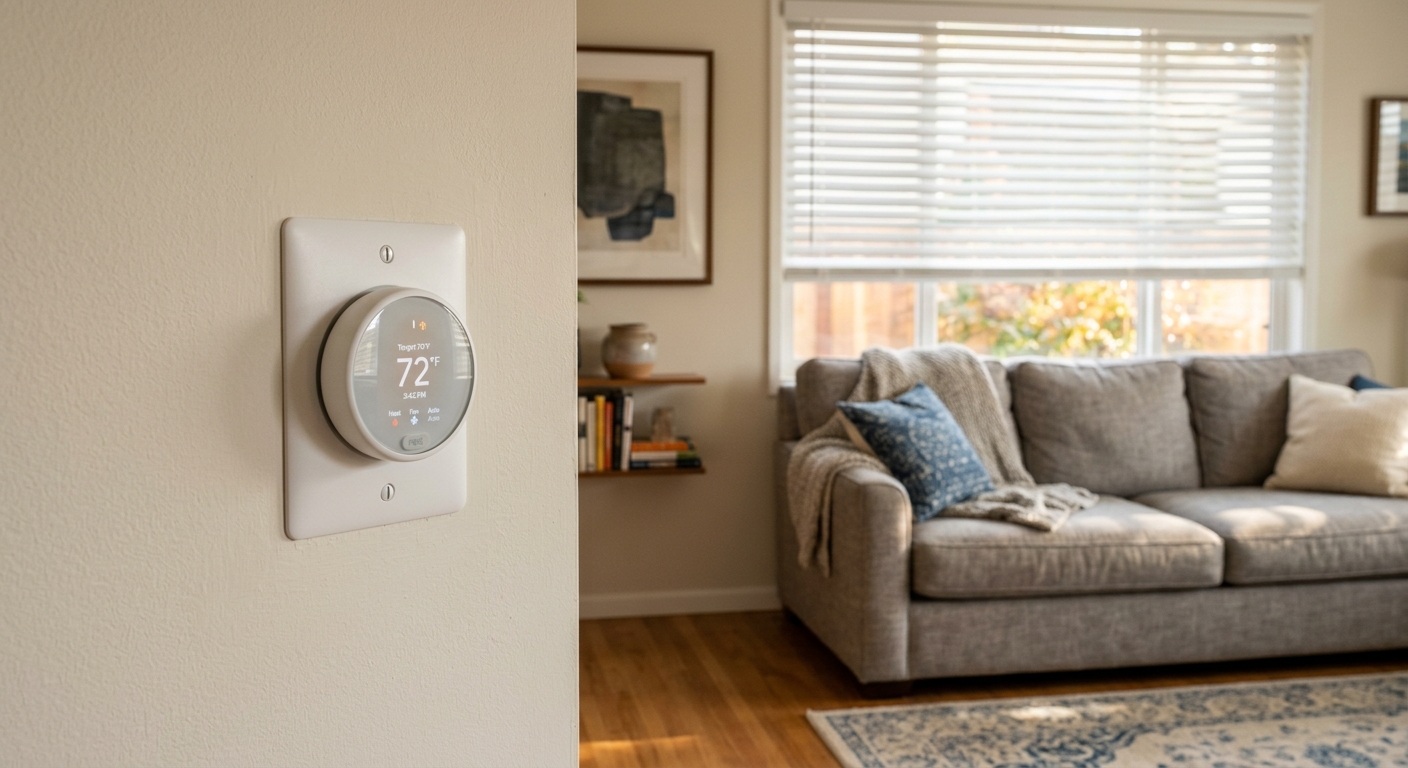
Your thermostat is the brain of your cooling system, but if it is sitting in the wrong spot, it is working with bad information. A thermostat near a sunny window, above a lamp, or in a drafty hallway does not read your home’s actual temperature. It reads its own little microclimate, and then tells your AC to respond to that instead of the reality in your living spaces. The result is a system that short-cycles, over-cools, or runs almost nonstop depending on which direction the bias goes.
This is one of the most overlooked inefficiency problems in residential cooling, and it costs homeowners real money. The Department of Energy estimates that poor thermostat behavior, including location-driven miscalibration, can account for 10 to 15% in wasted cooling energy annually. In a home spending $150 a month on summer electricity, that is $15 to $22 every single month going to waste because of where a small plastic box is mounted on the wall.
In this post, you will learn exactly why location matters from a building science perspective, how to diagnose whether your thermostat placement is the culprit behind your comfort and efficiency problems, and what you can do about it, from free fixes you can try today to a proper relocation project that pays for itself in under two years.
What You’ll Need
Click on an item below to shop for the recommended items for this recipe on Amazon.
As an Amazon Associate, we earn from qualifying purchases.
How to Do It
- Walk to your thermostat and note everything within 3 feet: lamps, televisions, direct sunlight through a window, heat-generating appliances, or supply air vents blowing directly at the unit. Write them down.
- Move any floor or table lamps at least 4 feet away from the thermostat. Even a 60-watt equivalent LED bulb radiates enough heat at close range to raise the local temperature by 1 to 2 degrees.
- If a window nearby receives direct afternoon sun, install an inexpensive cellular shade or close existing blinds during peak sun hours (typically 2 PM to 5 PM). This alone can drop the wall temperature near the thermostat by 3 to 5 degrees.
- Check whether a supply register is blowing conditioned air directly at the thermostat. If so, use a magnetic vent deflector ($8 to $15 at hardware stores) to redirect airflow away from the unit. A thermostat that gets blasted with cold air will shut off the system too early.
- After making changes, set your thermostat to a fixed temperature and monitor whether your AC now runs in longer, steadier cycles rather than short bursts. Longer cycles mean better dehumidification and more even cooling.
- Turn off power to the HVAC system at the breaker before touching any wiring. Confirm it is off by lowering the setpoint until the system would normally start. If nothing happens, you are safe to proceed.
- Remove the thermostat from its wall plate. Behind the wall plate you will likely see a hole where wires pass through. This hole is a direct air channel between the wall cavity (which may connect to unconditioned spaces) and the thermostat sensor.
- Pack the gap around the wires with a small amount of non-hardening foam backer rod or fire-rated foam sealant. Do not use expanding foam aggressively as it can damage wires. The goal is to block the draft, not fill the entire cavity.
- Inspect the back of the thermostat and wall plate for any obvious air gaps at the mounting surface. Seal with a thin bead of paintable latex caulk around the perimeter of the wall plate, wiping away excess with a damp cloth.
- Use an inexpensive digital thermometer ($10 to $15) to compare the room air temperature at chest height (about 5 feet) with the temperature the thermostat displays. If they differ by more than 1 degree, consult your thermostat manual for recalibration instructions. Many digital and smart thermostats have an offset setting in the menu.
- Restore power and run the system for a full 24-hour cycle. Compare your indoor comfort and monitor whether the AC runs more complete cycles (typically 10 to 20 minutes each) rather than short 3 to 5 minute bursts.
- Identify the ideal new location: an interior wall in the main living area or hallway that is centrally located relative to all conditioned spaces. The spot should be at least 8 feet from windows, exterior doors, supply vents, and any heat-generating appliances.
- If hiring a professional, request a licensed HVAC technician rather than a general electrician. Thermostat wiring is low-voltage (typically 24V) but correct wire labeling and connection to the control board matters. A pro visit for relocation typically costs $150 to $300 depending on wire run distance.
- If doing it yourself, photograph all current wire connections before disconnecting anything. Label each wire with tape using the terminal letter it connects to (R, G, Y, W, C, etc.). Thermostat wire is typically 18-gauge and comes in multi-conductor spools available at hardware stores for $0.20 to $0.40 per foot.
- Fish the new wire from the air handler or furnace control board to the new wall location. In multi-story homes, this may require going through attic or basement spaces. Use a fish tape or glow rods to navigate wall cavities.
- Mount the new wall plate at the chosen height (52 to 60 inches from the floor is optimal for sensing average room air temperature, above floor drafts but below ceiling heat stratification). Reconnect wires to matching terminals and seal the wire hole with foam sealant.
- After installation, allow the system to run for 48 hours and compare actual room temperatures measured with a handheld thermometer against the thermostat setpoint. A well-placed thermostat should keep the living area within 1 degree of setpoint consistently.
Why It Works: The Benefits
Correcting thermostat placement eliminates false readings that cause the AC to run unnecessarily. Homeowners in warm climates commonly see 10 to 20% reductions in summer cooling costs, saving $100 to $300 per season depending on home size and local rates.
When the thermostat reads the actual average home temperature rather than a biased microclimate, the AC runs complete, even cycles that distribute cool air throughout the home instead of shutting off prematurely in some rooms.
Eliminating short cycling extends compressor life significantly. HVAC technicians estimate that frequent short cycles can cut compressor lifespan by 30 to 40%, so fixing thermostat location is also a long-term equipment protection strategy.
Air conditioning removes humidity during the cooling cycle. Short cycles caused by false thermostat readings do not run long enough to dehumidify effectively, leaving indoor humidity above the comfortable 40 to 50% range. Proper placement allows full cycles that wring moisture out of the air.
If you plan to install or already have a smart thermostat, location matters even more. Smart thermostats use occupancy sensing and learning algorithms that depend on accurate baseline readings. A misplaced smart thermostat makes incorrect decisions automatically and at scale.
💰 Savings Impact by Action
Correcting thermostat location to eliminate false readings reduces unnecessary AC runtime by 10 to 20%, saving an estimated 15% on average cooling costs.
Sealing the wire penetration behind the thermostat box stops infiltration air from biasing the sensor, improving reading accuracy by up to 3 degrees and reducing related waste by roughly 8%.
Eliminating thermostat-driven short cycling restores full run cycles, reducing compressor energy consumption by 15 to 25% compared to frequent start-stop operation.
Using a smart thermostat remote sensor placed in the primary occupied room improves setpoint accuracy and cuts overcooling waste by approximately 10 to 15%.
🏠 Key Concepts Explained
The Science Behind It
Your thermostat does not measure the temperature of your whole house. It measures the temperature of a tiny parcel of air directly in contact with its sensor, which is roughly the size of a deck of cards. Whether that parcel represents your actual living environment depends entirely on where the thermostat is mounted and what is happening around it. Radiant heat from sunlight or nearby bulbs warms air locally through convection, raising that small parcel’s temperature well above the room average. The thermostat responds as if the whole house is warm, triggers a cooling cycle, and shuts it off again as soon as that local parcel cools down, even if the rest of your home is still stuffy and humid.
The physics of air stratification compound this problem. Warm air rises and cool air sinks, so a thermostat placed too high on a wall reads warmer than occupant level, while one placed too low reads cooler. The sweet spot between 52 and 60 inches above the floor corresponds to the average breathing zone of a seated and standing occupant, which is exactly the air temperature that matters for comfort. Additionally, wall cavities act as chimneys in a phenomenon called the stack effect, drawing outdoor air upward through gaps around electrical boxes and wiring penetrations. A thermostat with an unsealed wire hole is essentially sampling a blend of indoor and outdoor air, which guarantees inaccurate readings any time there is a temperature difference between inside and outside.
Short cycling caused by thermostat location errors has a compounding efficiency cost. A properly sized residential AC compressor is designed to run in cycles of 10 to 20 minutes, which allows the refrigerant circuit to reach steady-state efficiency and gives the evaporator coil enough time to condense significant moisture from the air. When a false reading shuts the system off after 3 to 5 minutes, the compressor restarts frequently, consuming a surge of electricity each time it kicks on and never completing the dehumidification process. Studies from ASHRAE show that short-cycling systems can consume 15 to 25% more energy than a properly cycling system of identical capacity, all without delivering better comfort.
Frequently Asked Questions
▼ Why is my AC still running all day even after I moved the lamp and blocked the sun?
If the system runs continuously without reaching setpoint, the problem is likely undersizing, low refrigerant, a dirty filter, or a clogged evaporator coil rather than thermostat placement. Check your air filter first and replace it if it has been more than 90 days. If the filter is clean and the system still cannot keep up on a day below 95 degrees Fahrenheit, call an HVAC technician to check refrigerant charge and coil condition.
▼ My thermostat reads 72 but the room feels like 76. What is wrong?
A 4-degree gap between thermostat display and perceived room temperature usually points to one of three things: a radiant or convective heat source biasing the thermostat low, a calibration offset that needs correction in the thermostat settings, or high humidity making 72 degrees feel much warmer than it should. Use a handheld thermometer to verify actual air temperature at chest height in the room. If the thermometer agrees with the thermostat but you feel warm, check indoor humidity with a $12 hygrometer. Above 55% relative humidity, 72 degrees will feel considerably warmer.
▼ Can renters fix a thermostat location problem without landlord permission?
Renters can absolutely remove nearby heat sources, adjust blinds, and redirect vent airflow with a magnetic deflector without any landlord involvement. If the thermostat itself is causing problems due to placement, document the issue with photos and temperature readings and submit a written maintenance request. Landlords are generally responsible for ensuring HVAC systems function properly, and a misplaced thermostat causing comfort or billing problems is a legitimate maintenance issue in most jurisdictions.
▼ How long before I see the savings on my electric bill after fixing the placement?
For free fixes like removing lamps or closing blinds, you should see a measurable difference in the very first full billing cycle, typically 30 days. For thermostat relocation, allow two full billing cycles so you have a valid comparison month, preferably comparing to the same month the prior year to account for weather differences. Apps like your utility’s online portal often show daily usage, so you can watch the shift happen in near real time.
▼ What if my thermostat is in the only reasonable hallway location and I cannot move it?
If relocation is not possible, the best solution is a smart thermostat with a wireless remote sensor, such as the Ecobee SmartThermostat or the Honeywell Home T9. These place the actual temperature-sensing node in the room where you spend the most time, while the main thermostat unit handles only control functions. This setup costs $130 to $200 total and functionally solves poor placement without moving any wiring.
Quick Tips
- Use a free smart home app or a $15 wireless sensor to monitor temperatures in multiple rooms simultaneously and compare them to your thermostat reading. A consistent 3-degree or more gap between rooms is a clear sign of a thermostat placement or zoning problem.
- If you have a smart thermostat with remote sensors, place one sensor in the most frequently occupied room and set the thermostat to prioritize that sensor during peak hours. This is the easiest way to get accurate control without any wiring work.
- Avoid placing the thermostat on a wall shared with a garage, unconditioned attic, or crawl space. These exterior-adjacent walls conduct more temperature variation than interior partition walls.
- When painting or doing wall work near your thermostat, cover it with a plastic bag and painter’s tape. Paint fumes and dust entering through the wire hole can contaminate the sensor and cause temporary inaccurate readings.
Variations for Your Situation
- Apartment or Rental: Renters cannot relocate thermostat wiring but can address the most common location problems without tools. Remove or move furniture and lamps within 3 feet of the thermostat, use window film or cellular shades on any nearby windows that receive direct sun, and redirect supply vents with inexpensive magnetic deflectors available for $8 to $15. If your unit allows it, a smart thermostat with a remote sensor (like the Ecobee with SmartSensor) can be installed and taken with you when you move, costing $130 to $200 and solving placement issues entirely.
- Tight Budget (Under $50): Start with zero-cost moves: relocate lamps, close blinds during peak afternoon sun, and check whether a vent is blowing directly at the thermostat. Next, pick up a $10 to $15 digital thermometer and a $10 vent deflector if needed. Seal the wire hole behind the thermostat with $5 foam rope backer cord from a hardware store. These steps together can realistically recover 5 to 12% of wasted cooling energy for a total spend well under $30.
- Older Home (Pre-1980): Homes built before 1980 often have thermostat wiring routed in ways that make relocation complicated, with shorter wire runs or wiring stapled inside walls. Before attempting relocation, have an HVAC technician verify wire length and condition. Many older thermostats also lack a common (C) wire needed for modern smart thermostats. In these homes, focus first on sealing the wire penetration behind the thermostat box (drafts are typically worse in older construction), and consider a battery-powered smart thermostat that does not require a C wire, such as the Sensi Touch, as a cost-effective upgrade.