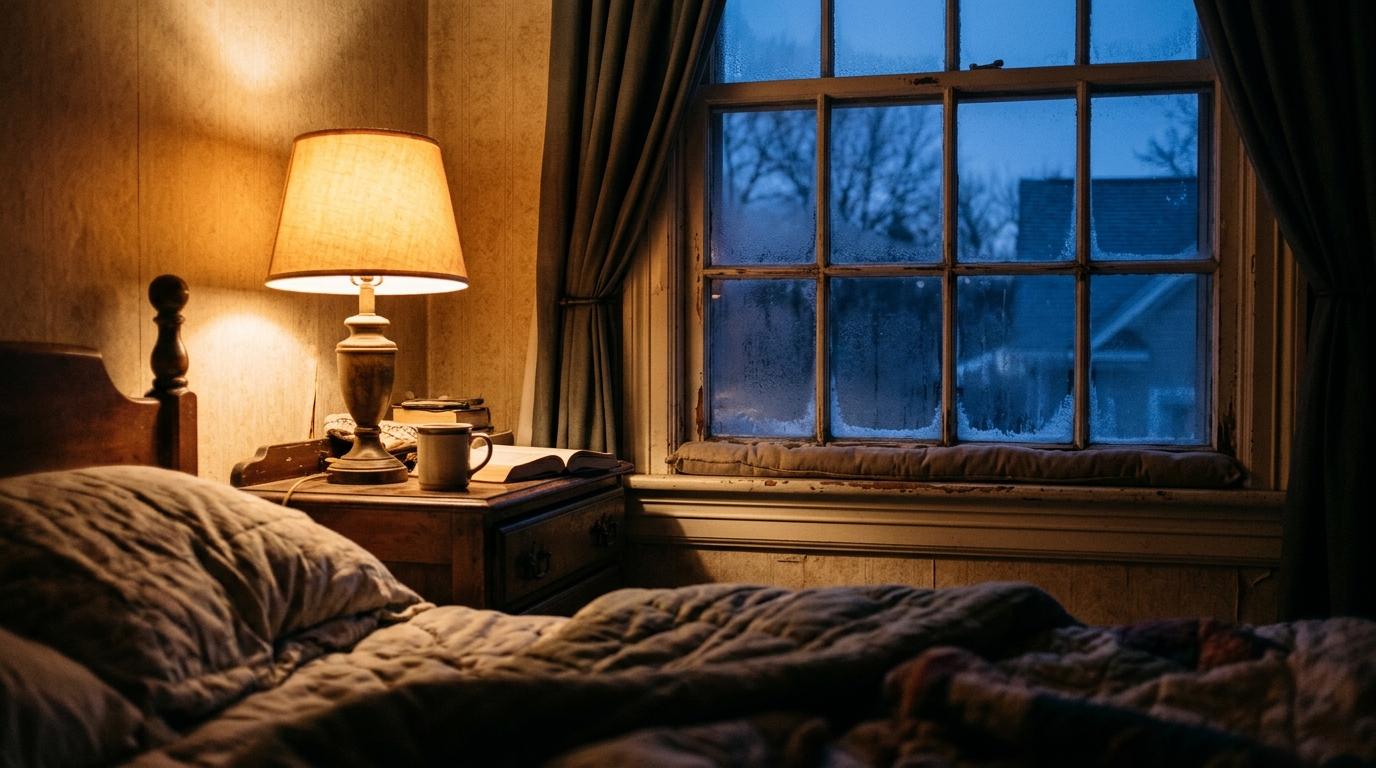
If you live in a home built before 1980, you may have noticed the same pattern: the house feels fine at bedtime, but by 5 or 6 a.m. it is chilly, the furnace is cycling constantly, and the floors feel like ice. That is not your imagination. The coldest point of the day almost always arrives right before sunrise, and an older home’s envelope is least equipped to handle it.
The reason is a perfect storm of physics. Outdoor temperatures hit their daily low after hours of radiating heat into the night sky. Meanwhile, older homes typically have under-insulated attics (often R-11 or less versus the R-38 to R-60 recommended today), leaky ducts, and gaps around windows, rim joists, and attic hatches. The bigger the temperature difference between inside and outside, the faster heat escapes, and that gap peaks at dawn.
In this post, we will break down exactly why pre-dawn heat loss is so severe, then walk through a quick fix you can finish this weekend, a DIY upgrade with a strong payback, and a professional-level option for deeper savings. You will also find troubleshooting answers and tips tailored to renters, tight budgets, and genuinely old houses.
What You’ll Need
Click on an item below to shop for the recommended items for this recipe on Amazon.
As an Amazon Associate, we earn from qualifying purchases.
How to Do It
- Walk the house at night with the heat on and hold a lit incense stick or your wet hand near window frames, door edges, outlets on exterior walls, and the attic hatch. Mark every spot where the smoke wavers or you feel moving air.
- Apply self-adhesive weather stripping around exterior doors and the attic hatch, and add a door sweep to any door that lets light show through at the bottom.
- Seal window frame gaps with paintable caulk and cover leaky windows with a removable interior shrink film kit, which can cut window heat loss by 25 to 30%.
- Place foam gaskets behind exterior wall outlet and switch plates, which are a surprisingly common source of leakage in older homes.
- Set your thermostat to start warming the house 30 to 60 minutes before you wake rather than letting it run hard all night. Lowering the setpoint by 7 to 10 degrees for 8 hours can save up to 10% annually, per the DOE.
- Measure your current attic insulation depth. Fiberglass or cellulose under about 10 inches usually means you are below R-30 and have room to add. Check your climate zone’s recommended R-value at energystar.gov.
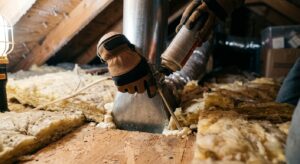
- Locate and seal air leaks in the attic floor using caulk for small gaps and expanding foam for gaps up to about 3 inches. Focus on gaps around plumbing stacks, wiring holes, chimney chases, and the tops of interior walls.
- Install rigid foam or fiberglass baffles at the eaves so insulation does not block soffit ventilation, then build a dam around any recessed lights, flues, or chimneys using the appropriate non-combustible materials and rated covers.
- Insulate and weather-strip the attic hatch or pull-down stairs with a rigid foam board cover or a pre-made insulated hatch cover.
- Blow in or roll out additional insulation to reach R-38 to R-60, depending on your climate zone. Rent a blower from a home center, which is often free with a bag purchase, and keep depth consistent across the whole attic.
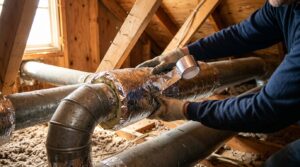
- Seal and insulate any exposed ductwork in the attic with mastic and foil-faced duct wrap, which can recover a significant share of lost heat.
- Hire a certified energy auditor (BPI or RESNET) to perform a blower door test and infrared scan. This pinpoints leaks and missing insulation that you cannot see, and costs roughly $300 to $600, often discounted or subsidized by utilities.
- Have the contractor dense-pack cellulose or fiberglass into uninsulated wall cavities from the exterior or interior. This is often the single biggest improvement for pre-1970 homes with empty walls.
- Add spray foam or rigid foam at the rim joists and sill plates, which are major leak points in basements and crawl spaces.
- Test and seal ductwork with mastic or aerosol-based sealing. Sealing leaky ducts can improve heating system efficiency by up to 20%, per ENERGY STAR.
- Request a post-work blower door test to verify the improvement and document your air changes per hour for rebates or resale value.
Why It Works: The Benefits
The EPA estimates that air sealing and adding insulation can save an average of 15% on heating and cooling costs, or about 11% on total energy costs. Older, leakier homes often see even larger gains.
Raising attic insulation toward R-49 and sealing leaks reduces cold surfaces and drafts, so the house holds 2 to 4 degrees more heat by dawn with the same thermostat setting.
When the envelope loses heat more slowly, the furnace runs fewer and shorter cycles overnight, which reduces wear and can extend equipment life.
Sealing rim joists, attic bypasses, and window gaps evens out room-to-room temperatures and eliminates that icy-floor feeling in the morning.
Stopping warm air from leaking into the attic keeps the roof deck colder and drier, helping prevent ice dams and condensation that can damage framing and insulation.
💰 Savings Impact by Action
Sealing attic bypasses, rim joists, and window and door gaps can cut total heating and cooling costs by about 15% according to EPA estimates.
Raising a thin R-11 attic to R-49 can reduce ceiling heat loss by roughly 20 to 30%, which is often the largest single gain in an older home.
Lowering the setpoint by 7 to 10 degrees for 8 hours a night can save up to 10% a year on heating, per the DOE.
Sealing and insulating leaky ducts in unconditioned spaces can improve system efficiency by 15 to 20% in homes with significant leakage.
Insulated cellular shades or shrink film cut window heat loss by 25 to 40%, which can translate to roughly 5 to 10% off whole-house heating use.
🏠 Key Concepts Explained
The Science Behind It
Heat always moves from warm to cold, and the rate is proportional to the temperature difference, the surface area, and the resistance of the materials in between. At 5 a.m. on a winter night, that temperature difference is at its largest because the outdoor air has been cooling since sunset while your indoor temperature has been maintained or even set back. A home with R-11 attic insulation and leaky walls can lose heat several times faster than a modern code-built home at the same indoor and outdoor temperatures.
Three mechanisms act together. Conduction moves heat through walls, ceilings, and glass. Convection and air leakage move it in bulk, driven by the stack effect and by wind pressure, which pulls conditioned air out the top of the house and draws cold air in at the bottom. Radiation sends heat from warm interior surfaces to cold exterior surfaces and out to the clear night sky. Older homes tend to have weak defenses against all three at once.
There is also a thermal lag effect. Building materials absorb heat during the day and release it slowly through the evening, but after eight or more hours of cold exposure, that stored heat is spent. The structure, furniture, and floors are at their coolest right around dawn, which makes the air feel colder through radiant exchange and forces your furnace to work against a house that has little warmth left to give back.
Frequently Asked Questions
▼ Why does my furnace run constantly between 4 and 7 a.m. even after I added some insulation?
The coldest outdoor temperatures and the largest heat loss both peak at that hour, so some extra runtime is normal. If it still runs nearly nonstop, the likely culprits are air leaks you have not sealed or leaky ducts in unconditioned space. Schedule a blower door test or use the incense-stick method to track down drafts, and have your ducts tested for leakage.
▼ Can renters do any of this without landlord permission?
Yes, several fixes are fully reversible. Use removable weather stripping, door sweeps, removable window shrink film, outlet gaskets, and thick curtains or insulated cellular shades. Skip permanent changes like blown-in insulation or caulking trim, and ask your landlord about attic or duct work since it can also lower their repair costs.
▼ How long before I actually notice savings on my bill?
You will usually feel the difference in comfort the same day you seal drafts. On your utility bill, expect to see the change in the first full billing cycle after the work, though comparing the same month year over year (adjusted for weather using heating degree days) gives the most accurate picture.
▼ What if my home is older than 50 years and has plaster walls or no wall insulation at all?
Start with the attic and air sealing, since those give the best return for the least disruption. For empty walls, dense-pack cellulose can be installed through small holes without tearing out plaster, typically costing $1.50 to $3.50 per square foot. Have an auditor check for knob-and-tube wiring and moisture issues first, since insulation should not be added around active knob-and-tube wiring.
▼ Will adding insulation make my old house too airtight or cause mold?
Insulation alone will not cause mold, but combining it with major air sealing can raise indoor humidity if ventilation is poor. Keep bathroom and kitchen exhaust fans working and vented outdoors, maintain soffit and ridge ventilation in the attic, and consider a balanced ventilation system if your auditor recommends one after the home reaches a very low leakage rate.
Quick Tips
- Check your attic after a snowfall: if snow melts in patches on your roof while neighbors’ roofs stay covered, heat is leaking through your ceiling and you have found your insulation gaps.
- Close fireplace dampers when not in use and install a chimney balloon or top-sealing damper to stop one of the largest vertical air leaks in older homes.
- Open south-facing curtains on sunny days to gain free heat, then close all window coverings at dusk. Insulated cellular shades can reduce window heat loss by up to 40%.
- Use a programmable or smart thermostat to start pre-heating about 45 to 90 minutes before your wake time, which feels warmer than a constant low setting and avoids hard furnace runs at the coldest hour.
- Run ceiling fans in reverse (clockwise) at low speed to gently push warm air down from the ceiling without creating a draft.
Variations for Your Situation
- Apartment/Rental: Focus on drafts you can control: removable weather stripping ($10 to $15), window shrink film kits ($15 to $25 per few windows), draft stoppers for doors ($10 to $20), and heavy thermal curtains ($30 to $80 per window). Add outlet gaskets on exterior walls and keep furniture away from baseboard heaters or vents so heat can circulate.
- Tight Budget (under $50): Spend $20 to $40 on a tube of caulk, a roll of weather stripping, and outlet foam gaskets, then seal the biggest drafts first. Set your thermostat back 7 to 10 degrees while sleeping and add a pre-wake warm-up, hang blankets or thick curtains over leaky windows at night, and stuff an old towel along the bottom of leaky doors. These steps alone can plausibly trim 5 to 10% off heating costs.
- Older Home (pre-1980): Prioritize air sealing at the attic floor and rim joists, then insulate the attic to at least R-38. Plan for an energy audit, since hidden issues like empty walls, vermiculite, or knob-and-tube wiring are common. Budget $2,000 to $6,000 for a full envelope upgrade, and check for state and utility rebates that can offset a large share of the cost.