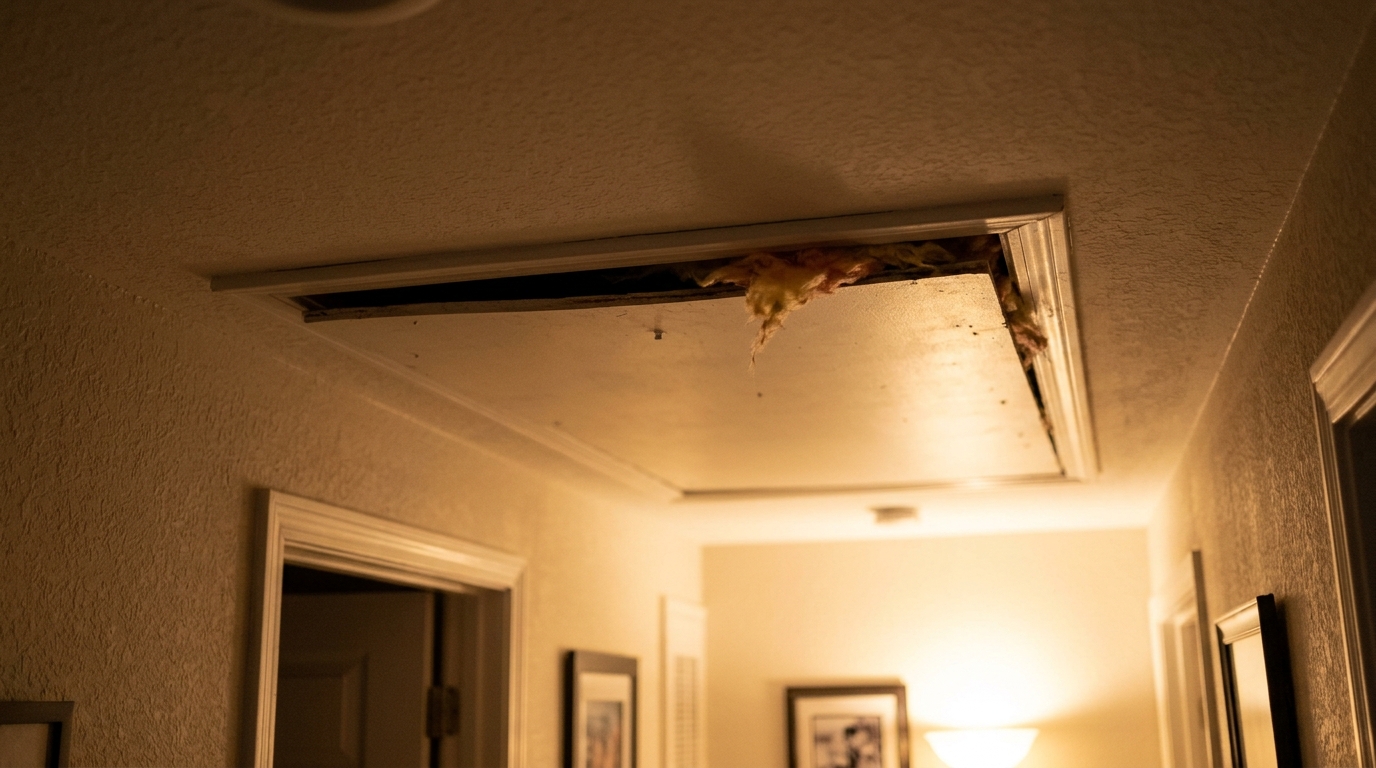
You paid for a warm house, but at 2 a.m. your furnace is still cycling to keep up. The culprit is often not the furnace at all. It is the attic floor above your bedroom, where warm indoor air slips through gaps around light fixtures, plumbing stacks, wire holes, and the attic hatch, then bleeds out through the roof. Because warm air rises, your house acts like a chimney every night, and any opening at the top of the home pulls more heated air up and out.
The problem is bigger than most homeowners realize. The U.S. Department of Energy estimates that air leakage and inadequate insulation account for 25 to 40% of the energy used for heating and cooling in a typical home, and the attic is usually the single biggest contributor. Insulation that looks thick can still fail if it is compressed, uneven, pushed aside by past repairs, or bypassed by air leaks that blow right through it.
This post walks through how to find the gaps, which fixes deliver the most savings per dollar, and how to decide between a weekend DIY job and calling a professional. You will also get real numbers on cost, payback, and what to expect on your next utility bill.
What You’ll Need
Click on an item below to shop for the recommended items for this recipe on Amazon.
As an Amazon Associate, we earn from qualifying purchases.
How to Do It
- Weatherstrip the attic hatch or pull-down stairs with self-adhesive foam tape around the frame, then glue a rigid foam board or a pre-made hatch cover to the attic side of the door.
- Pull back insulation near the top of interior walls, plumbing stacks, and wire penetrations, and fill gaps larger than a quarter inch with expanding spray foam or caulk rated for the gap size.
- Seal around bathroom fan housings and ducts with foil tape or mastic, and make sure the fan vents outdoors, not into the attic.
- Use fire-rated caulk or sheet metal flashing to seal gaps around flues and chimneys, keeping combustible materials the required distance away.
- Fluff and redistribute any thin or bare spots so the insulation covers the attic floor evenly, then clear soffit vents of any insulation blocking airflow.
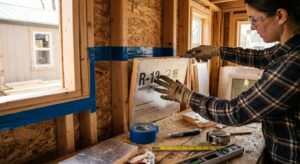
- Measure your current depth. Use a ruler in several spots, and note that roughly 11 to 13 inches of fiberglass or 10 inches of cellulose is about R-30 to R-38, so you may need 6 to 12 more inches to reach R-49 or higher.
- Complete all air sealing from the Quick Fix first. Blowing insulation over open leaks wastes money and hides problems.
- Install baffles at every soffit vent so the new insulation cannot block airflow from the eaves.
- Build dams or covers around recessed lights that are not IC-rated, and around flues, keeping required clearances.
- Blow loose-fill cellulose or fiberglass evenly across the attic floor to your target depth, covering the tops of the joists, and mark depth with rulers stapled to rafters as a guide.
- Finish by insulating and sealing the attic hatch, then recheck for gaps or low spots and top up as needed.
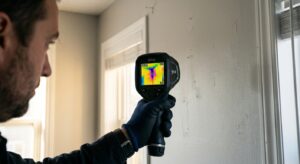
- Schedule an energy audit with a blower door test and infrared scan to pinpoint your biggest leaks and thin spots.
- Have the crew remove old, damp, or contaminated insulation if needed, especially if you have rodent damage or moisture problems.
- Let the professionals air seal with spray foam and rigid blocking, including hard-to-reach areas like dropped soffits and chimney chases.
- Choose between blown-in fiberglass, cellulose, or closed-cell spray foam based on your budget and attic conditions, and request a final R-value of R-49 or higher in colder climates.
- Get a written receipt with the installed depth and R-value, and keep it, since some utilities and the federal tax credit program require documentation.
Why It Works: The Benefits
Air sealing plus insulation upgrades typically save about 15% on total heating and cooling costs according to ENERGY STAR, which can mean $200 to $400 per year for many homes.
Top-floor rooms often run 3 to 8 degrees colder in winter and hotter in summer than the rest of the house. Closing the attic gap evens out those swings.
A tighter, better insulated ceiling means your system cycles less often, which reduces wear and can extend equipment life.
Heat escaping into the attic melts roof snow unevenly, which refreezes at the eaves. Sealing and insulating keeps the roof deck cold and helps prevent ice dams.
Sealing gaps cuts drafts, dust, and outdoor noise that sneak in through the same openings that leak heat.
💰 Savings Impact by Action
Sealing attic bypasses and the hatch can reduce overall heating and cooling costs by about 15% by stopping stack-effect air loss.
Raising attic insulation from R-19 to R-49 can cut ceiling heat loss by over 60% and trim total bills by 10 to 20%.
An uninsulated, leaky attic hatch can act like an open window, and sealing and insulating it recovers roughly 3 to 5% of energy use.
Sealing and insulating ducts running through the attic prevents up to 10% or more of conditioned air from being lost.
🏠 Key Concepts Explained
The Science Behind It
Heat moves three ways: conduction through solid materials, convection through moving air, and radiation across open space. In a winter attic, all three are working against you. Your ceiling conducts heat into the attic, warm air convects up through gaps, and the cold roof deck pulls radiant heat from everything below. Insulation mainly slows conduction, but it does very little to stop air movement, which is why leaks undermine even thick layers.
The stack effect makes this worse. Warm indoor air is lighter than cold outdoor air, so it rises and exits through any hole near the ceiling. That creates slightly lower pressure inside the home, which pulls cold air in through cracks near the floor, around windows, and under doors. A house with a leaky attic essentially breathes out expensive warm air all night while your heating system works to replace it.
Closing the gaps breaks that cycle. Once air sealing stops the chimney effect, added insulation can finally do its job, with each extra R-value point reducing heat flow through the ceiling. Going from R-19 to R-49 cuts conductive heat loss through the attic floor by more than 60%, and combined with air sealing, that is why upgrades often show up as a noticeable drop on the next two or three utility bills.
Frequently Asked Questions
▼ Why is my upstairs still cold even after adding insulation?
Insulation does not stop air movement, so unsealed gaps may still be leaking heat. Go back and seal around the attic hatch, wall tops, and plumbing penetrations, then recheck depth for even coverage. Also confirm your HVAC ducts in the attic are sealed and insulated, since leaky ducts can waste 20% or more of heated air.
▼ Can renters do this without landlord permission?
Renters should not alter attic insulation without written permission, and many do not have attic access anyway. What you can do is weatherstrip doors and windows, use removable draft stoppers, and add heavy curtains. If you are cold in an upper-floor unit, ask your landlord to investigate the attic, since better insulation also lowers their building’s energy costs.
▼ How long before I actually notice savings on my bill?
You will often feel a difference in comfort within the first cold night. On your bill, compare the same month year over year, adjusting for weather using heating degree days, and expect 10 to 20% lower heating costs by the second billing cycle. Full payback typically takes 1 to 3 years for air sealing and 3 to 6 years for a large insulation upgrade.
▼ What if my home is older than 30 years?
Older homes usually have thinner insulation and far more air leakage, so the savings potential is higher. Check for knob-and-tube wiring, vermiculite insulation, and moisture damage before starting, and hire a professional if you find any of them. Plan on both air sealing and a significant insulation top-up to reach R-49 or more.
▼ Is more insulation always better?
There are diminishing returns. Going from R-11 to R-38 delivers huge savings, while going from R-60 to R-70 adds very little. Beyond your climate zone’s recommended level, focus on air sealing, duct sealing, and window upgrades instead.
Quick Tips
- Check your attic on a cold morning after a light frost or snowfall. Bare roof sections or melted patches mark spots where heat is escaping from below.
- Keep stored boxes on raised platforms so they do not compress the insulation beneath them.
- Look for dark, dirty streaks in fiberglass. They show where air has been filtering through and depositing dust, which is a map of your leaks.
- Check your utility company website for rebates. Many offer $200 to $1,000 back on attic insulation and air sealing, and the federal energy efficiency tax credit may cover up to 30% of qualifying costs, with annual limits.
Variations for Your Situation
- Apartment/Rental: Since you cannot touch the attic, focus on what you control, such as weatherstripping exterior doors for $10 to $20, adding removable window insulation film for $15 per window, and using draft stoppers. Report cold ceilings, drafts, or ice dams to your landlord in writing so they can fix the attic side.
- Tight Budget (under $50): Weatherstrip and insulate the attic hatch with foam board and tape, seal visible gaps around pipes and wires with a $10 can of spray foam or caulk, and fluff up any compressed batts. These steps often capture 30 to 50% of the savings of a full upgrade for the lowest cost.
- Older Home (pre-1980): Expect large gaps around chimneys, ductwork, and wall tops, and often R-11 or less of old insulation. Have a pro test for vermiculite and check wiring before DIY work, then budget $1,500 to $3,500 for combined air sealing and a blown-in upgrade to R-49. Rebates and the federal tax credit can offset a meaningful share.