Every winter, millions of homeowners crank up the heat and watch their energy bills climb, never realizing that a good chunk of that money is literally escaping through tiny gaps around doors, windows, and wall penetrations. According to the U.S. Department of Energy, air leakage accounts for 25 to 40% of the energy used for heating and cooling in a typical home. That is not a rounding error. That is real money slipping out through invisible cracks.
The good news is that the most impactful air sealing fixes cost almost nothing. A roll of foam weatherstripping runs about $8 at any hardware store, and a tube of caulk costs around $5. Used correctly on the right spots, these two products can seal off the drafts responsible for the bulk of your heat loss. The DOE estimates that thorough air sealing can reduce heating and cooling costs by 10 to 20%, and in older or poorly sealed homes, the savings can climb even higher.
This post walks you through exactly where to look, what to use, and how to seal your home against winter heat loss. Whether you have 15 minutes or an afternoon, there is an approach here that fits your schedule and budget. We will cover the building science behind why this works, the most common mistakes homeowners make, and how to tell if you have already tackled the easy wins or need to go deeper.
What You’ll Need
Click on an item below to shop for the recommended items for this recipe on Amazon.
As an Amazon Associate, we earn from qualifying purchases.
How to Do It
- Run your hand slowly around every exterior door frame and window frame on a cold or windy day. Note where you feel cold air movement, even subtle coolness counts.
- For exterior door bottoms, press a rolled-up towel or door draft stopper against the gap to immediately block the largest single air leak in most homes. Draft stoppers cost $8 to $12 and require zero installation.
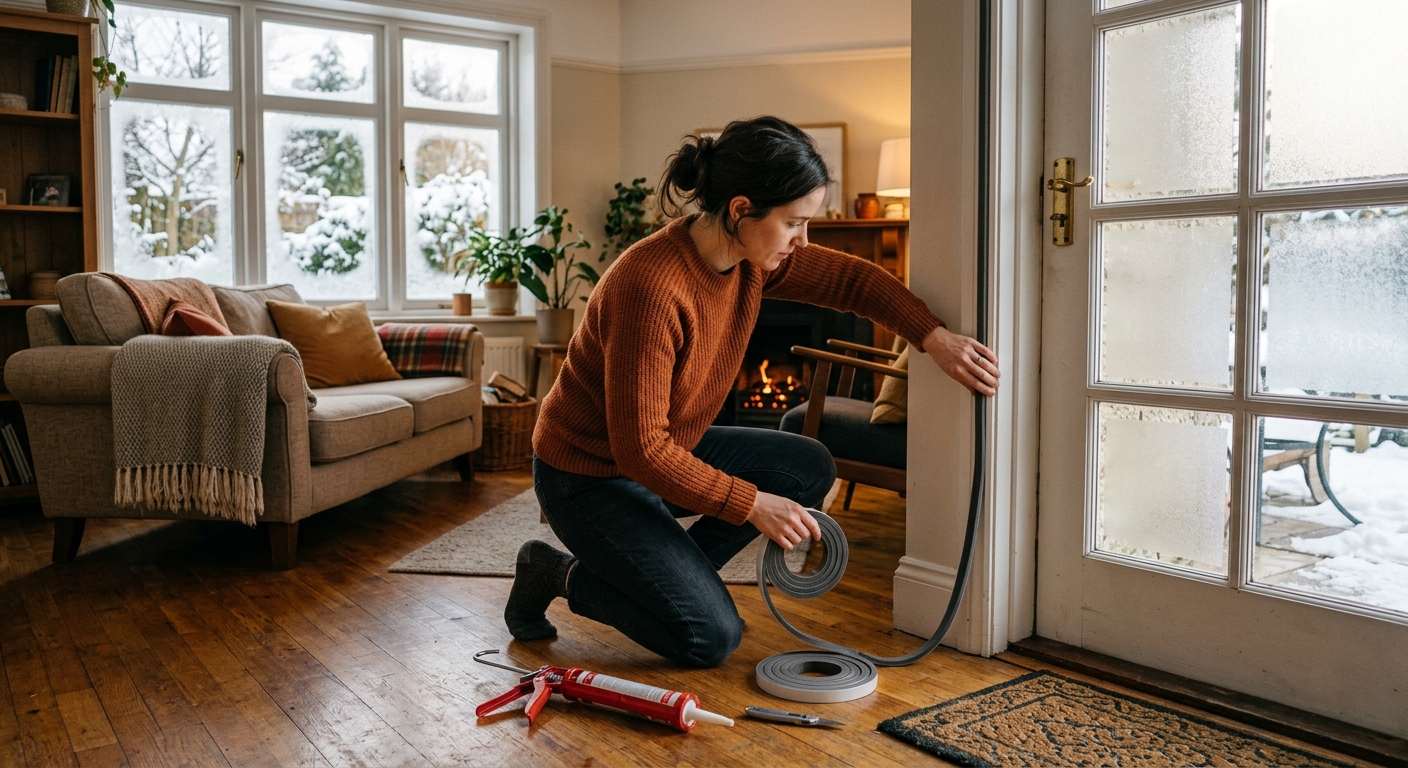
- For door sides and tops, press self-adhesive foam weatherstripping tape into the door stop channel so the door compresses it when closed. Cut to length with scissors. One roll covers two to three doors.
- For window sashes that rattle or feel drafty, press V-strip tension seal weatherstripping into the side channels of double-hung windows. It snaps in without tools and is nearly invisible.
- Recheck each door and window by closing it on a piece of paper. If you can pull the paper out without tearing it, the seal is too loose and the weatherstripping needs to be thicker or repositioned.
- Purchase one tube of paintable latex caulk for interior gaps, one tube of silicone caulk for areas exposed to moisture or temperature swings, and one can of low-expansion spray foam for gaps larger than 1/4 inch.
- Start at the attic hatch. Pull it open and inspect the perimeter for gaps between the frame and the ceiling drywall. Apply a bead of caulk around the entire perimeter and add foam weatherstripping to the hatch lid itself. Attic bypasses are among the top three sources of heat loss in most homes.
- Move to electrical outlets and switch plates on exterior walls. Remove the cover plates and press pre-cut foam gaskets behind them. These cost under $5 for a pack of 10 and take about 30 seconds each to install. Cold air infiltration through outlets is measurable with an infrared thermometer.
- Inspect all pipe and wire penetrations where plumbing or wiring enters from outside or from unconditioned spaces like the garage or crawl space. Use low-expansion spray foam to fill any gap larger than 1/4 inch and caulk for smaller gaps.
- Caulk the interior perimeter of every window and door frame where the trim meets the wall. These seams crack over time and are a steady source of infiltration. Use paintable latex caulk and tool smooth with a wet finger.
- Seal the sill plate area in the basement or crawl space where the wood framing sits on the concrete foundation. Apply a thick bead of caulk or low-expansion foam along this joint on the interior side. This is often the single largest continuous air leak in the home.
- Contact your utility company first. Many utilities offer free or heavily subsidized home energy audits. Programs like ENERGY STAR and state weatherization programs can reduce audit costs to zero for qualifying households.
- During the blower door test, a large fan is mounted in an exterior door opening to depressurize the home. This makes every air leak visible using smoke pencils or an infrared camera. The auditor will produce a detailed report ranking leaks by impact.
- Review the auditor’s priority list and tackle the top five to ten findings yourself using the materials from the DIY approach above. Auditors often find attic bypasses behind knee walls or interior wall tops that DIYers typically miss.
- Ask the auditor about dense-pack insulation for wall cavities if your home has uninsulated exterior walls. Combined with air sealing, this can push annual heating savings above 30%.
- Schedule a follow-up blower door test after completing the work to verify improvement and document savings for any utility rebate applications.
Why It Works: The Benefits
Properly air sealing the most common leak points in a typical home can reduce heating energy use by 10 to 20%, translating to $150 to $200 in annual savings for a home spending $1,000 per year on heating.
Sealed rooms hold heat longer, so your furnace reaches your target temperature faster and cycles off sooner. Homeowners often notice their home feels warmer within the first day after sealing major drafts.
Cold drafts near windows and doors are the most common comfort complaint in winter. Weatherstripping a single exterior door can eliminate the radiant cold sensation felt within a few feet of it, making adjacent rooms genuinely more livable.
When your home holds heat better, your furnace runs fewer cycles per day. Reducing daily run cycles reduces mechanical wear, which can add years to furnace life and push back the cost of replacement.
A 15 to 20% reduction in heating energy use for a gas-heated home cuts carbon emissions by roughly 400 to 600 pounds of CO2 per heating season, the equivalent of not driving your car for three to four weeks.
💰 Savings Impact by Action
Weatherstripping all exterior doors and sealing door frame perimeters reduces infiltration-related heat loss by up to 12% in a typical home.
Foam gaskets behind exterior wall outlets and switch plates block a consistent source of cold air infiltration, reducing it by up to 5% of total leakage.
Caulking or foaming the foundation sill plate in basements and crawl spaces addresses one of the largest continuous air gaps in the home, cutting that leakage path by up to 15%.
Sealing attic hatch perimeters and interior wall top plates stops warm air from exiting at the top of the stack effect loop, reducing total infiltration by up to 18%.
Reapplying caulk around window trim and adding V-strip weatherstripping to operable sashes reduces window-related air infiltration by up to 8%.
🏠 Key Concepts Explained
The Science Behind It
Heat moves from warm areas to cold areas through three mechanisms: conduction, convection, and radiation. Air sealing primarily addresses convection, the movement of heated air molecules out of your home and cold air molecules in. Unlike insulation, which slows conductive heat flow through walls and ceilings, weatherstripping and caulk physically block the channels through which air itself moves. This is why a well-sealed but under-insulated home often outperforms a well-insulated but leaky one on heating bills.
The stack effect is the dominant driver of air infiltration in winter. Because warm air is less dense than cold air, it naturally rises toward the top of your home and exits through any available gap, including attic hatches, recessed lights, wall top plates, and window frames. As warm air exits at the top, equivalent volumes of cold air are pulled in at the bottom through foundation cracks, door sills, and lower-floor penetrations. This creates a continuous convective loop that runs 24 hours a day without any mechanical assistance. Sealing both the top and bottom of the home simultaneously is what breaks this loop effectively.
Building scientists measure air leakage using a metric called ACH50, or air changes per hour at 50 pascals of pressure. A typical older home might test at 10 to 15 ACH50. Energy codes for new construction now target 3 ACH50 or lower. Research from Lawrence Berkeley National Laboratory found that reducing air leakage from 15 ACH50 to 7 ACH50 in a typical single-family home cuts infiltration-related heating loads by roughly 35 to 50%. The $15 to $60 DIY approach described here can realistically move a leaky older home from 12 to 15 ACH50 down to 8 to 10 ACH50, which maps directly to the $150 to $200 in annual savings cited throughout this post.
Frequently Asked Questions
▼ I sealed my doors and windows but my heating bill barely changed. What did I miss?
Door and window weatherstripping addresses visible leaks, but the biggest energy losers are often hidden: attic bypasses behind interior walls, unsealed sill plates in the basement or crawl space, and recessed light fixtures that open directly into the attic. Focus your next effort on the attic hatch and basement perimeter. These two areas alone can account for 30 to 40% of total air infiltration in older homes.
▼ Can renters do this without landlord permission?
Yes, most of these fixes are fully renter-safe and reversible. Door draft stoppers require no installation and can move with you. Self-adhesive foam weatherstripping peels off cleanly. Outlet foam gaskets slide out without leaving any mark. The only fix that requires caution is spray foam, which is permanent. Stick to press-fit and peel-and-stick products and you can restore everything to original condition when you move out.
▼ How long before I actually see savings on my bill?
You should see a measurable drop within the first full billing cycle after sealing, typically 30 days. Because utility bills vary with weather, compare your usage in therms or kWh rather than the dollar amount, and compare the same month year over year rather than month to month. A 10 to 20% reduction in heating energy consumption is realistic and will show up clearly in the usage data.
▼ What if my home is older than 30 years?
Older homes have more accumulated settling, cracked caulk, worn weatherstripping, and bypasses that were never sealed to begin with, which actually means you have more to gain from these fixes than a newer home does. Start with the DIY approach and use an infrared thermometer to scan exterior walls, outlets, and door frames for cold spots. If DIY sealing does not move the needle, a professional blower door audit is strongly worth considering since older homes often have significant hidden bypasses behind knee walls and around duct chases.
▼ Is there a point where sealing too tight becomes a problem?
Yes. Homes sealed below roughly 0.35 natural ACH can accumulate moisture, CO2, and indoor pollutants without adequate fresh air exchange. This is rarely a concern with DIY weatherstripping alone, but if you complete a professional air sealing project that significantly tightens the envelope, ask your contractor whether mechanical ventilation is warranted. An energy recovery ventilator (ERV) brings in fresh air without sacrificing the heat you just worked to keep inside.
Quick Tips
- Do the draft test on the coldest, windiest day you can find. Temperature and pressure differences make leaks much easier to detect in real conditions than on a mild day.
- Prioritize the attic hatch, basement sill plate, and exterior door bottoms first. These three locations account for more than half of typical residential air infiltration.
- Replace caulk on window and door trim every five to seven years. Even quality caulk shrinks and cracks over time, and reapplying it is a 10-minute job that restores full effectiveness.
- After sealing, set your thermostat one degree lower than your usual winter setting. If your home feels the same or warmer, the sealing worked and you are already saving money at no additional discomfort.
Variations for Your Situation
- Apartment or Rental: Renters can achieve real savings without touching anything permanent. Focus on door draft stoppers at the entry door and any doors to unconditioned hallways, thermal curtains on windows (which reduce radiant heat loss by up to 25%), and outlet foam gaskets behind cover plates. Total cost is under $30 and everything moves with you at lease end.
- Tight Budget Under $15: Buy one tube of caulk ($5) and one roll of foam weatherstripping tape ($8) and focus exclusively on the exterior door with the worst draft. Caulk the interior trim perimeter of that door and apply weatherstripping to the door stop. This single door fix can deliver $40 to $70 in annual savings on its own and pays back in days, not months.
- Older Home Pre-1980: Homes built before modern energy codes typically have no vapor barriers, uninsulated wall cavities, and bypasses around every interior wall top plate. Start with the full DIY approach and add a basement sill plate inspection, since pre-1980 sill plates were rarely sealed and the gap between wood and concrete is often a half inch or more. Budget an extra $20 for additional spray foam. If your bills are still high after DIY sealing, a blower door test is the most efficient next step and utility rebates often cover part of the cost.