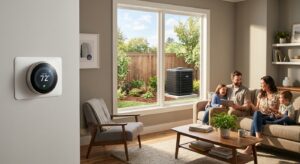
Your thermostat is the brain of your home’s heating and cooling system, but if it’s reading the wrong temperature, every decision it makes is based on bad data. A thermostat mounted on an exterior wall, next to a lamp, above a supply vent, or in a sunny hallway can read 5 to 10 degrees off from your actual living spaces, causing your HVAC system to shut off too early in some rooms and run too long in others. The result is that familiar frustration of one room being stuffy while another stays perfectly comfortable.
This problem is more common than most homeowners realize. Thermostats are often installed by builders in whatever location is convenient for wiring runs, not where they will get the most accurate reading of your home’s true temperature. Over decades, furniture arrangements change, new lamps get added, and that once-neutral wall becomes a sun trap every afternoon. What worked in 1995 may be actively working against you today.
In this post, you will learn exactly how to identify whether your thermostat location is causing comfort problems, what the specific culprits are, and what to do about it, from a free five-minute diagnostic to a full DIY relocation project. Even small corrections here can reduce HVAC runtime by 10 to 15% and finally make your whole home feel consistent.
What You’ll Need
Click on an item below to shop for the recommended items for this recipe on Amazon.
As an Amazon Associate, we earn from qualifying purchases.
How to Do It
- Stand at the thermostat and note exactly what surrounds it within 3 feet: lamps, vents, direct sunlight at any time of day, televisions, exterior walls, or doors to unconditioned spaces like garages.
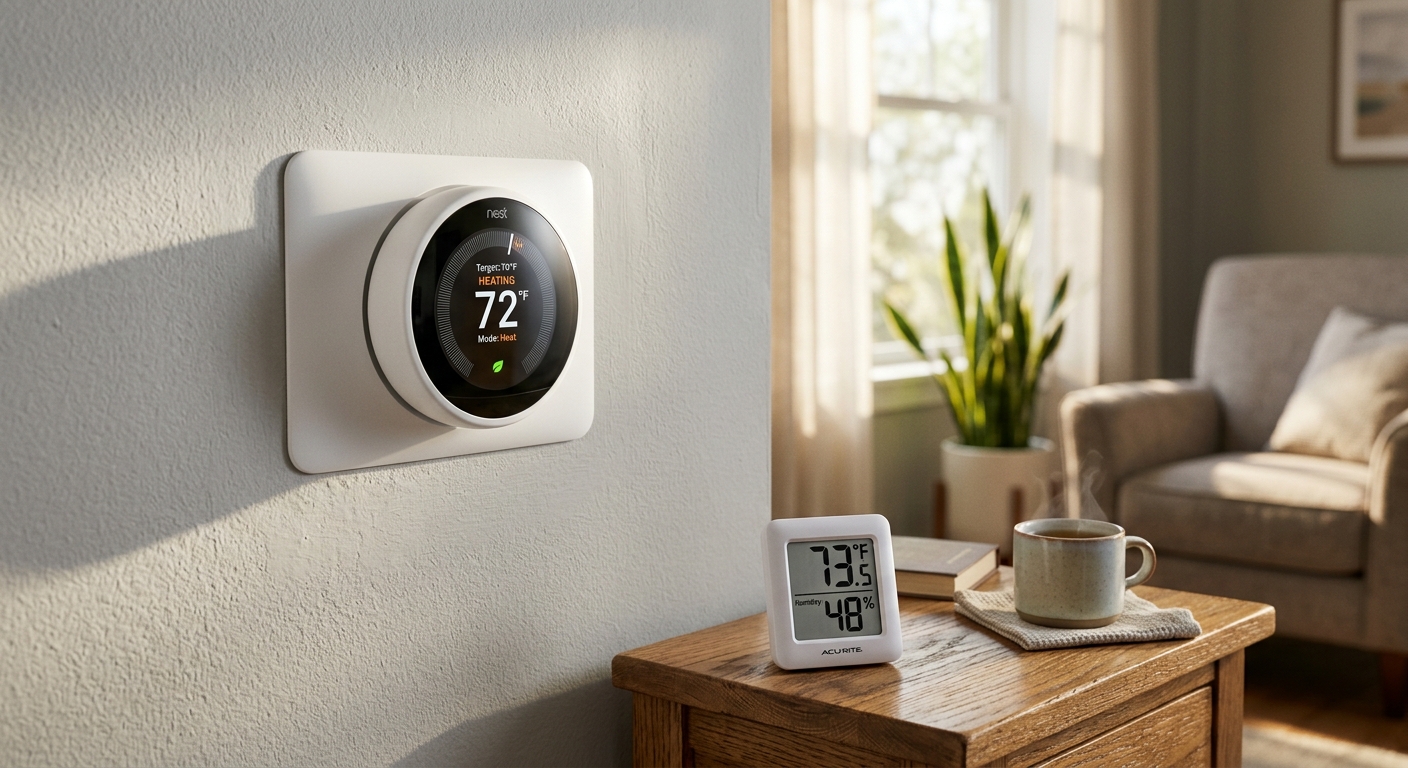
- Check the thermostat reading against a cheap digital thermometer placed 5 feet away at the same wall height in the center of the room. A difference of more than 2 degrees confirms a location problem.
- Remove or relocate any lamp, space heater, or electronic device within 3 feet of the thermostat. Even a 60-watt bulb within 2 feet can raise the sensor reading by 2 to 4 degrees.
- If the thermostat is in direct sunlight for any part of the day, hang a simple opaque window shade or reposition existing furniture to block that sun path without blocking airflow to the sensor.
- Check that the small hole in the wall behind the thermostat body is sealed with foam backer rod or non-hardening caulk. Unsealed wire holes allow cold attic or wall cavity air to blow directly onto the sensor, causing false readings year-round.
- Re-check the digital thermometer comparison after 30 minutes with changes in place. If the gap has closed to within 1 to 2 degrees, your no-cost fixes have resolved most of the problem.
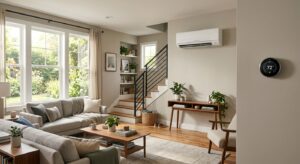
- Identify the ideal new location: an interior wall in a central living area (hallway, living room, or dining room), at roughly 5 feet from the floor, away from vents, windows, exterior walls, and heat-producing appliances.
- Turn off power to your HVAC system at the breaker box before touching any wiring. Photograph your current thermostat wiring with your phone before disconnecting a single wire.
- Label each wire with painter’s tape and a marker matching the terminal letter it came from (R, C, G, Y, W, etc.) before removing the old thermostat body from the wall.
- Run new thermostat wire from the furnace or air handler to the new location, fishing it through interior walls using a fish tape and drill with a long flexible bit. Most homes need 18/5 low-voltage thermostat wire available at hardware stores for $15 to $30 per 50-foot roll.
- Mount the new thermostat base at the chosen location, connect wires to matching terminals using your labeled photo as a guide, and seal the new wall hole behind the base with foam or caulk.
- Patch and paint the old thermostat location, restore power, and run a full heating and cooling cycle while monitoring both the thermostat reading and a reference thermometer placed in your main living area to confirm the readings now match within 1 degree.
- Schedule an HVAC service call and specifically ask the technician to evaluate thermostat placement as part of the visit. Bring your digital thermometer comparison data to show them the measured discrepancy.
- Ask about wireless remote sensor systems such as Ecobee SmartSensors or Honeywell T-Series accessories. These allow the thermostat to average temperatures from multiple rooms, so no single bad location dominates the reading.
- If your home has a zoned HVAC system, ask the technician to verify that each zone sensor is correctly placed and functioning. A faulty zone sensor is one of the most common causes of persistent uneven comfort in multi-zone homes.
- Request that the technician seal any duct leaks near the thermostat location at the same time, since leaky ducts near the sensor are a secondary cause of false readings and account for up to 30% of HVAC energy waste in some homes.
Why It Works: The Benefits
Correcting thermostat placement reduces the variance between rooms by 3 to 6 degrees Fahrenheit in most homes, eliminating the hot-and-cold-zone problem that drives homeowners to manually adjust the thermostat repeatedly throughout the day.
A thermostat reading 5 degrees too warm in summer causes the AC to run roughly 10 to 15% longer than necessary. Fixing placement alone can reduce cooling costs by $50 to $150 per season in a typical 1,500 to 2,500 square foot home.
Eliminating short-cycling caused by phantom heat sources can add years to your compressor and heat exchanger life. HVAC technicians estimate that short-cycling compressors fail 30 to 40% sooner than properly cycling ones.
Smart thermostats rely on accurate location data and temperature learning to optimize schedules. A poorly placed smart thermostat loses most of its efficiency advantage because it is optimizing around a bad temperature reading.
Unlike insulation or duct work upgrades that take time to pay off, correcting thermostat placement is often felt within the first heating or cooling cycle, making it one of the fastest-acting comfort improvements available.
💰 Savings Impact by Action
Eliminating thermostat-induced short-cycling by correcting placement reduces unnecessary HVAC start-stop events, saving 10 to 15% on compressor-related energy costs.
Removing lamps or electronics that inflate the thermostat reading by 3 to 5 degrees can reduce cooling runtime by up to 10% in warm months.
Sealing the unsealed wire penetration behind the thermostat eliminates direct cold or hot air infiltration to the sensor, improving reading accuracy by 1 to 3 degrees.
Adding wireless remote sensors for multi-room temperature averaging can reduce overall HVAC runtime by up to 12% by preventing single-room overconditioning.
Moving a thermostat from an exterior to an interior wall corrects seasonal wall-temperature bias, improving system accuracy by 4 to 8 degrees in poorly insulated older homes.
🏠 Key Concepts Explained
The Science Behind It
Your thermostat controls your entire HVAC system based on a single temperature sensor in one fixed location. That sensor is trying to represent the average comfort level of your entire home, but it can only do that accurately if it is reading undisturbed air that is actually representative of where you live. When radiant heat from a lamp or sunbeam warms the sensor housing directly, the sensor is not reading air temperature at all. It is reading a combination of air temperature and radiant energy, which are two different things. The result is a thermostat that thinks the room is 74 degrees when the living room couch where you are sitting is actually 68 degrees.
The physics of short-cycling are equally important to understand. Your HVAC system is designed to run in longer, efficient cycles rather than short bursts. Compressors and heat exchangers reach peak efficiency after about 10 minutes of continuous operation as refrigerant pressures stabilize and heat exchange surfaces reach operating temperature. When a misplaced thermostat causes the system to satisfy its setpoint in 4 to 6 minutes, the system shuts down before it has had time to condition the far rooms of your home. You get a satisfied thermostat and uncomfortable bedrooms at the same time. This is the core mechanism behind the most common complaint: the room with the thermostat is fine and every other room is not.
The ideal thermostat location by building science standards is an interior wall at 5 feet from the floor, in a room with typical airflow and no direct heat sources, representing the middle of your home’s living zone. Interior walls are insulated from outdoor temperature swings. The 5-foot height catches air in the occupied breathing zone rather than stratified hot air near the ceiling. Central placement means the sensor sees averaged conditions from multiple rooms rather than the micro-climate of one isolated hallway. Every degree of accuracy you gain in the sensor location translates directly to fewer overcorrections, shorter or more appropriate run cycles, and more consistent comfort in every room of the house.
Frequently Asked Questions
▼ My thermostat reads the right temperature but some rooms are still too hot or cold. Is this a placement problem?
If the thermostat reading matches a reference thermometer but comfort is still uneven, the problem is likely in your duct system rather than thermostat placement. Check for closed or blocked vents in uncomfortable rooms, leaky duct connections in the attic or crawlspace, or imbalanced airflow that needs damper adjustment. Thermostat placement affects average comfort; persistent room-to-room differences point to distribution issues.
▼ Can I use a smart thermostat with remote sensors instead of relocating the main unit?
Yes, and for many homeowners this is the simpler solution. Systems like the Ecobee SmartThermostat with SmartSensors allow you to place wireless sensors in multiple rooms and program the thermostat to average readings from those locations or prioritize specific rooms at specific times of day. Sensors cost $35 to $80 each and require no wiring. This approach works especially well if your thermostat is hardwired in an inconvenient location.
▼ How do I know if my thermostat is actually short-cycling because of location?
Set a timer when your HVAC system turns on and note when it shuts off. Healthy cycles run 10 to 20 minutes for cooling and 15 to 25 minutes for heating in most climates. If your system consistently shuts off in under 8 minutes when the outdoor temperature clearly demands more conditioning, short-cycling is confirmed. Next, check whether the thermostat location has a direct heat source or sun exposure that could be satisfying the sensor prematurely.
▼ My thermostat is on an exterior wall. Is that actually a big deal?
Yes, especially in older homes with less wall insulation. An exterior wall can vary 5 to 12 degrees from interior wall temperature depending on outdoor conditions and wall insulation levels. In summer this means the sensor reads artificially warm on the sunny side or artificially cool in winter, causing the system to respond to wall temperature rather than room air temperature. Relocating to an interior wall is one of the highest-impact thermostat fixes available and typically takes under 3 hours as a DIY project.
▼ What if I rent and cannot move the thermostat?
Focus on removing heat sources near the existing thermostat, sealing the wire hole behind it with caulk or foam, and asking your landlord to consider a smart thermostat with remote sensors as a low-cost upgrade. Document the temperature discrepancy with photos of your reference thermometer readings and present it as a comfort and utility cost issue, since landlords benefit from lower utility complaints and turnover when tenant comfort improves.
Quick Tips
- Check your thermostat for sun exposure at different times of day by visiting it at 8 a.m., noon, and 3 p.m. to see if direct light ever hits the housing.
- If relocation is not practical, a wireless remote sensor added to a central living area can effectively move your control point without any wiring work.
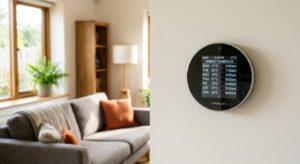
- After fixing placement, recalibrate your smart thermostat’s learning schedule from scratch because its previous patterns were built around inaccurate temperature data.
- Keep interior doors between the thermostat room and other living spaces open during heating and cooling cycles to allow temperature equalization across the sensing zone.
Variations for Your Situation
- Apartment or Rental: Since you cannot relocate the thermostat, focus on removing all heat sources within 3 feet of the unit, sealing the wire hole behind it with removable foam backer rod, and shading any direct sun exposure. Ask your landlord about adding a wireless smart thermostat with remote sensors as a no-damage upgrade. Products like the Ecobee with SmartSensors install with no new wiring and the landlord keeps the hardware when you leave.
- Tight Budget (Under $50): A basic digital thermometer ($8 to $15) confirms the problem for free. Foam backer rod and non-hardening caulk to seal the wire hole runs under $10 and fixes one of the most common false-reading culprits. Repositioning furniture or lamps costs nothing. These zero-to-low-cost steps alone can close a 2 to 3 degree reading gap without touching the wiring.
- Older Home (Pre-1980): Older homes typically have more exterior wall temperature variation due to thinner insulation (R-7 to R-11 vs. modern R-15 to R-21), making thermostat placement on exterior walls far more problematic. Prioritize relocating to an interior wall and check for knob-and-tube wiring before fishing any new cable. Also inspect whether the thermostat is a line-voltage type (used with electric baseboard heat), which requires a licensed electrician for any relocation or replacement work.