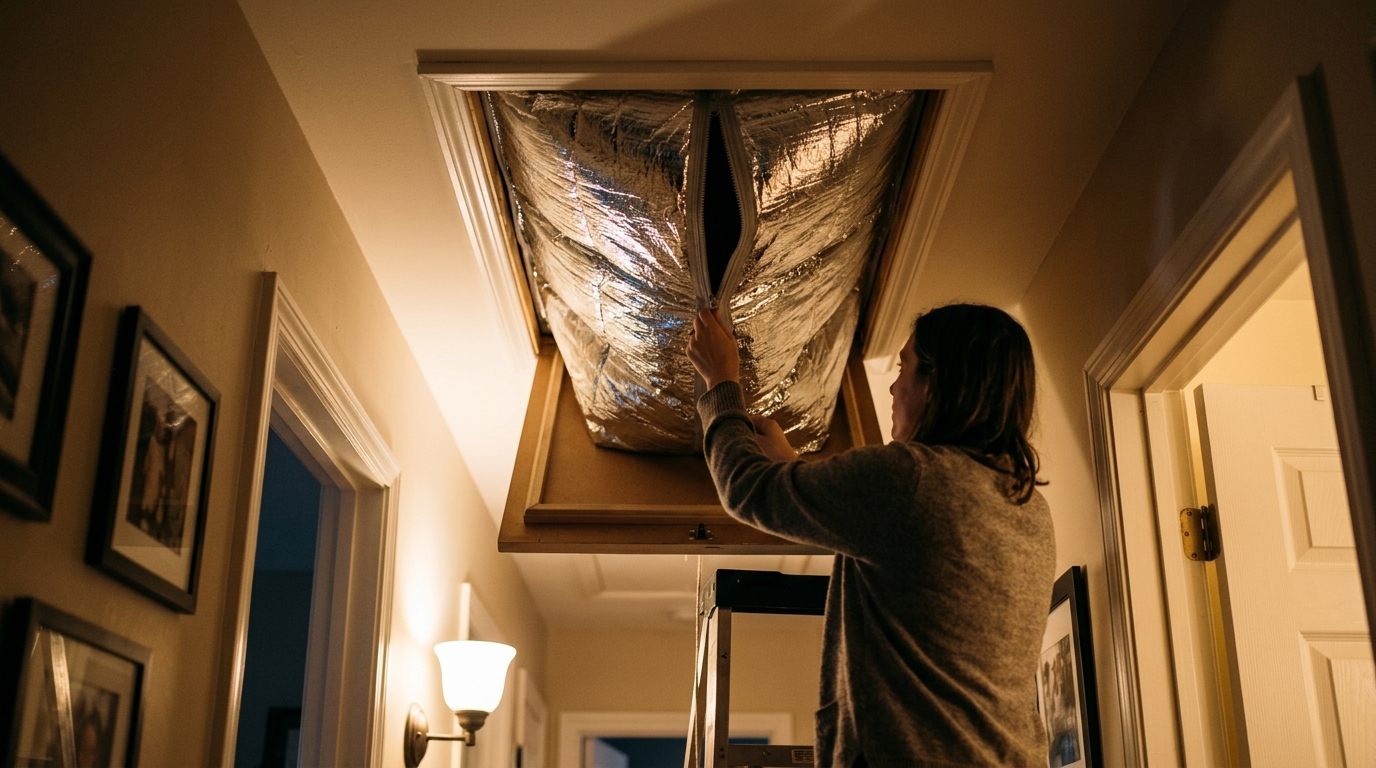
Walk into your attic and look down at the hatch. It is probably a thin sheet of plywood or even thinner fiberboard, with a gap around the frame you could slide a pencil into. Meanwhile the rest of your attic floor may be buried under R-30 or R-38 of insulation. That hatch might be R-1 to R-3 at best, which makes it the weakest link in your entire thermal envelope.
The problem is worse than a simple heat loss number suggests. Warm air rises, so in winter your heated air pushes up through every gap around that hatch (the stack effect), and in summer superheated attic air sinks down into your living space. The Department of Energy lists attic access hatches among the top air leakage spots in a typical home, and a leaky hatch can behave like a hole several square inches wide cut right through your ceiling.
The good news is that this is one of the cheapest and fastest insulation upgrades in the house. In this post we cover two approaches: a five-minute quick fix using a pre-made insulated cover, and a DIY rigid foam box you can build in an afternoon. Both stop the air leak and add real R-value, and both can be done by almost any homeowner without hiring a pro.
What You’ll Need
Click on an item below to shop for the recommended items for this recipe on Amazon.
As an Amazon Associate, we earn from qualifying purchases.
How to Do It
- Measure the width and length of your attic stair opening on the ceiling side, and compare to the cover dimensions listed on the package.
- Clear any dust or debris from the ceiling around the hatch so the cover’s base sits flat and any adhesive strips bond well.
- Open the attic stairs and set the cover over the folded stair assembly from inside the attic, or install the zippered tent from above per the manufacturer instructions.
- Press the gasket or weatherstrip edge firmly against the ceiling frame so there is a continuous seal with no visible light or gaps.
- Check the seal by closing the hatch and running a hand around the edge on a windy day to feel for leaks, adding foam weatherstripping where needed.
- Measure the outside dimensions of the stair frame and the height of the folded stairs, and add about one half inch of clearance on all sides.
- Cut four side panels and one top panel from 1.5 to 2 inch foil-faced polyiso using a utility knife and straightedge, scoring and snapping for clean cuts.
- Assemble the box with foil tape on all seams, then add a bead of low-expansion spray foam or caulk where panels meet to stop air leakage.
- Apply self-adhesive foam weatherstripping or a compressible gasket around the bottom rim of the box so it seals tightly against the ceiling framing.
- Add a small handle or rope pull to the top and a few fiberglass batts on top for extra R-value if you want to reach R-30 or more.
- Seal the gap between the stair frame and the rough opening from below with caulk or backer rod and caulk, then test the fit and adjust.
- Pick a pre-insulated attic ladder rated R-10 or higher, or an insulated hatch with a gasketed door, sized to your rough opening.
- Remove the old stair assembly, supporting its weight, and inspect the rough framing for damage or rot.
- Install the new unit per manufacturer instructions, shimming so it sits plumb and square in the opening.
- Seal the gap between the new frame and the rough opening with low-expansion foam and trim it flush.
- Adjust the springs and hardware so the door closes firmly against the gasket for a full seal.
Why It Works: The Benefits
Sealing and insulating the hatch typically trims 2 to 5% off annual HVAC costs, which is $30 to $90 a year for a home with a $1,500 energy bill.
Rooms near the hallway or stairwell often feel noticeably warmer in winter and cooler in summer once the hatch stops leaking.
Air moving through the hatch carries attic dust, fiberglass particles, and musty smells into living areas. A gasketed cover blocks that pathway.
Warm, humid indoor air leaking into a cold attic can condense on rafters and sheathing. Sealing the hatch helps keep that moisture out of the attic.
A $40 to $80 cover paired with $30 to $90 in annual savings typically pays for itself within 1 to 3 years, and a DIY foam build can pay back in under a year.
💰 Savings Impact by Action
Closing the hatch gaps stops conditioned air from leaking into the attic, trimming roughly 2 to 4% of annual heating and cooling energy.
Raising the hatch from R-2 to R-12 or higher cuts conductive heat loss through that opening by over 80%.
Reducing the stack effect lowers infiltration near the hallway and adjoining rooms by up to 15% in homes with leaky ceilings.
Blocking superheated attic air from sinking into living space can reduce summer cooling energy by about 3 to 5%.
🏠 Key Concepts Explained
The Science Behind It
Heat moves three ways: conduction through materials, convection through moving air, and radiation across open space. A thin plywood hatch fails at all three. It conducts heat easily because it has almost no resistance, and the gaps around the frame allow air to convect freely between the attic and living space. In summer, a hot attic roof also radiates heat down onto the hatch surface, which then warms the room below.
The stack effect makes things worse. In winter, warm indoor air rises and escapes through high leaks like the attic hatch. That outgoing air creates low pressure at the bottom of the house, pulling cold outside air through cracks around windows, doors, and the foundation. Sealing the top leak reduces how hard this natural pump runs on the whole house, not just near the hatch.
Adding R-value works hand in hand with air sealing. Each inch of foil-faced polyiso adds about R-6, so a 2-inch cover reaches roughly R-12, which is a major improvement over the R-1 to R-3 of the bare hatch. Combine that with a gasket that closes off airflow, and you remove both the conduction path and the convection path in a single, inexpensive fix.
Frequently Asked Questions
▼ Why is my AC still running all day even after I covered the attic stairs?
The hatch is only one source of heat gain and air leakage. Check attic insulation depth (aim for R-38 to R-60 depending on your climate zone), look for unsealed recessed lights and duct leaks, and confirm your AC filter and coils are clean. A blower door test from an energy auditor can pinpoint the biggest remaining leaks.
▼ Can renters do this without landlord permission?
A removable, non-adhesive cover that sits over the hatch from the attic side is generally a reversible change, and many renters use zippered tent-style covers with no permanent modification. Still, give your landlord a heads-up in writing, especially if you need to access the attic, since some leases restrict attic access.
▼ How long before I actually notice savings on my bill?
You will likely feel fewer drafts and temperature swings near the hatch within a day or two. On the bill, expect a small but measurable drop of roughly 2 to 5% over a full heating or cooling season, so compare the same month year over year to see the effect rather than expecting an overnight change.
▼ What if my home is older than 30 years?
Older homes usually have thinner attic insulation and leakier ceilings, so the hatch is often one of several problems. Seal and cover the hatch first, then check insulation depth and look for open wall cavities or chases around chimneys and plumbing, which can be even bigger leaks.
▼ Will an insulated cover create a moisture or mold problem?
A properly sealed cover actually reduces moisture risk because it stops humid indoor air from reaching the cold attic. Just make sure bathroom and kitchen fans vent outdoors rather than into the attic, and that the attic itself has adequate ventilation.
Quick Tips
- Do this project in fall or early spring, when the attic is not dangerously hot, so you can work comfortably and catch the savings through the next season.
- Use a flashlight from inside the attic with the hatch closed in a dark room, and look for any beams of light showing around the edges, since light leaks mean air leaks.
- Label and store the cover so it can be lifted aside quickly when you need attic access, since a cover that is hard to move will be left off.
- Pair this project with sealing wiring penetrations and the top plates of interior walls in the attic, which are other common sources of ceiling air leakage.
Variations for Your Situation
- Apartment/Rental: If you have access to a ceiling hatch, use a zippered fabric tent cover with Velcro or magnetic closures, which costs about $40 to $70 and installs without tools or damage. Keep the original hardware untouched so it can be removed at move-out.
- Tight Budget (under $50): Build a foam box from two sheets of 1.5 inch rigid foam board (about $15 to $25 each) and seal the seams with foil tape and a $5 roll of foam weatherstripping. Skipping the fancy handle and fabric keeps the cost near $30 while still delivering most of the savings.
- Older Home (pre-1980): Expect a warped or undersized hatch and a larger gap around the rough opening. Fill the gap with backer rod and caulk before installing the cover, and consider upgrading to a gasketed insulated hatch if the framing is out of square.
- Garage or Cold Climate: In very cold climates (zones 5 to 7), stack a second layer of foam or add fiberglass batts on top of the cover to reach R-30 or higher, and use a heavier gasket to handle greater temperature differences.