You are lying in bed, and the AC kicks on with a whooshing roar that seems louder than it used to be. Worse, it just keeps running. Hour after hour, the system cycles on and stays on, yet the bedroom never quite feels cool. Many homeowners blame an aging system, an undersized unit, or a hot summer, when the real culprit is often a gray, fuzzy rectangle of pleated material costing less than a pizza.
Your air filter sits in the path of every cubic foot of air your system moves. When it clogs with dust, pet dander, and lint, the blower has to work harder to pull air through it. The result is reduced airflow, a higher-pitched whistle or rumble at the return vent, and longer run times because less cool air reaches your rooms per minute. At night, when ambient noise drops and many homes run on automatic setbacks, you notice every decibel and every extra hour of runtime.
In this post, we cover exactly why a dirty filter changes how your AC sounds and behaves, how much it costs you, and two practical ways to fix it: a no-cost quick fix you can do tonight and a DIY upgrade that keeps the problem from coming back. We also cover troubleshooting for when a new filter does not solve everything.
What You’ll Need
Click on an item below to shop for the recommended items for this recipe on Amazon.
As an Amazon Associate, we earn from qualifying purchases.
How to Do It
- Turn the thermostat to OFF so the blower is not running while you work.
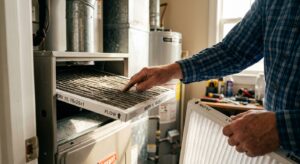
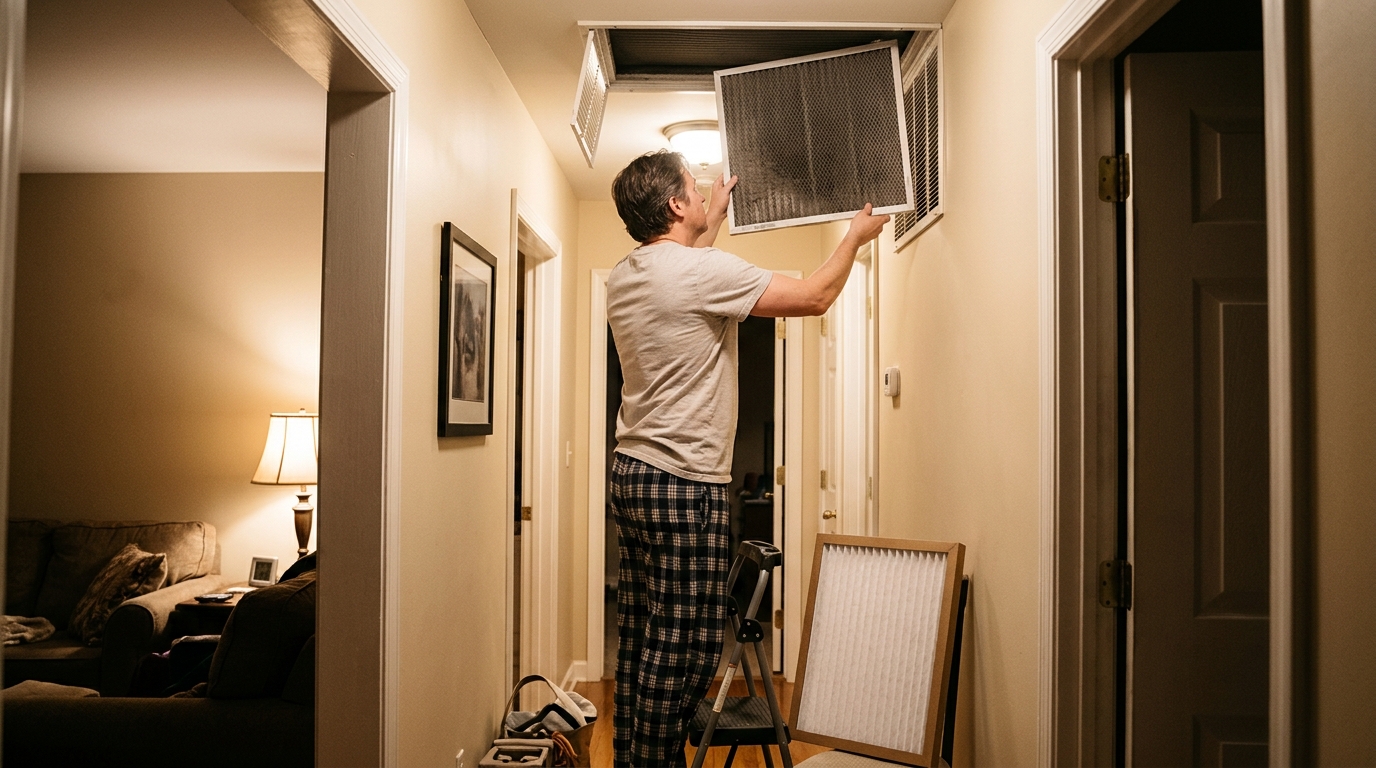
- Locate the filter. It is usually behind the return air grille in a hallway ceiling or wall, or in a slot beside the indoor air handler or furnace.
- Slide the filter out and hold it up to a light. If you cannot see light through it, or it looks gray and matted, it is overdue.
- Note the size printed on the frame (for example 16x25x1) and the airflow arrow.
- Insert a new filter of the exact same size with the arrow pointing toward the blower, meaning the direction air flows, usually away from the return duct and toward the unit.
- Turn the system back on and listen at the return grille. The airy whoosh should sound smoother and quieter within the first cycle.
- Measure your filter slot and confirm the nominal size, then buy a multi-pack (3 to 6 filters) in MERV 8 to 11, which balances filtration and airflow for most homes.
- Write the install date on the frame of each new filter with a marker so you always know its age.
- Set a recurring phone reminder: every 30 to 60 days in summer for 1-inch filters, or every 3 to 6 months for 4 to 5 inch media filters.
- If you have pets, allergies, or heavy dust, plan on the shorter 30-day interval and consider a 4-inch media filter cabinet if your system supports it.
- Vacuum the area around the return grille and wipe the grille slats so dust is not pulled straight into the new filter.
- Consider adding a simple filter-change tracking tag or a smart filter reminder sensor, which runs about $15 to $40, if you tend to forget.
Why It Works: The Benefits
The U.S. Department of Energy notes that replacing a clogged filter with a clean one can lower an AC’s energy consumption by 5 to 15%. On a $150 monthly summer cooling bill, that is roughly $7 to $22 saved each month.
Restoring normal airflow reduces the whistling and strained blower noise at the return grille and vents. Many homeowners notice the difference immediately after the first cycle with a clean filter.
With proper airflow, your system removes heat faster, so it reaches the thermostat setpoint sooner and shuts off. That means fewer hours of runtime and less wear on the compressor.
A fresh filter captures dust, pollen, and pet dander effectively, while a loaded filter can let particles bypass or get pulled loose and recirculated. Cleaner air also keeps the evaporator coil and blower wheel cleaner.
Reducing blower strain and preventing coil icing protects the motor and compressor. Avoiding even one service call, which commonly runs $150 to $400, pays for years of filters.
💰 Savings Impact by Action
Replacing a clogged filter can cut AC energy use by 5 to 15%, according to U.S. Department of Energy guidance.
Restoring design airflow helps the system reach setpoint faster, trimming nightly run time by roughly 10 to 15%.
Reducing blower strain and return-grille whistle can noticeably lower perceived nighttime noise, often by a few decibels.
Lowering blower load and preventing coil icing can extend motor and compressor life, avoiding repairs that often cost $150 to $400.
🏠 Key Concepts Explained
The Science Behind It
Your AC works by pulling warm indoor air across a cold evaporator coil, where heat and moisture are removed, then pushing the cooled air back through ducts. The blower is sized to move a specific volume of air, typically around 350 to 450 cubic feet per minute per ton of cooling. The filter sits in that airstream, and as it loads with dust, it acts like a partially closed door, raising static pressure and cutting airflow.
With less air crossing the coil, two things happen. First, the system delivers less cooling per minute, so it must run longer to satisfy the thermostat. Second, the coil can become too cold, sometimes dropping below freezing and forming a layer of ice that blocks airflow even more. The blower motor also works harder to push against resistance, drawing extra power and generating more noise as air rushes through the narrowed openings of the clogged media.
At night the effect feels amplified. Outdoor temperatures fall, but your home is still holding heat from the day, and the system often runs long cycles to pull that stored heat out of walls and furniture. With a bedroom noise floor around 30 to 35 decibels, even a small increase in blower or return-grille noise becomes obvious. A clean filter restores design airflow, which shortens cycles and quiets the system at the same time.
Frequently Asked Questions
▼ Why is my AC still running all day even after I changed the filter?
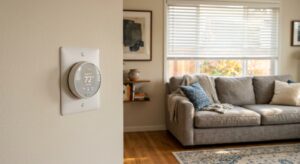
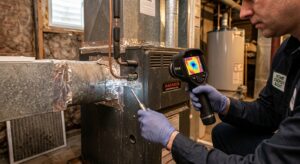
A clean filter fixes only one cause of long run times. Check that all supply vents are open and unblocked, that the outdoor unit is free of leaves and debris, and that the thermostat is set realistically (about 78 degrees F is the DOE-recommended summer setting when home). If it still runs constantly and the house will not cool, call an HVAC technician to check refrigerant charge, the evaporator coil, and duct leakage.
▼ Can renters do this without landlord permission?
Yes. Replacing a standard air filter is routine maintenance that most leases either allow or require tenants to handle. Match the exact size and type already installed, keep the old filter’s dimensions on hand, and tell your landlord if the filter slot is damaged or the system seems to have other problems.
▼ How long before I actually notice savings on my bill?
You will often hear the quieter operation within the first cooling cycle. Savings show up on your next full billing cycle, typically as 5 to 15% lower cooling energy use if the old filter was badly clogged. If your old filter was only mildly dirty, expect a smaller but still real improvement.
▼ What if my home is older than 30 years?
Older systems are often more sensitive to restricted airflow because their ducts, blower motors, and coils have accumulated years of dust. Replace the filter first, then have a technician inspect the coil and blower wheel, since buildup there can mimic a dirty filter. Avoid jumping straight to a high-MERV filter on an older system without checking that it can handle the extra resistance.
▼ How do I know which direction the filter arrow should point?
The arrow printed on the filter frame should point in the direction of airflow, toward the blower or air handler and away from the return duct. If you install it backward, the pleats can collapse or reduce filtration. When in doubt, check the arrow on the old filter you removed.
Quick Tips
- Buy filters in multi-packs so a spare is always on hand and you never skip a change because the store is out of your size.
- Take a photo of the filter size and arrow direction with your phone so you can reorder quickly.
- Change filters more often in summer, since AC runs heavily and dust loads faster, especially with pets or open windows.
- If your return vent is in the bedroom hallway, listen at that grille before and after a filter swap to hear the difference for yourself.
Variations for Your Situation
- Apartment/Rental: Check the lease for who handles filters, then buy a 3-pack of the exact size for about $15 to $30 and change it every 60 days. Take a photo of the old filter and keep your receipt, and if the filter is hard to reach or the access panel is damaged, ask maintenance to handle it rather than forcing it.
- Tight Budget (under $50): Buy a basic MERV 8 pleated filter, usually $5 to $12, and set a phone reminder for every 45 days. If you have a washable filter, a thorough rinse and full air-dry costs nothing and restores airflow, and a vacuum with a brush attachment on the return grille slows future dust buildup for free.
- Older Home (pre-1980): Older homes often have leakier ducts, dustier attics, and undersized returns, so filters load faster than average. Check the filter monthly, vacuum return grilles regularly, and consider asking an HVAC pro to inspect duct connections and the coil, since a $150 to $300 cleaning can recover airflow that no filter swap alone can fix.
- Pet Owners or Allergy Households: Plan on a 30-day change cycle in summer and choose a MERV 11 pleated filter if your system allows it. Pet hair and dander can clog a filter in half the normal time, and washing bedding and vacuuming with a HEPA vacuum reduces how fast it loads.