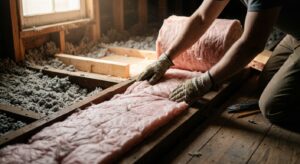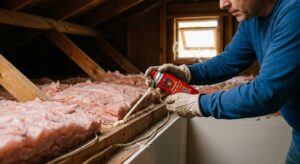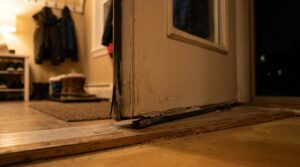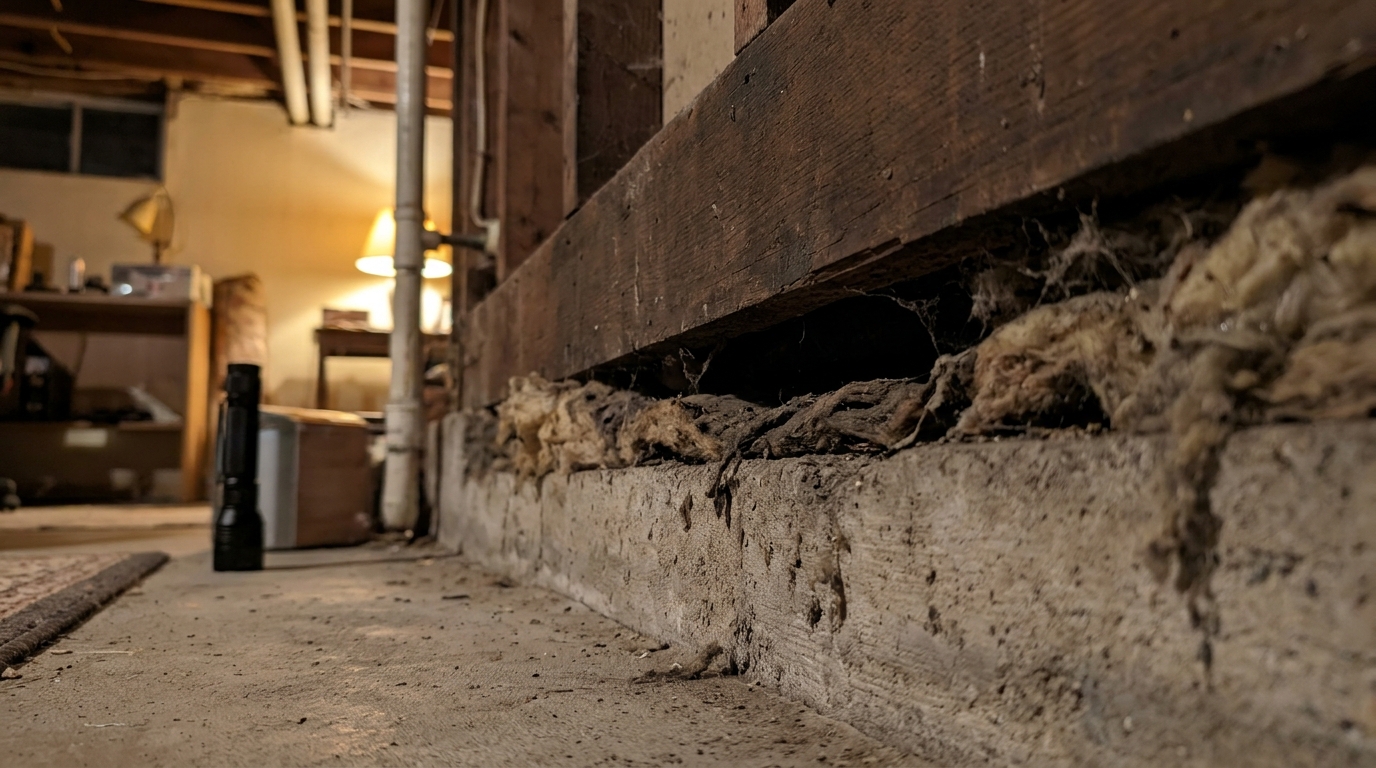
If your floors feel like ice at 6 a.m. even though the thermostat reads 70 degrees, the culprit may be hiding in your basement or crawl space. Along the top of your foundation wall sits a horizontal piece of lumber called the sill plate, which anchors your home’s wood framing to the concrete below. Wood does not sit perfectly flat on masonry, so there is almost always a gap, sometimes a quarter inch or more, running the full perimeter of your house. That gap is a permanent open window for outdoor air.
The Department of Energy lists the sill plate and rim joist area as one of the leakiest parts of a typical home. Cold air pours in at the bottom, rises through the wall cavities and floor assemblies (the stack effect), and pulls more cold air in behind it. The result is chilly floors, drafty baseboards, and a furnace that runs longer than it should. Studies of typical homes show that the rim joist area can account for 10 to 15 percent of total air leakage, and in older houses with unsealed foundations the number can climb higher.
In this post, we will show you how to find the gap, why it causes such noticeable cold floors, and how to seal it with either a no-cost quick fix or a proper DIY foam-and-sealant upgrade. We will also cover what to do if you rent, if your budget is tight, or if your home was built before 1980.
What You’ll Need
Click on an item below to shop for the recommended items for this recipe on Amazon.
As an Amazon Associate, we earn from qualifying purchases.
How to Do It
- Walk the perimeter of your basement or crawl space with a flashlight in the evening and look for daylight, cobwebs, dirt trails, or frost along the sill plate. These are signs of air movement.
- Clear stored items and old insulation away from the top of the foundation wall so you can see the full seam between the wood and concrete.
- Run a continuous bead of high-quality acrylic latex or polyurethane caulk along the seam where the sill plate meets the foundation. Use backer rod first for gaps wider than a quarter inch.
- Cut rigid foam board (1 to 2 inches thick) to fit snugly between each pair of floor joists against the rim joist, leaving a 1/8 inch gap around the edges.
- Seal the perimeter of each foam piece with a can of low-expansion spray foam so no air can slip around the edges.
- Prepare the area by vacuuming dust and cobwebs from the sill plate and rim joist so sealants stick. Wear a respirator, safety glasses, and gloves for all spray foam work.
- Fill any gaps wider than a quarter inch with backer rod or stuffed mineral wool, then caulk or foam over them to lock them in place.
- Apply a two-part closed-cell spray foam kit to the entire rim joist cavity, covering the sill plate seam and rim joist to a thickness of about 2 inches, which delivers roughly R-12 to R-13 plus a full air seal.
- Spray in several thin passes rather than one thick layer, waiting the time listed on the kit between passes so the foam cures properly and does not overheat.
- Seal around penetrations such as wires, pipes, dryer vents, and gas lines with fire-rated caulk or foam labeled for the application.
- Inspect the finished work with a flashlight, and on a cold windy day hold a stick of incense or a smoke pencil near the seam to confirm there are no remaining drafts.
- Get two or three quotes from insulation contractors who specifically list rim joist and sill plate air sealing in their scope of work.
- Ask for a blower door test before and after the job so you can measure the actual reduction in air leakage, which is often 10 to 20 percent on a whole-house basis.
- Have the contractor address any moisture, rot, or termite damage before foam goes on, since sealing in a problem can make it worse.
- Confirm the foam type, thickness, and R-value in writing, and ask whether any local utility rebates apply to the work.
Why It Works: The Benefits
Homeowners commonly report floors that feel 5 to 8 degrees warmer along exterior walls after sealing the sill plate, with the biggest difference in rooms directly above the foundation edge.
Sealing and insulating the rim joist area typically cuts total heating costs by 10 to 15 percent, which is roughly $100 to $250 per year for a home spending $1,200 to $1,800 on winter heat.
The same gap that lets in cold air also lets in dust, pollen, and basement odors. Closing it improves indoor air quality and reduces the draft you feel around baseboards and outlets on exterior walls.
A sealed sill plate blocks the easy entry points used by ants, mice, and other pests, and reduces the humid outdoor air that can condense on cold framing.
With materials costing $75 to $250 for a typical house, most homeowners recover the cost in one to two heating seasons, making this one of the best returns in home weatherization.
💰 Savings Impact by Action
Sealing the sill plate and rim joist area cuts whole-house air leakage and reduces heating loads by about 10 to 15 percent.
Adding R-10 to R-13 to the rim joist stops conductive heat loss through the thinnest part of the floor system.
Many homeowners report that most of their cold floor complaints disappear once air leaks are sealed and the edge is insulated.
Less infiltration means the furnace cycles on less often, trimming runtime by about 10 to 12 percent in leaky homes.
Sealing the lowest air entry point reduces stack effect pull and cuts perceived drafts throughout the house by as much as 40 percent.
🏠 Key Concepts Explained
The Science Behind It
Heat moves three ways: conduction, convection, and air leakage. At the sill plate, all three are working against you at once. Cold concrete and thin wood conduct heat out of your floor system quickly, while the stack effect creates a constant pull of cold air through the gaps. In winter, warm air rising out of the top of your house creates slightly lower pressure at the bottom, and outdoor air rushes in through the lowest openings to balance it. The bigger the temperature difference, the stronger the pull.
That is why a small gap does so much damage. A quarter inch crack running around a 150 foot foundation perimeter equals about 3 square feet of open area, roughly the same as leaving a window cracked open all winter. The cold air does not stay in the basement either. It rises through wall cavities, around plumbing and wiring penetrations, and into the living space, which is why your first-floor rooms feel drafty and your furnace cycles more often.
Air sealing works because it stops convection and infiltration at the source, while foam insulation in the rim joist area slows conduction through the wood. Closed-cell spray foam does both jobs in one step, delivering about R-6 to R-7 per inch and acting as an air barrier and a vapor retarder. Rigid foam board plus caulk achieves a similar result when installed carefully, with R-5 per inch for extruded polystyrene. Once the floor edge stays warm and drafts stop, the whole floor assembly warms up and the surface temperature underfoot rises noticeably.
Frequently Asked Questions
▼ Why are my floors still cold after I sealed the sill plate?
Cold floors can also come from uninsulated floor joists above an unheated crawl space or basement, or from missing insulation under a slab. After the sill plate is sealed, check for gaps in the subfloor insulation and consider adding R-19 to R-30 batts or rigid foam between the joists. A thermal camera, which many utilities loan out, can pinpoint exactly where the heat is escaping.
▼ Can renters do this without landlord permission?
Most renters cannot modify the foundation area, and in an apartment you rarely have access to it. If you rent a house with a basement, ask your landlord to authorize the work and offer to split the material cost, since the savings help both of you. In the meantime, a thick area rug with a rug pad, plus draft snakes along exterior walls, can make cold floors much more comfortable for under $60.
▼ How long before I notice savings on my heating bill?
You will feel warmer floors and fewer drafts the very first cold night. Bill savings show up on your next one or two utility statements, and most homeowners see a 10 to 15 percent drop in heating usage compared to the same month last year, adjusted for weather. Compare degree-day-adjusted usage rather than total dollars for the most accurate picture.
▼ What if my home is older than 30 years?
Older homes usually have more gaps and wider cracks at the sill plate because wood has shrunk and the foundation has settled over time. Expect to use more backer rod and foam, and check for rot or insect damage before sealing. Homes built before 1980 may also have asbestos-containing materials or old vermiculite insulation, so have a pro test suspicious materials before disturbing them.
▼ Will sealing the sill plate cause moisture or mold problems?
Properly done, it usually reduces moisture because it stops humid outdoor air from condensing on cold framing. The risk comes from sealing over existing dampness, so fix any leaks, drainage problems, or standing water first and keep the basement humidity below 50 percent. A dehumidifier and a simple hygrometer are cheap insurance.
Quick Tips
- Seal first, insulate second. Caulk or foam every seam before adding any insulation, since air leaks cause more heat loss than thin insulation does.
- Check where your dryer vent, gas line, water pipes, and electrical cables pass through the rim joist. These penetrations are common leak points that are easy to miss.
- Use fire-rated sealant around flues and chimneys, and keep combustible insulation away from any heat-producing equipment.
- Pick the coldest week of the year to inspect. Frost patches, cold spots, and drafts show up clearly, making it easy to find every problem area.
Variations for Your Situation
- Apartment/Rental: You likely cannot access the sill plate, so focus on what you control. Use a thick rug with a felt pad ($40 to $120), add removable weatherstripping around exterior doors ($10 to $20), and place draft snakes along baseboards on exterior walls. If you rent a house, offer to help your landlord with materials for the sealing project.
- Tight Budget (under $50): Skip the spray foam and use a single tube of quality caulk ($6 to $10) to seal the sill plate seam, plus a couple of cans of low-expansion foam ($5 to $8 each) for larger gaps and penetrations. Cut scrap foam board or cut-to-fit batts to cover the rim joist. You will capture the majority of the benefit for a fraction of the cost.
- Older Home (pre-1980): Expect wider gaps, uneven foundations, and possibly hidden rot. Inspect the sill plate with a screwdriver, and if the wood is soft, call a pro before sealing. Use backer rod and mineral wool for larger gaps, and consider a full professional air sealing job with before and after blower door tests to catch all the leaks in one visit.
- Crawl Space Home: If your crawl space is vented, the sill plate leak is even more severe. Consider closing the vents and conditioning the crawl space with a vapor barrier on the floor and sealed foam on the walls, which is a bigger project but can cut heating costs by 15 to 20 percent.