Every August, HVAC technicians are booked solid. Temperatures spike, air conditioners run around the clock, and systems that were limping along on deferred maintenance finally give out. The average emergency AC repair call costs between $300 and $600, and if your compressor fails, you could be looking at $1,500 or more. The frustrating part? Most breakdowns are preventable with a couple of hours of basic maintenance done before the heat arrives.
Your air conditioner is a mechanical system under real stress during summer. It moves refrigerant, circulates air through filters and coils, drains condensate water, and cycles on and off hundreds of times a day. When any one of those components is dirty, clogged, or worn, efficiency drops and the rest of the system works harder to compensate. That extra strain is exactly what pushes a borderline unit over the edge on the hottest day of the year.
This guide walks you through the specific maintenance tasks that matter most, from the quick checks any homeowner can do in 20 minutes to a thorough DIY tuneup that mimics what a pro would inspect. You’ll get real numbers on what each task saves, what warning signs to watch for, and when it’s worth calling a licensed HVAC technician instead of going it alone.
What You’ll Need
Click on an item below to shop for the recommended items for this recipe on Amazon.
As an Amazon Associate, we earn from qualifying purchases.
How to Do It
- Replace or inspect the air filter. Hold it up to a light source. If you cannot see light through it, replace it immediately. Use a MERV 8 filter for most homes. Write the date on the filter frame with a marker.
- Walk to the outdoor condenser unit and clear a 2-foot perimeter of vegetation, mulch, and debris. Remove any covers or tarps left on from winter storage, as a covered condenser will overheat within minutes of startup.
- Look through the condenser coil fins from the outside. If you can see significant matted debris, grass clippings, or cottonwood fluff packed in the fins, add the coil cleaning step from the DIY approach before running the system.
- Locate the condensate drain line, typically a white PVC pipe near the indoor air handler, and confirm it is not visibly clogged or disconnected. Pour a cup of water into the drain pan under the air handler to confirm water flows freely.
- Turn the thermostat to COOL, set it 5 degrees below the current indoor temperature, and wait 10 minutes. Confirm both the indoor fan and outdoor compressor start. Place your hand near a supply register to feel cold air within 5 minutes of startup. If the air is not cold or the outdoor unit does not start, call a technician before peak season.
- Turn off power to the outdoor unit at the disconnect box mounted on the wall near the condenser. Flip the breaker for the air handler at the main panel. Confirm power is off before touching any components.
- Remove the air filter from the indoor air handler and replace it with a new MERV 8 to MERV 11 filter. While the access panel is open, inspect the evaporator coil for visible dust buildup or frost damage. If the coil looks matted with dust, use a no-rinse evaporator coil cleaner spray and allow it to drip into the drain pan.
- Flush the condensate drain line by pouring a mixture of 1 cup of distilled white vinegar and 1 cup of water into the drain pan access port. This kills algae and prevents the clog that triggers safety shutoffs. Repeat every 60 days through cooling season.
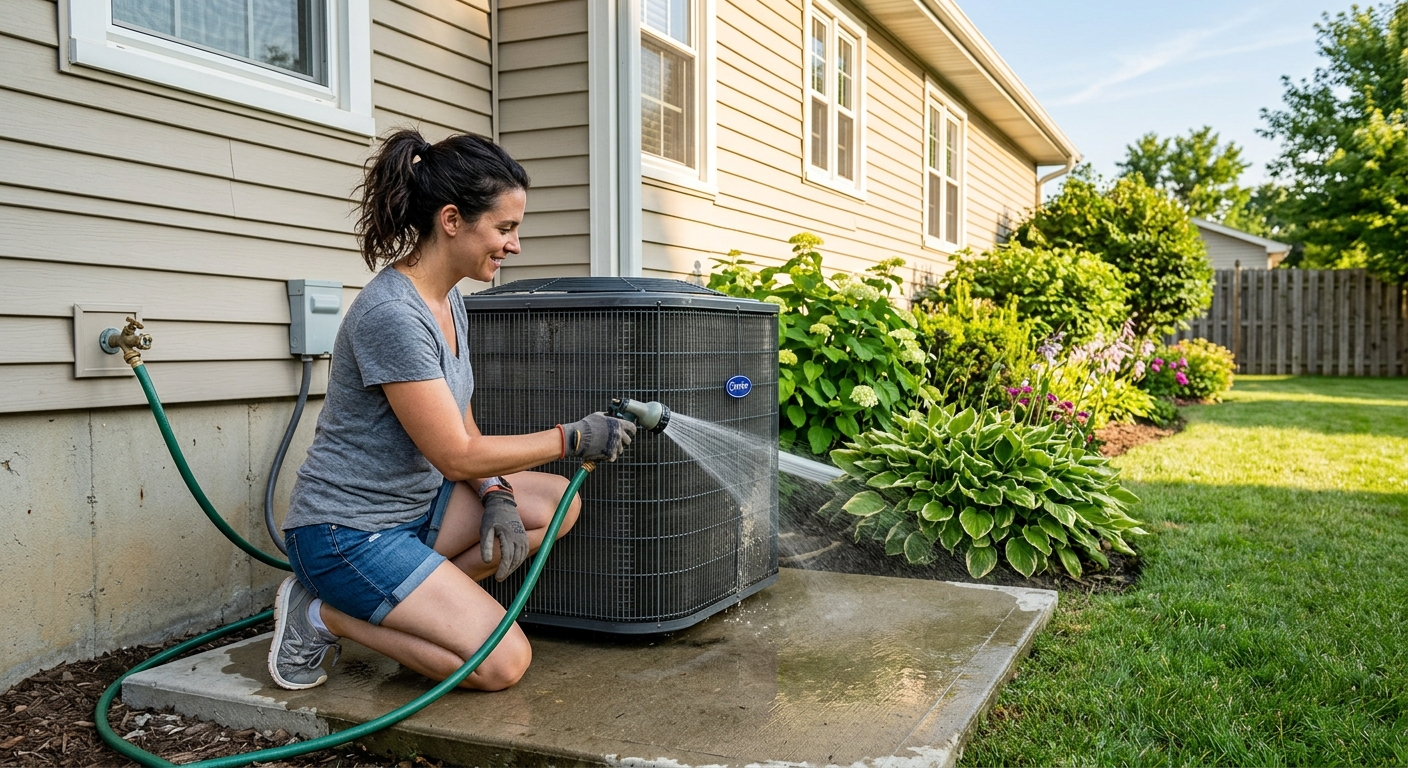
- Remove the side or top panel of the outdoor condenser (usually 4 to 6 screws). Use a garden hose on a gentle setting to rinse the condenser coils from the inside out, washing debris outward through the fins. Never use a pressure washer, which bends and crushes the aluminum fins.
- Inspect the condenser fan blades for cracks or chips and spin them by hand to confirm they rotate freely with no wobble. Check all visible wiring inside the unit for cracked insulation, rodent damage, or burn marks. If you see any of these, stop and call a licensed HVAC technician.
- Restore power, set the thermostat to COOL, and use a digital thermometer to measure supply air temperature at a register closest to the air handler. Compare it to the return air temperature at the filter. A properly charged and clean system will show a temperature difference of 16 to 22 degrees Fahrenheit. A smaller split suggests a refrigerant or airflow issue that needs professional attention.
- Call your HVAC contractor in late winter or early spring and schedule a 16-point tuneup before Memorial Day. Ask specifically whether the visit includes refrigerant level verification, capacitor testing with a multimeter, and contactor inspection.
- Before the tech arrives, clear access to the outdoor unit and the indoor air handler, and write down any symptoms you have noticed, such as longer run times, warm spots, unusual sounds, or higher bills.
- The technician will check refrigerant charge with gauges, test capacitor microfarad rating, inspect the contactor for pitting, measure amperage draw on the compressor and fan motors, and verify the temperature split across the coil.
- Ask the technician to show you the temperature split reading and the capacitor test result. A capacitor reading below 90% of its rated microfarad value is close to failure and should be replaced proactively for $20 to $60 in parts, saving a $300 service call in August.
- Request a written report of all findings and any components flagged as marginal. Use this as a baseline for next year’s inspection and to prioritize any repairs before the hottest weeks of summer.
Why It Works: The Benefits
A preventive maintenance visit or DIY tuneup costs $0 to $150. Emergency repair calls in peak season average $300 to $600 for common fixes like capacitor or contactor replacement, and compressor failures run $1,200 to $2,500. Maintenance pays for itself by preventing even one service call.
A clean, well-maintained AC runs 15 to 30% more efficiently than a neglected one. On a $200 summer electric bill, that translates to $30 to $60 per month saved during peak cooling months, often $90 to $180 over a full cooling season.
The average AC lasts 15 to 20 years with regular maintenance versus 10 to 12 years with neglect. Delaying a $15,000 to $20,000 system replacement by even three years represents thousands of dollars in deferred capital cost.
A maintained system reaches and holds your set temperature faster, with fewer long run cycles that leave the house feeling clammy or inconsistently cooled. Proper airflow also reduces hot and cold spots between rooms.
A clean evaporator coil and drain pan reduce mold and bacteria growth inside the air handler. A fresh, properly rated filter captures allergens and dust before they recirculate through your home, which matters most in summer when windows stay closed.
💰 Savings Impact by Action
Cleaning a heavily fouled condenser coil restores heat rejection capacity and can reduce compressor energy use by 10 to 25% immediately.
Replacing a clogged air filter restores proper evaporator airflow and reduces system energy consumption by 5 to 15% according to the U.S. Department of Energy.
Flushing the condensate drain prevents safety shutoffs that cause zero cooling output, avoiding comfort loss rather than generating direct energy savings.
Replacing a weak capacitor reduces hard-start current draw and motor heat, improving compressor efficiency by an estimated 5 to 8% and preventing premature failure.
A full preventive tuneup eliminates the most common mid-season failure modes, avoiding emergency service calls that cost 3 to 10 times a scheduled visit.
🏠 Key Concepts Explained
The Science Behind It
Your air conditioner works by exploiting a basic physics principle: refrigerant absorbs heat when it evaporates and releases heat when it condenses. The indoor evaporator coil gets cold as liquid refrigerant evaporates inside it, absorbing heat from your home’s air. That heat-laden refrigerant travels to the outdoor condenser coil, where a fan blows outside air across it and the refrigerant releases the heat and returns to a liquid state. The whole cycle repeats hundreds of times per day. Every maintenance task in this guide exists to protect that heat exchange process.
When the condenser coil is clogged with debris, the refrigerant cannot release heat efficiently. The system has to run at higher pressures and temperatures to do the same job, which is analogous to a car engine running without adequate cooling. The compressor, which is the heart of the system and the most expensive component, bears the brunt of that stress. Studies from the Florida Solar Energy Center found that a condenser coil with 30% fin blockage increases compressor energy consumption by 10 to 15% and measurably shortens operating life. Similarly, a dirty evaporator coil reduces heat absorption, which can cause the coil to drop below the freezing point of the moisture it collects from your air, forming ice that eventually blocks airflow entirely.
Electrical components fail because of the repeated stress of motor starts. Every time your compressor starts, it draws 3 to 5 times its normal running amperage for a fraction of a second. The run capacitor smooths that start by providing a burst of phase-shifted current to the motor windings. As capacitors age, their capacitance drops, the start becomes harder, the motor runs hotter, and winding insulation degrades. This is a slow, measurable decline that a capacitor test can catch before failure. The hottest days of summer accelerate this process because heat degrades capacitor dielectric material, which is exactly why failures cluster in late July and August rather than early June.
Frequently Asked Questions
▼ My AC turns on but blows warm air. What should I check first?
Start with the air filter. A completely blocked filter can cause the evaporator coil to freeze, which cuts off cold air even though the system is running. Replace the filter, turn the system to FAN ONLY for 30 to 60 minutes to thaw the coil, then switch back to COOL and check again. If it still blows warm, the outdoor condenser may not be running, which usually points to a failed capacitor or contactor that needs a technician.
▼ Why is my AC running all day but the house never gets cool enough?
This usually points to one of three causes: a dirty condenser coil reducing heat rejection capacity, low refrigerant charge from a slow leak, or inadequate insulation allowing more heat to enter than the system can remove. Start by cleaning the condenser coil and checking your attic insulation level. If the unit is clean and the temperature split at the registers is below 14 degrees, call an HVAC tech to check refrigerant charge.
▼ How do I know if my AC needs refrigerant?
You cannot check refrigerant yourself without EPA certification and gauges. Signs of low charge include ice forming on the refrigerant line near the indoor unit, a temperature split below 14 degrees Fahrenheit between supply and return air, and a hissing or bubbling sound near the indoor or outdoor unit. If you suspect a refrigerant issue, call a licensed HVAC technician. Adding refrigerant without finding and fixing the leak is a temporary fix that costs $150 to $300 and will need to be repeated.
▼ Can I do this maintenance if I have a heat pump instead of a central AC?
Yes, almost all of these tasks apply directly to heat pumps. The coil cleaning, filter replacement, condensate drain flush, and temperature split check are identical. The main difference is that your outdoor unit runs year-round in heating mode, so it may accumulate more debris than a seasonal AC unit. Check and clean the outdoor coil in both fall and spring if you live in a climate where you run the heat pump heavily in winter.
▼ My energy bill spiked this summer but the AC seems to be working. What is happening?
A system that is running but has degraded efficiency can drive bills up 15 to 30% without obvious comfort symptoms until the situation gets worse. The most common culprits are a dirty condenser coil, a partially clogged filter, or a capacitor that is weakening and causing the compressor to draw excess current on every start. Do the full DIY tuneup, replace the filter, and clean the condenser. If bills do not improve within 30 days, have a technician check capacitor ratings and refrigerant charge.
Quick Tips
- Set a recurring calendar reminder for May 1st every year as your AC maintenance day, before heat arrives and HVAC companies get busy.
- Keep a spare air filter in a labeled bag near the air handler so you can replace it immediately when it looks dirty, without a hardware store trip.
- Run the AC on a cool spring day for 15 minutes before you actually need it. This lets you catch startup problems without being miserable while you troubleshoot.
- Trim shrubs and plants back 18 to 24 inches from all sides of the outdoor unit. Vegetation regrows quickly in summer and can restrict airflow within weeks of a spring trim.
- If you have a high-efficiency or variable-speed system, check the manufacturer manual before applying generic maintenance advice, as some sealed systems have different access requirements and filter specifications.
Variations for Your Situation
- Apartment or Condo: Renters typically cannot access or maintain the central system, but you can replace the filter in your unit’s air handler if it has a dedicated system, and you should request this access from your landlord in writing. Focus on cleaning or replacing window AC units yourself: wash the filter monthly with warm water, vacuum the coil fins gently, and ensure the unit tilts slightly outward so condensate drains outside. A clean window AC uses 10 to 20% less electricity than a neglected one.
- Tight Budget (under $30): Prioritize the two tasks with the highest return. First, replace the air filter ($8 to $15 for a MERV 8 filter) and second, flush the condensate drain with vinegar and water (essentially free). These two steps alone prevent the majority of DIY-addressable breakdowns. Skip the coil cleaner spray for now and instead use a garden hose to rinse the outside of the condenser coil, which costs nothing and removes most surface debris.
- Older Home (pre-1990 system): Systems more than 15 years old are significantly more likely to have marginal capacitors, corroded contactors, and refrigerant leaks from aged copper line connections. The DIY visual inspection is still valuable, but invest in a professional tuneup every year rather than alternating years. Ask the technician to specifically test capacitor microfarad ratings and inspect the refrigerant line fittings at the indoor and outdoor units, as these are the failure points that cluster in older systems.