Uneven heating is one of the most common complaints homeowners have every winter, and it is also one of the most misunderstood. Most people blame the furnace, but the real culprits are almost always simpler: heat rises naturally, so upper floors accumulate warmth faster than lower ones, and small problems like blocked vents, leaky ducts, or an unbalanced system make that gap even worse. The result is a home where someone is always too hot or too cold, and your thermostat is stuck in an impossible compromise.
This matters beyond comfort. When your system works harder to maintain a single thermostat reading for a house with a 10 to 15 degree temperature split, you are burning extra fuel and shortening equipment life. According to the U.S. Department of Energy, duct leakage alone can account for 20 to 30% of heating energy loss in a typical home. Add poor insulation, stack effect airflow, and an unbalanced register system, and you have a recipe for high bills and chronic discomfort.
This post covers everything from zero-cost register adjustments you can do in the next 15 minutes to more involved upgrades like zoning systems and duct sealing. Whether you are dealing with a stuffy master bedroom upstairs or a freezing living room on the ground floor, there is a fix here that fits your budget and skill level.
What You’ll Need
Click on an item below to shop for the recommended items for this recipe on Amazon.
As an Amazon Associate, we earn from qualifying purchases.
How to Do It
- Walk every room on both floors and note which feel too warm and which feel too cold. Use a cheap indoor thermometer or your phone to record actual temperatures so you have baseline data.
- Locate the damper levers on all floor and wall supply registers. On lower-floor rooms that overheat, partially close the register damper to about 50 to 70% open. Start conservative and adjust over a few days.
- On upper-floor rooms that are too cold, confirm all registers are fully open and nothing is blocking airflow, including furniture, rugs, or curtains within 12 inches of the vent.
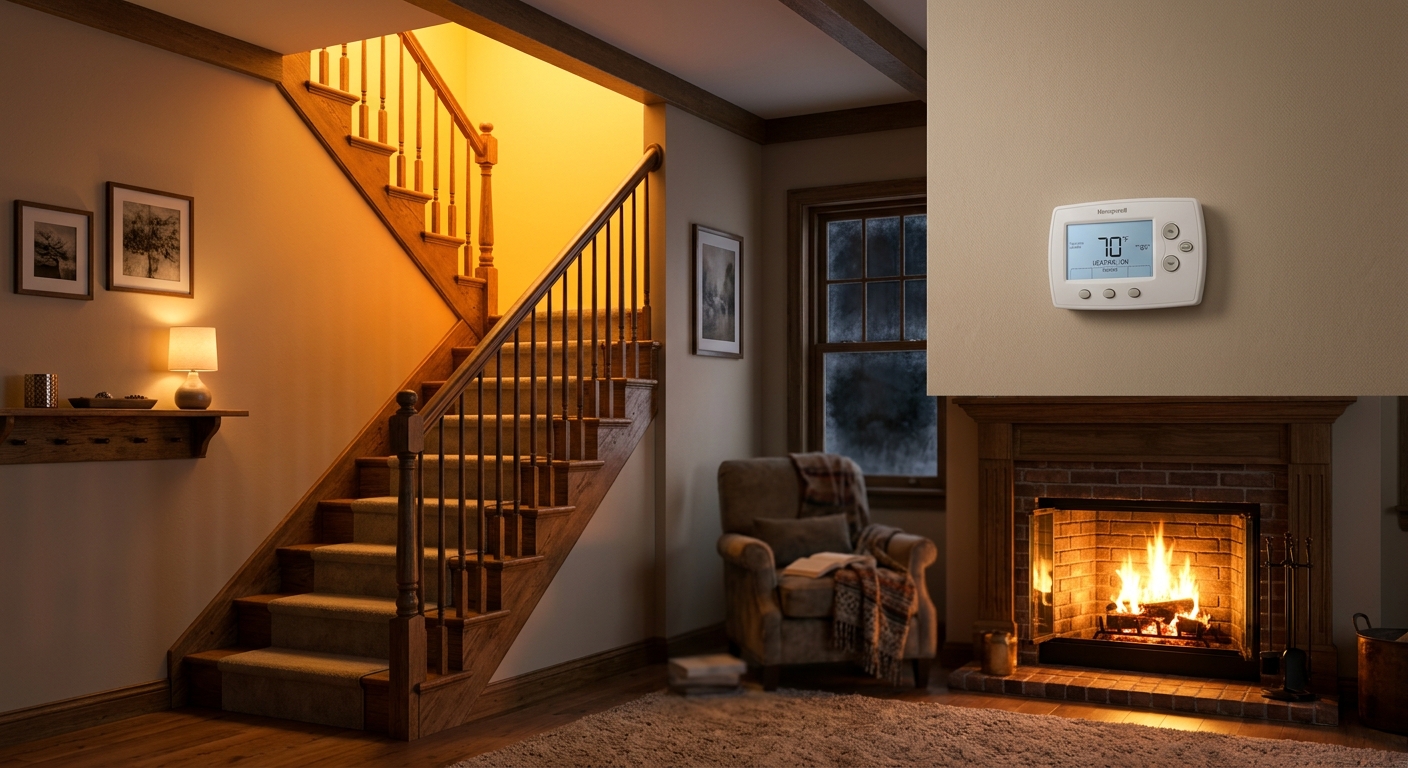
- If your thermostat is on the ground floor (most are), the upstairs will always lag behind. Move the thermostat setpoint up 2 degrees in winter so the upper floor reaches your target comfort temperature.
- Keep interior bedroom doors open or cracked as much as possible. Closed doors cut off return airflow and cause pressure imbalances that starve rooms of heat.
- Recheck temperatures after 24 to 48 hours and make small incremental adjustments to the partially closed registers until floors feel roughly even.
- Access your basement, crawl space, or attic and visually inspect all exposed duct joints and seams. Look for disconnected sections, torn flex duct, or gaps where two pieces meet. Run your hand along joints while the furnace runs to feel for air escaping.
- Purchase UL-listed foil duct tape (not standard cloth duct tape) and mastic duct sealant. Apply mastic with a disposable brush to all joints and seams on supply ducts first, then smooth foil tape over it for a durable seal. Do not use standard gray cloth tape, it fails within a year.
- Check attic insulation depth above your top-floor ceiling. The DOE recommends R-38 to R-60 in most climates (about 10 to 15 inches of blown cellulose or fiberglass). If you see less than 8 inches, adding insulation is the single highest-return fix for cold upstairs rooms.
- Inspect where ducts transition from conditioned space into unconditioned attic or crawl space. Wrap any exposed duct runs in those areas with R-8 duct wrap insulation, secured with foil tape at every seam.
- Check the attic hatch or pull-down stair cover. These are almost always uninsulated and leak significant heat. Add a pre-cut foam attic stair cover ($30 to $60) or build a simple insulated box from rigid foam board.
- After sealing, run your system for a full heating cycle and recheck room temperatures. Most homeowners see a 3 to 7 degree improvement in upper-floor rooms within the first week.
- Schedule an HVAC assessment with a licensed contractor to evaluate whether your existing ductwork can support a zoning damper system or whether a ductless mini-split is more practical for specific problem rooms.
- For homes with central ductwork, a zoning system uses motorized dampers installed inside ducts and a multi-zone thermostat or smart controller to independently manage airflow to each floor. Typical installed cost is $2,000 to $4,000 for a two-zone system.
- For rooms without duct access or additions, a single-zone ductless mini-split ($1,500 to $2,500 installed) allows precise temperature control for one floor or room without modifying existing ductwork.
- After installation, work with your HVAC technician to set independent temperature schedules for each zone. A common strategy is to keep upstairs 2 to 3 degrees cooler during the day and warmer at night when bedrooms are occupied.
- Register the system for available utility rebates and federal tax credits. The Inflation Reduction Act provides a 30% tax credit (up to $2,000) for qualified heat pump systems, and many utilities offer $200 to $600 in additional rebates.
Why It Works: The Benefits
Balancing airflow and sealing ducts can reduce heating energy use by 15 to 30%, translating to $150 to $400 per year in savings for a typical 2,000 square foot home depending on fuel type and local rates.
Properly balanced homes maintain floor-to-floor temperature differences of 2 degrees or less, compared to the 8 to 15 degree splits common in unbalanced homes.
When heat reaches all zones efficiently, the furnace cycles less often, reducing wear and potentially extending equipment life by several years.
Sealing duct leaks reduces the amount of attic dust, insulation fibers, and outdoor allergens pulled into your living spaces through gaps in the return system.
With temperatures within 2 to 3 degrees across floors, every member of the household can be comfortable at a single setpoint, eliminating the constant thermostat adjustments that quietly waste energy.
💰 Savings Impact by Action
Sealing accessible supply and return duct leaks reduces conditioned air loss by up to 25%, with the biggest gains in homes built before 1990.
Partially closing lower-floor registers redirects airflow to upper floors, reducing the furnace run time needed to satisfy the thermostat by roughly 8%.
Upgrading attic insulation to R-38 or higher reduces heat loss through the top-floor ceiling by 15 to 25%, directly cutting upper-floor heating demand.
A two-zone HVAC system with independent thermostats eliminates over-conditioning unoccupied floors, saving 10 to 20% annually on total heating costs.
Running ceiling fans in reverse (clockwise) on low speed redistributes stratified warm air and can reduce heating energy use by 5 to 8% in rooms with high ceilings.
🏠 Key Concepts Explained
The Science Behind It
The physics of uneven heating come down to two forces working against you simultaneously. First, warm air is less dense than cool air, so it rises and pools near ceilings and upper floors. This is the stack effect, and it is always present in multi-story homes. In winter, warm air generated by your furnace rises through stairwells, open hallways, and even small gaps in the floor structure, concentrating on the upper level. Meanwhile, cold air settles on lower floors. This natural stratification creates a persistent temperature gradient that your HVAC system has to fight constantly.
Second, forced-air systems are designed to distribute air by pressure, and pressure is easily disrupted. Every bend in a duct run, every poorly sealed joint, and every partially blocked register changes how much air reaches a given room. Upper floors are typically at the end of long duct runs, meaning they already receive lower pressure than lower-floor registers closer to the furnace. When ducts also leak in the basement or crawl space, that lost air never makes it upstairs at all. A system that looks fine on paper, a properly sized furnace and adequate registers, can still deliver 40% less airflow to upper rooms simply because of duct losses.
Return air is the underappreciated half of the system. For every cubic foot of conditioned air your furnace pushes into a room, one cubic foot of room air needs to return to the furnace. Upper floors in older homes often have only one central return, which means closed bedroom doors create a high-pressure zone that physically prevents the supply register from pushing more air into the room. Cutting a 2-inch gap under bedroom doors or installing a transfer grille in the wall costs almost nothing and can improve airflow by 20 to 30% in affected rooms, making it one of the highest-return DIY moves available.
Frequently Asked Questions
▼ Why is my upstairs still too hot in winter even with the registers partially closed?
If closing lower-floor registers has not resolved the imbalance after 48 hours of adjustment, heat is likely entering your upper floor through the building envelope rather than the HVAC system. Check for air leaks around recessed lights, attic hatches, and where interior walls meet the ceiling. Sealing these bypasses with caulk or foam can reduce unwanted heat transfer by up to 15%.
▼ My upstairs bedroom is cold even though the vent is blowing warm air. What is wrong?
This is almost always a return air problem. Close the bedroom door and hold a tissue near the bottom. If the tissue barely moves, the room is pressurized and starving itself of fresh supply air. Try keeping the door open or trim the bottom of the door to create a 0.75 to 1 inch gap for air to return. If that is not an option, a contractor can install a small transfer grille above the door for about $100 to $200.
▼ How long before I see savings on my energy bill after sealing ducts?
You should see the change in your first full billing cycle after the work, typically 30 to 45 days. Duct sealing that eliminates 15 to 20% leakage in a home spending $150 per month on heating can show a $20 to $40 monthly reduction almost immediately. The full benefit is clearest in your first complete heating season compared to the previous year.
▼ Is this problem worse in older homes?
Yes, significantly. Homes built before 1985 typically have duct systems with no mastic sealing, minimal duct insulation, and far fewer return air pathways than current standards require. They also tend to have less attic insulation and more air infiltration through the building envelope. The good news is that older homes have more room for improvement, and duct sealing alone in a pre-1980 home often delivers 25 to 35% heating savings.
▼ Can I fix this without touching the ducts at all?
For many homes, yes. Register balancing, ceiling fan adjustments, keeping doors open, and raising the thermostat setpoint by 2 to 3 degrees can reduce floor-to-floor temperature differences by 4 to 6 degrees without any physical changes to the system. A smart thermostat with a remote sensor in the coldest room is the most powerful no-ductwork fix available and costs $150 to $250 installed.
Quick Tips
- Run your furnace fan on continuous mode (not auto) in winter. Constant circulation prevents warm air from stratifying at the ceiling and keeps floor-to-ceiling temperature differences under 3 degrees, compared to 8 to 10 degrees in auto mode.
- In rooms that are chronically cold, check that the register is not covered by furniture or that the damper inside has not been accidentally closed by a previous owner. A fully closed register is the most common cause of a single cold room.
- If you have a two-story home with a single thermostat on the first floor, place a small wireless temperature display upstairs so you can see the actual temperature difference and make informed adjustments.
- Ceiling fans set to their low winter setting (clockwise rotation when viewed from below) push warm ceiling air back down along the walls, reducing stratification by 2 to 4 degrees without any ductwork changes.
Variations for Your Situation
- Apartment or Rental: Renters cannot modify ductwork or add zoning, but register balancing and ceiling fan adjustments are always permitted. Add a plug-in electric space heater (1,500 watts, under $40) to cold rooms as a targeted fix rather than overheating common areas. A smart power strip lets you schedule it automatically. Ask your landlord in writing about attic insulation deficiencies since inadequate insulation is a habitability issue in many jurisdictions.
- Tight Budget (Under $50): Start with register balancing and door gap adjustments at zero cost, then spend $15 on a roll of foil duct tape to seal any accessible duct joints in your basement or crawl space. A $25 wireless thermometer lets you verify which rooms need the most attention. A $10 foam weatherstrip kit applied around the attic hatch stops a surprising amount of heat loss for very little investment.
- Older Home (Pre-1980): Prioritize duct sealing and attic insulation above all else since these homes lose two to three times more heated air than newer construction. A professional duct blaster test ($300 to $500) will quantify your losses and identify the worst leaks before you spend money on fixes. Budget $800 to $1,500 for a professional duct sealing job in an older home with complex ductwork, the payback period is typically under 2 years in cold climates.