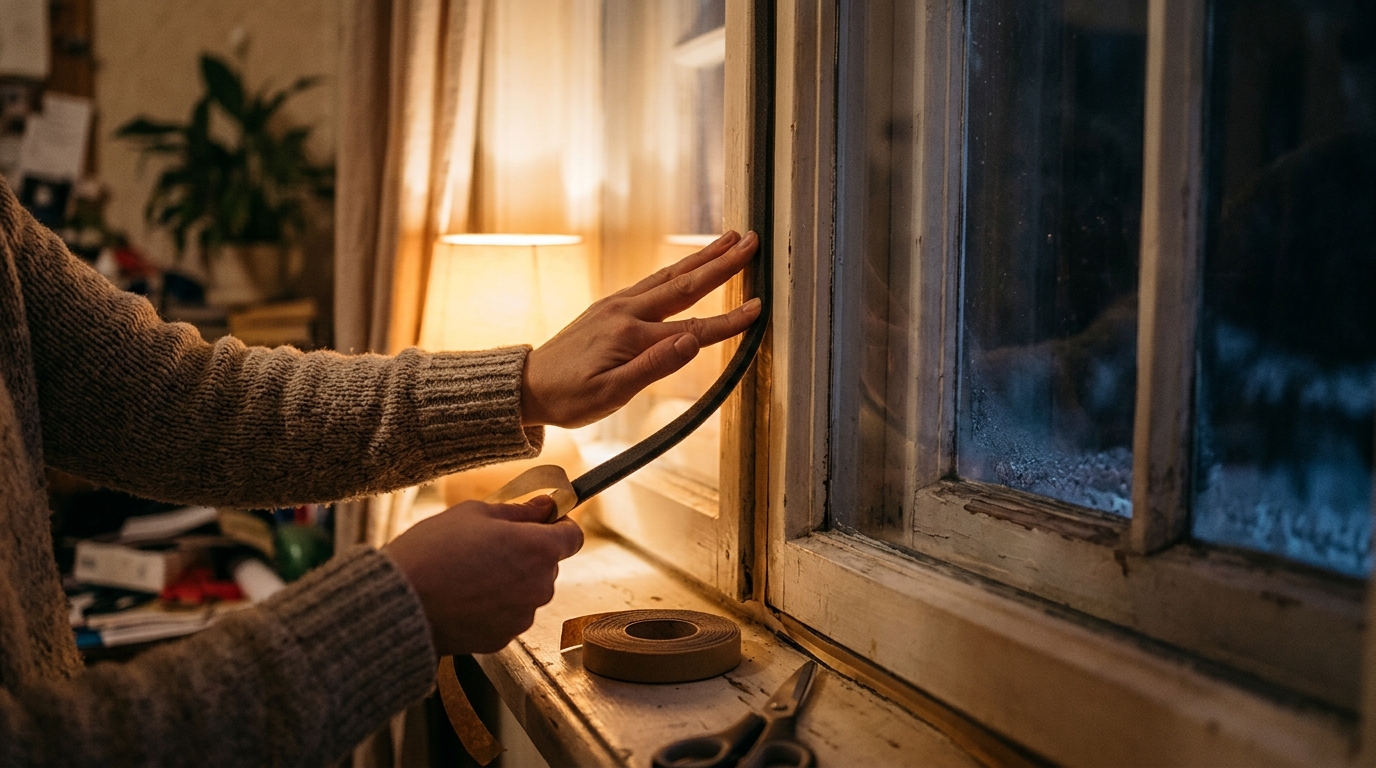
Air leaks around doors and windows are one of the biggest sources of wasted heat in a typical home. The Department of Energy estimates that air sealing can cut heating and cooling costs by an average of 15 percent, and the gaps around exterior doors and operable windows are usually the easiest to find and fix. When a cold front pushes outdoor temperatures down 20 or 30 degrees in a few hours, those gaps stop being a minor annoyance and start pulling serious heat out of your home.
The good news is that you do not need a weekend, a contractor, or a big budget. A gap as small as 1/8 inch along the bottom of a door adds up to the same airflow as a hole several inches wide in your wall. Closing it can make a room feel several degrees warmer almost immediately, because you stop the cold draft that chills your feet and tricks you into cranking the thermostat.
This post walks you through a true last-minute approach you can finish before dinner, plus a more durable DIY upgrade for when you have a little more time. You will learn how to find the leaks fast, which materials actually work, and how to avoid the common mistakes that make cheap weatherstripping fail within a season.
What You’ll Need
Click on an item below to shop for the recommended items for this recipe on Amazon.
As an Amazon Associate, we earn from qualifying purchases.
How to Do It
- Find the leaks first. On a windy evening, hold a lit incense stick or a strip of tissue paper near the edges of each exterior door and window. Wherever the smoke wavers or the tissue flutters, you have a leak. Mark each spot with painter’s tape.
- Clean the surfaces. Wipe the door frame or window sash where the weatherstripping will stick using a rag and rubbing alcohol. Adhesive will not hold on dust, grease, or moisture, so let it dry fully.
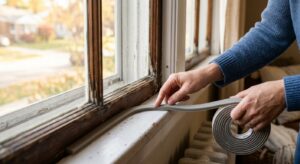
- Apply adhesive-backed foam tape around the door jamb or window sash. Measure each strip, cut it slightly long, and press it firmly into place so it compresses a little when the door or window closes. Choose a thickness that lets you still latch the door without force.
- Install a door sweep or draft stopper along the bottom of any exterior door that shows light or feels cold at the threshold. A stick-on sweep takes about five minutes and blocks the largest gap in most homes.
- Add rope caulk to any old window you do not plan to open this winter. Press the putty-like strip into the gap between the sash and frame to create an instant, removable seal.
- Test your work by repeating the incense or tissue check. Re-press any spots that still leak.
- Remove old, compressed, or cracked weatherstripping. Scrape off any leftover adhesive with a putty knife and clean the surface so the new material seats properly.
- Install V-strip (tension seal) along the sides of double-hung windows and the door jamb. Cut it to length, then nail or staple it in place with the open side of the V facing the outside, where air pushes against it.
- Replace the door bottom with a screw-on sweep or a door shoe with a vinyl seal. Cut it to width with a hacksaw, hold it against the door so it just touches the threshold, and mark the screw holes.
- Add a door threshold with an adjustable insert if daylight shows under the door. Turn the adjusting screws until the seal just touches the door bottom without dragging.
- Seal stationary gaps around window trim and where the frame meets the wall using paintable acrylic latex caulk, rated for the temperature range in your climate. Cut the tip small and tool the bead smooth with a wet finger.
- Check the strike plate and latch. If the door does not pull tight against the new weatherstripping, adjust the strike plate position slightly so the door compresses the seal fully.
Why It Works: The Benefits
Sealing door and window leaks can trim heating costs by roughly 5 to 15 percent, which is about $60 to $200 per year for a home spending $1,200 annually on heat.
Eliminating drafts can make a room feel 3 to 5 degrees warmer at the same thermostat setting, so you can often lower the setpoint a degree or two without noticing.
Most weatherstripping materials cost $5 to $40 per door or window, so the project typically pays for itself within one or two cold months.
The same gaps that let in cold air also let in dust, pollen, and street noise. Sealing them quiets the room and keeps it cleaner.
When your system does not have to keep replacing leaked air, it cycles less often, which reduces wear and extends equipment life.
💰 Savings Impact by Action
Adding a sweep and jamb weatherstripping can cut door-related heat loss by 10 to 15 percent in a leaky home.
Rope caulk or V-strip on leaky sashes can reduce window air leakage by up to 10 percent of total heating load.
The DOE estimates that comprehensive air sealing saves an average of 15 percent on heating and cooling costs.
Warmer-feeling rooms let you lower the thermostat 1 to 2 degrees, saving roughly 1 percent per degree over time.
🏠 Key Concepts Explained
The Science Behind It
Heat moves three ways: conduction, convection, and radiation. Weatherstripping tackles convection, the movement of air carrying heat with it. When it is cold outside and warm inside, a pressure difference forms across your home’s walls. Warm indoor air rises and leaks out near the top of the house, which lowers the pressure near the bottom and pulls cold air in through any opening it can find. This is the stack effect, and it gets stronger as the temperature difference grows.
Wind adds a second force. When wind hits one side of your home it creates higher pressure on the windward side and lower pressure on the leeward side, pushing air through gaps in one wall and out the other. Together, stack effect and wind can turn a 1/8 inch crack under a door into a significant, continuous flow of cold air. Because your furnace has to heat all of that incoming air from outdoor temperature to indoor temperature, leaks increase heating load much more than their small size suggests.
Weatherstripping works by eliminating the pathway rather than adding insulation. A compressed foam or rubber seal fills the gap completely, so air has nothing to flow through. This is also why materials matter: a seal that does not compress enough leaves a micro-gap, while one that stays compressed for years loses its springiness and stops sealing. That is why durable options like V-strip and silicone bulb seals outlast cheap foam tape.
Frequently Asked Questions
▼ Why does my door still feel drafty after I added weatherstripping?
The most common cause is a gap at the bottom or in the corners that the new material did not cover. Check for light under the door, test again with a tissue or incense stick, and add or adjust a door sweep. If the door does not close tightly against the stripping, adjust the strike plate so the latch pulls the door firmly into the seal.
▼ Can renters do this without landlord permission?
Yes, most of it. Removable options like rope caulk, plug-in-style draft stoppers, removable foam tape, and a stick-on door sweep leave no permanent marks. Avoid drilling, screwing, or using permanent caulk on trim, and peel everything off gently when you move out.
▼ How long before I actually notice savings on my bill?
You will feel the difference in comfort the same night. The savings show up on your next one or two bills, and the change is clearest if you compare heating degree days month to month. A typical home sees a 5 to 15 percent drop in heating use, so a $150 winter bill might drop by $8 to $22 per month.
▼ What if my home is older than 30 years?
Older homes usually leak more, so you will likely see bigger gains. Expect to deal with out-of-square doors and wavy window frames, which may need thicker or adjustable weatherstripping. If you find rotted wood or large gaps, repair those first, since weatherstripping cannot seal a damaged frame.
▼ Will weatherstripping make my house too airtight?
For most homes, no. Typical leaky houses lose far more air than they need for ventilation, and sealing doors and windows alone rarely tightens a house to a risky level. Just keep combustion appliances properly vented, run bathroom and kitchen fans, and keep your carbon monoxide detectors working.
Quick Tips
- Do your leak check on the windiest part of the day or use a box fan pulled against a window to exaggerate pressure differences and reveal hidden gaps.
- Seal the lowest and windward doors and windows first, since they usually leak the most air during a cold front.
- Close curtains or blinds after dark and open them on sunny days to add a little extra insulation without any cost.
- Replace weatherstripping every few years, and press down on it with your thumb: if it does not spring back, it is time for fresh material.
Variations for Your Situation
- Apartment/Rental: Stick to removable products like rope caulk ($5 to $8 per roll), a stick-on door sweep ($10 to $15), and removable foam tape ($6 to $10). Add a window insulation film kit ($15 to $25 for several windows) that uses double-sided tape and a hair dryer to shrink the film tight. Nothing needs drilling, and it all peels off at move-out.
- Tight Budget (under $50): Start with a rolled towel or a sewn fabric draft snake at the base of each exterior door (free to $5), then add one roll of foam tape ($6 to $10) for your leakiest window. Use rope caulk ($5 to $8) on any window you will not open this winter. This gets you most of the benefit for the lowest cost.
- Older Home (pre-1980): Expect warped frames and larger, uneven gaps, so choose thicker foam, tubular rubber, or adjustable door thresholds that can follow irregular surfaces. Inspect window sash cords, putty, and trim for rot before sealing, and consider storm windows or interior window inserts ($30 to $80 per window) for single-pane glass, which loses far more heat than the gaps alone.