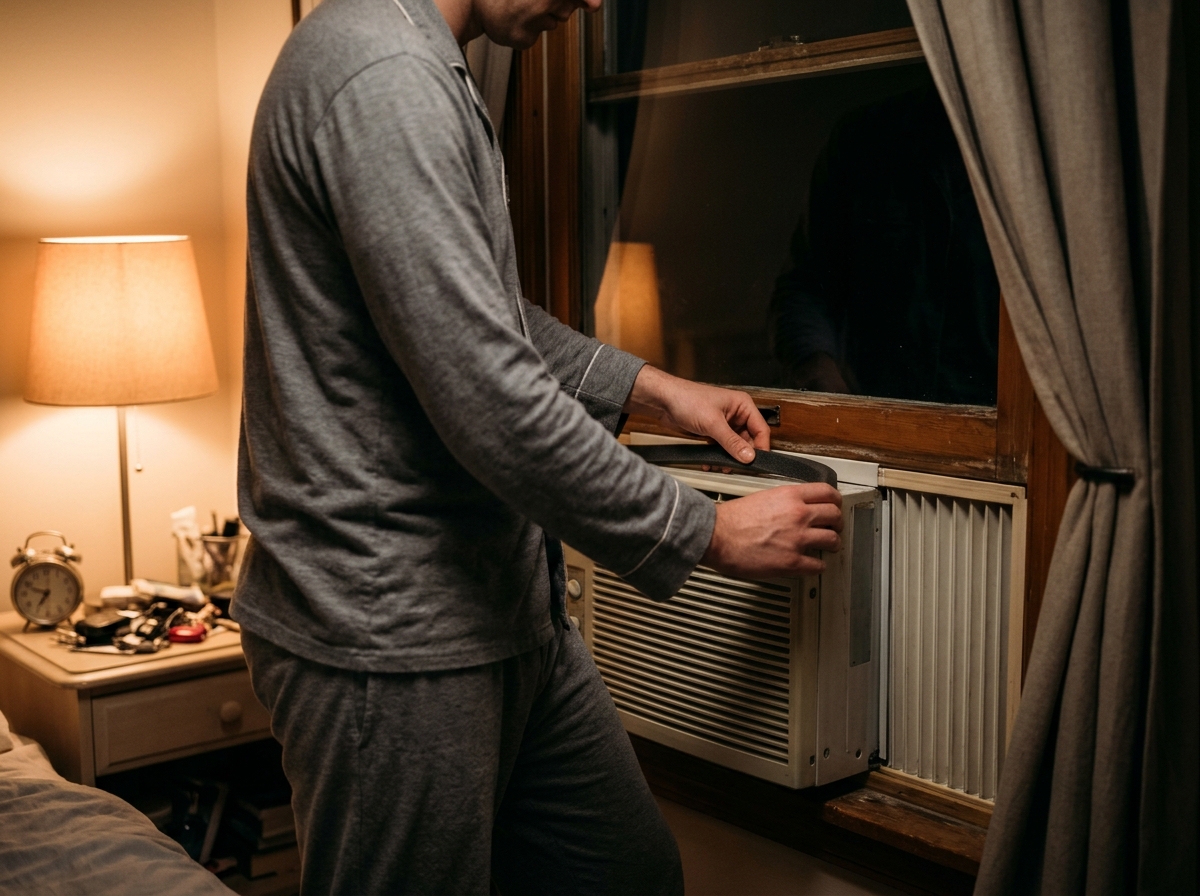
You finally get the bedroom cool, crawl into bed, and then it starts: a metallic buzz, a rhythmic tick, or a deep rumble that seems to get louder the moment the room goes quiet. A noisy window air conditioner is one of the most common summer complaints, and it often leads people to turn the unit off and suffer through a hot night rather than deal with the racket.
The good news is that most window AC noise is not mechanical failure. It comes from vibration transferring into the window frame, loose side panels, a unit that is not tilted or supported correctly, or a fan blade rubbing against debris or a buildup of dust. Because a window frame acts like a speaker cabinet, even small vibrations get amplified into something that sounds far worse than it is.
This post walks through two approaches: a 15-minute quick fix that costs almost nothing, and a more thorough DIY upgrade that tackles vibration at the source. You will also learn why fixing the rattle often improves cooling efficiency, since a loose, poorly sealed unit leaks conditioned air and works harder than it should.
What You’ll Need
Click on an item below to shop for the recommended items for this recipe on Amazon.
As an Amazon Associate, we earn from qualifying purchases.
How to Do It
- Turn off and unplug the unit, then press firmly on each part of the cabinet and front grille to find where the rattle comes from. Run it briefly to confirm whether the noise changes as you press.
- Check the accordion side panels. Push them fully into the window track and make sure any locking screws or clips are tightened so they sit flat without bowing.
- Look at where the unit meets the window sash and frame. Slide folded cardboard, a rolled towel, or foam weatherstripping into any metal-on-wood or metal-on-glass contact points to stop direct vibration transfer.
- Tighten any visible screws on the front grille, cabinet, and mounting bracket with a screwdriver. Loose screws are a very common source of buzzing.
- Confirm the unit tilts slightly outward, about 1/4 inch. Use a small level and shim the back or bottom if needed.
- Run the unit and listen. If the noise remains, note whether it is a hum, a tick, or a rumble, which helps you decide on the next approach.
- Unplug the unit and, with a helper, carefully remove it from the window. Window units are heavy, often 50 to 80 pounds, so never try to lift one alone, especially above the ground floor.
- Wipe down the fan blades, shroud, and coils with a soft brush and a damp cloth. Remove any debris and check that the fan spins freely by hand. Clean the filter and let it dry.
- Apply self-adhesive foam weatherstripping or closed-cell foam tape along every surface where the unit rests against the window sill, sash, and side tracks. This creates a vibration-damping barrier.
- Place a rubber vibration-damping pad or thick foam strip under the unit’s rear support or bracket so the metal never sits directly on the sill.
- Reinstall the unit, extend the accordion panels, and seal remaining gaps with foam sealing strips or removable rope caulk. Secure with the manufacturer’s support bracket or an L-bracket screwed to the sill.
- Run the unit for 10 to 15 minutes on high, then low, listening for remaining noise. Adjust foam or panel placement as needed.
Why It Works: The Benefits
Reducing vibration contact and loose panels can drop perceived noise noticeably, often cutting a loud rattle to a normal low hum that fades into the background.
Sealing gaps around the unit can cut cooling losses by 5 to 15%, because the compressor no longer fights infiltrating warm air.
Constant vibration loosens fasteners and stresses refrigerant lines. A stable, properly supported unit is less likely to develop leaks or mounting failures over time.
A clean fan and well-sealed installation improve airflow and heat exchange, so the room reaches your set temperature faster.
Properly supporting the unit reduces the risk of it shifting or falling, which matters most on upper floors.
💰 Savings Impact by Action
Sealing gaps around the unit stops warm air infiltration and can reduce cooling losses by roughly 5 to 15%.
Removing dust from the fan and coils restores airflow and can improve efficiency by up to 10%.
Correct tilt prevents water pooling and noise, keeping the unit running as designed.
A secure, supported unit avoids shifting that opens new gaps and wastes cooled air.
🏠 Key Concepts Explained
The Science Behind It
Most of the noise from a window air conditioner is structure-borne, meaning vibration travels through solid materials rather than only through the air. The compressor and fan motor generate steady vibrations, and when the unit sits rigidly against a window frame, those vibrations are passed along into a large, thin surface that radiates sound efficiently. A window sash behaves a lot like the soundboard of a guitar, turning a small mechanical hum into a room-filling drone.
Foam, rubber, and weatherstripping work because they are damping materials. They absorb vibration energy and convert it into tiny amounts of heat instead of passing it along, and they break the rigid connection between the noisy component and the resonant surface. This is the same principle used in washing machine pads and car engine mounts.
The energy benefits come from the sealing side of the job. Gaps around a poorly installed unit let warm outdoor air leak in and cool indoor air escape, increasing the cooling load. The DOE notes that air leakage can account for a meaningful share of heating and cooling energy use, so tightening the seal around the unit lets the compressor reach the setpoint and cycle off sooner, saving electricity while also reducing how often the noisy parts run.
Frequently Asked Questions
▼ Why is my window AC still rattling after I tightened everything?
The vibration is probably transferring into the window glass or sash rather than coming from a loose screw. Add closed-cell foam tape between the unit and every part of the window it touches, especially the glass and sill. If the sound is still there, the fan blade may be out of balance or bent, which is a job for a technician.
▼ Can renters fix a noisy window AC without damaging the window?
Yes. Foam weatherstripping, rope caulk, rubber pads, and a freestanding support bracket are all removable and leave no marks. Avoid screwing into the sill or frame, and use adhesive foam that peels off cleanly.
▼ Is a rattling AC a sign it is about to fail?
Usually not. Most rattles come from loose mounting, panels, or vibration transfer, not internal failure. Worry if you hear grinding, loud squealing, or a clicking that does not stop, or if the unit stops cooling or trips the breaker.
▼ How long before I notice the savings on my bill?
You will notice the quiet right away. Energy savings from better sealing show up over a month or two of cooling bills, and typically amount to a few dollars a month for a single room unit, which easily covers the cost of foam and tape within one season.
▼ What if my window AC is more than 10 years old?
Older units tend to rattle more because of worn mounts and less efficient fans, but the same fixes apply. If it is also noisy and inefficient, compare the cost of repair to a new ENERGY STAR model, which can use about 10% less energy than standard new units.
Quick Tips
- Clean the filter every two to four weeks during heavy use. A clogged filter strains the fan and can add whining or whistling noises.
- Test for the noise source by gently pressing on different parts of the cabinet while the unit runs. If pressing stops the rattle, you have found the loose component.
- Use removable foam and rope caulk rather than permanent sealants so you can take the unit out easily in fall.
- If you are shopping for a new unit, look at the decibel rating, and choose a model rated under about 55 dB for bedrooms. Many ENERGY STAR models are also quieter.
Variations for Your Situation
- Apartment/Rental: Stick to removable fixes, including adhesive foam weatherstripping, rope caulk, and a rubber vibration pad, for about $15 to $30 total. Avoid drilling into the sill and use a freestanding support bracket instead so you protect your deposit.
- Tight Budget (under $50): Use folded cardboard, a rolled towel, or old foam from packaging to isolate contact points, and tighten all screws for free. A single roll of foam tape at roughly $5 to $10 covers most remaining gaps.
- Older Home (pre-1980): Older wood windows are often loose and more resonant, so use thicker foam and consider a support bracket to take weight off the sash. Check that the sill is sound and not rotted before relying on it to support an 60-pound unit.
- Bedroom Use: Prioritize damping at the glass and sash, and choose a low-fan setting at night. Placing the unit’s controls on medium rather than high can lower noise by several decibels.