If your energy bills seem higher than they should be, there is a good chance your home is quietly leaking conditioned air through gaps you cannot see. The U.S. Department of Energy estimates that air leakage accounts for 25 to 40 percent of the energy used for heating and cooling in a typical home. Outlets, recessed lights, attic hatches, window frames, and the joint where the wall meets the foundation are all common culprits.
The trouble is that leaks are hard to find at noon. In the middle of the day, indoor and outdoor temperatures are often similar, the sun is warming exterior walls unevenly, and household activity stirs up air currents that mask what is really happening. Run a leak test after dark and the picture changes completely. Outdoor temperatures drop, the gap between inside and outside widens, and every crack starts to tell on itself.
This post explains why night is the ideal time for a DIY thermal leak test, walks you through two approaches (a free quick check and a more thorough DIY inspection), and shows you what to fix first so you get the most savings for the least money.
What You’ll Need
Click on an item below to shop for the recommended items for this recipe on Amazon.
As an Amazon Associate, we earn from qualifying purchases.
How to Do It
- Wait until at least two hours after sunset so exterior walls have shed daytime heat. Turn off the furnace or AC, and shut off bathroom and kitchen exhaust fans, so air movement is minimal.
- Close all windows, exterior doors, fireplace dampers, and attic hatches. Turn off ceiling fans.
- Light a stick of incense or a candle and slowly move it around window frames, exterior door edges, baseboards, electrical outlets, and recessed light fixtures. Keep it a few inches from the surface and away from curtains.
- Watch for flickering flames or smoke that bends sideways or gets pulled toward a gap. Mark each spot with a piece of painter’s tape so you can find it later.
- Use the back of your hand to feel along trim, switch plates, and the base of exterior walls for cool drafts. Your hand is surprisingly sensitive to air movement of just one or two degrees.
- Write down every marked location and rank them by size of the draft so you can fix the worst ones first.
- Wait until two to three hours after sunset and set your thermostat to heat the house to at least 68 degrees, so the temperature gap with the outdoors is as large as possible. Aim for outdoor temperatures below 45 degrees.
- Create negative pressure inside the house: close all windows and exterior doors, then turn on the kitchen range hood and all bathroom exhaust fans for 10 to 15 minutes. This pulls outside air through leaks and makes them much stronger and easier to detect.
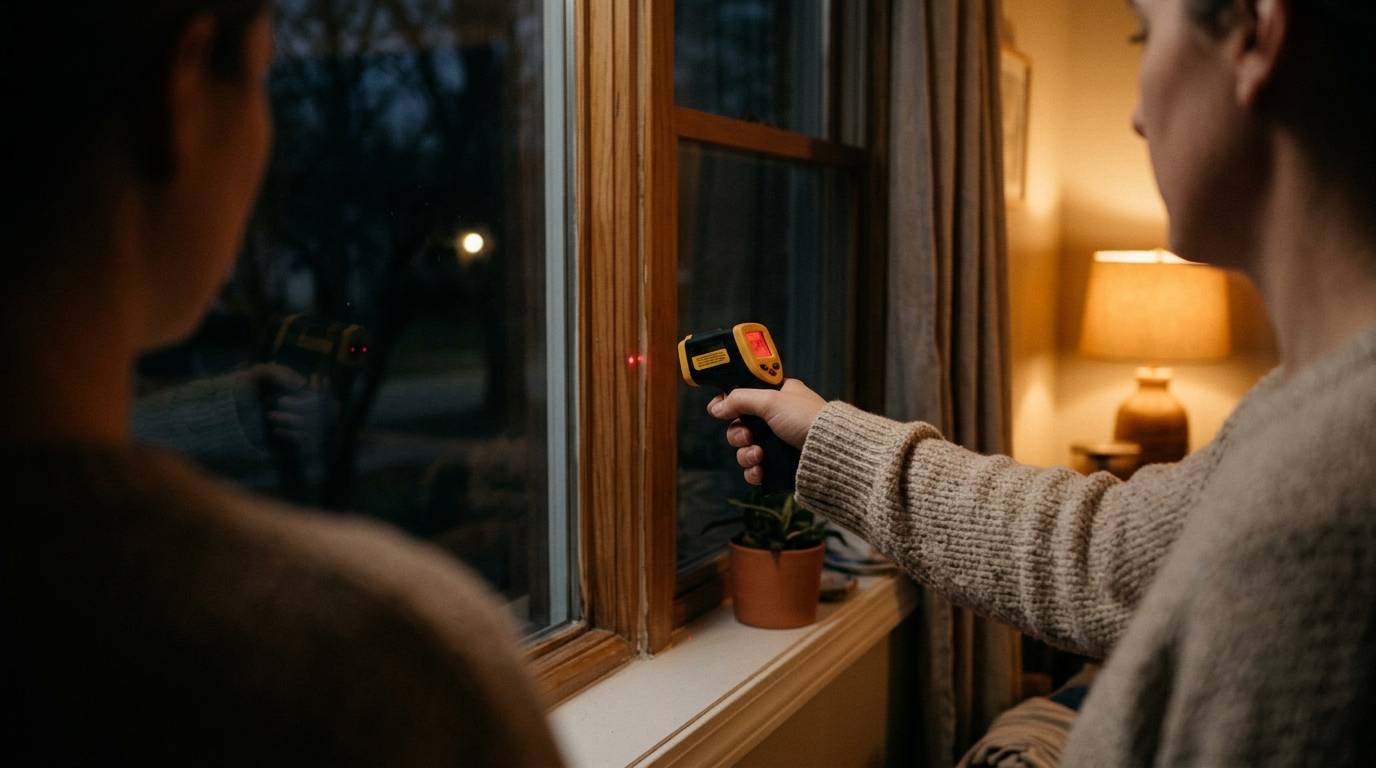
- Scan interior surfaces with an infrared thermometer, comparing readings across walls, ceilings, window frames, and outlets. A reading that is 3 or more degrees colder than the surrounding wall suggests a leak or insulation void.
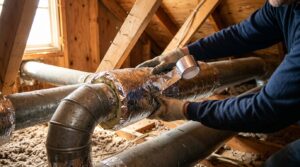
- Check the high-risk areas in order: attic hatch, recessed lights, window and door trim, the rim joist or sill plate in the basement, plumbing and wire penetrations, and the wall behind electrical outlets on exterior walls.
- Take photos of any thermal camera images or write down temperature readings, and mark each problem spot with tape. Group them by repair type: caulk, weatherstripping, spray foam, or insulation.
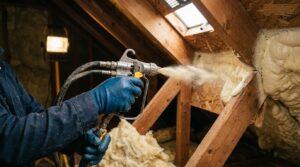
- Repair the findings: use caulk for gaps under a quarter inch, expanding foam for larger gaps, foam gaskets behind outlet covers, and weatherstripping on doors and operable windows. Retest the same night or the following evening to confirm the leaks are sealed.
- Hire a BPI-certified or RESNET-certified auditor. Ask whether they perform a calibrated blower door test and thermal imaging in the same visit.
- Schedule the audit for an evening or early morning when the indoor and outdoor temperature gap is large, since this is when thermal imaging gives the clearest results.
- Let the auditor depressurize the house and scan with an infrared camera while the blower door is running. They will measure your total air leakage in CFM50 and ACH50 so you have a baseline number.
- Review the written report, which prioritizes repairs by cost and estimated savings, and decide which items to tackle yourself and which to hire out.
- After repairs, ask for a follow-up blower door test to verify the improvement and, if needed, to document results for rebates or tax credits.
Why It Works: The Benefits
Sealing the leaks you find can reduce energy use by 10 to 20 percent, according to ENERGY STAR. For a household spending $2,000 a year on heating and cooling, that is $200 to $400 in annual savings.
Fixing drafts eliminates cold spots near windows and outlets and reduces the temperature swings between rooms. Most homeowners notice the difference within a day of sealing the worst offenders.
Uncontrolled air leaks carry humid air into wall cavities and attics, where it can condense and feed mold. Sealing them keeps indoor humidity steadier and protects your insulation from getting damp.
A leak test shows you exactly where to spend money. Instead of re-insulating the entire attic, you may find that a few dollars of caulk and foam on specific gaps deliver most of the savings.
When your furnace or AC does not have to fight constant leakage, it cycles less often. That can extend equipment life and reduce wear on blower motors and compressors.
💰 Savings Impact by Action
Sealing the leaks found during a thermal test typically reduces heating and cooling energy use by 10 to 20 percent.
Adding weatherstripping and a rigid foam cover to the attic hatch can cut stack-effect losses by up to 5 percent of total energy use.
Caulking and weatherstripping around windows and doors saves 5 to 10 percent on annual heating and cooling costs.
Sealing and insulating the rim joist reduces basement air leakage and can save 4 to 8 percent of total energy use.
Foam gaskets and caulk around outlets, pipes, and wires on exterior walls save 2 to 4 percent by stopping small but constant leaks.
🏠 Key Concepts Explained
The Science Behind It
Air leaks are driven by pressure differences, and those differences come from three sources: wind, the stack effect, and mechanical equipment like exhaust fans. On a cold night, warm indoor air is lighter than cold outdoor air, so it rises and escapes through the upper part of the house while cold air is drawn in through gaps lower down. The bigger the temperature difference, the stronger this pressure becomes. That is why a leak that is barely noticeable on a mild afternoon can feel like an open window at midnight in January.
Heat also moves through materials by conduction, and it does so far faster through framing and gaps than through well-installed insulation. Wood studs have an R-value of roughly 1.25 per inch, while fiberglass batts are about R-3.2 per inch. When you scan a wall at night, those studs show up as colder stripes because they let heat escape more quickly. Missing or compressed insulation shows up as larger cold patches. The key is that you need a meaningful temperature gradient across the wall for these differences to be measurable, which is why testing at night in cool weather is so effective.
Finally, sunlight confuses the picture. A south-facing wall that has been baking in the afternoon sun can read 10 to 20 degrees warmer than a shaded wall, masking real leaks and creating false ones. After sunset, those surface temperatures equalize over one to three hours, leaving only the true thermal signature of your building envelope. This is the same reason professional thermographers prefer to scan buildings at night or in the early morning.
Frequently Asked Questions
▼ I tested at night but did not find any obvious leaks. Does that mean my house is tight?
Not necessarily. Many leaks are hidden inside wall cavities, above ceilings, or in the attic, where a hand or flame cannot reach. Try the depressurization method with exhaust fans running, scan with an infrared thermometer, and check the attic and basement directly. If your bills are still high, a professional blower door test will give you a measured air leakage number.
▼ Can I do this test in summer?
Yes, but it is less effective because the temperature gap between inside and outside is smaller at night. You can improve results by cooling the house down to 70 degrees and testing after a hot day when exterior surfaces are still warm. For the best results, plan on spring or fall evenings when the gap is 15 to 25 degrees, or wait for a cold winter night.
▼ How long before I notice savings on my energy bill?
Comfort improvements are usually immediate, since drafts disappear as soon as you seal them. Bill savings show up in your next one or two statements, typically 10 to 20 percent lower if you fixed major leaks. Compare against the same month last year, adjusted for weather, to get an accurate picture.
▼ What if my home is older than 30 years?
Older homes usually have more leaks and less insulation, so you will probably find more problems. Prioritize the attic floor, rim joists, and old window and door frames. If your home has knob-and-tube wiring or vermiculite insulation, which can contain asbestos, stop and consult a professional before disturbing anything.
▼ Is a thermal camera worth buying for a one-time test?
For most homeowners, no. A $20 to $40 infrared thermometer plus an incense stick finds the vast majority of problems. Smartphone thermal cameras cost $200 to $400 and are worth it only if you plan to inspect multiple properties or want detailed images for documentation. Some hardware stores and utilities lend thermal cameras for free.
Quick Tips
- Aim for at least a 20 degree difference between indoor and outdoor temperatures. Below that, the test is less reliable.
- Test the same spots again after sealing them. Seeing a flame stop flickering or a temperature reading normalize is the easiest way to confirm your repair worked.
- Start with the biggest wins: attic hatch, rim joist, and recessed lights typically account for more leakage than all your windows combined.
- Keep a simple log with the date, outdoor temperature, and locations found. It helps you track progress and plan repairs over several weekends.
Variations for Your Situation
- Apartment/Rental: Focus on leaks you can seal without permanent changes, such as removable rope caulk around windows, foam gaskets behind outlet covers, door sweeps, and adhesive weatherstripping, for about $25 to $40 total. Report larger gaps around plumbing or exterior walls to your landlord in writing, and photograph your findings.
- Tight Budget (under $20): Use incense and your hand to find drafts, then seal them with a $5 to $8 tube of caulk, a $6 roll of foam weatherstripping, and a few $2 foam outlet gaskets. Prioritize the attic hatch, exterior doors, and the largest window gaps for the best return.
- Older Home (pre-1980): Expect larger gaps around window and door frames, uninsulated rim joists, and unsealed attic penetrations. Plan on multiple evenings of testing and consider hiring a pro for the blower door test, since older homes can have hidden issues like balloon framing that let air race through wall cavities from basement to attic.
- Cold Climate: Run your test on the coldest night of the year if you can. The large temperature gap makes small leaks obvious, and sealing them before the next cold snap pays off quickly through reduced furnace run time.