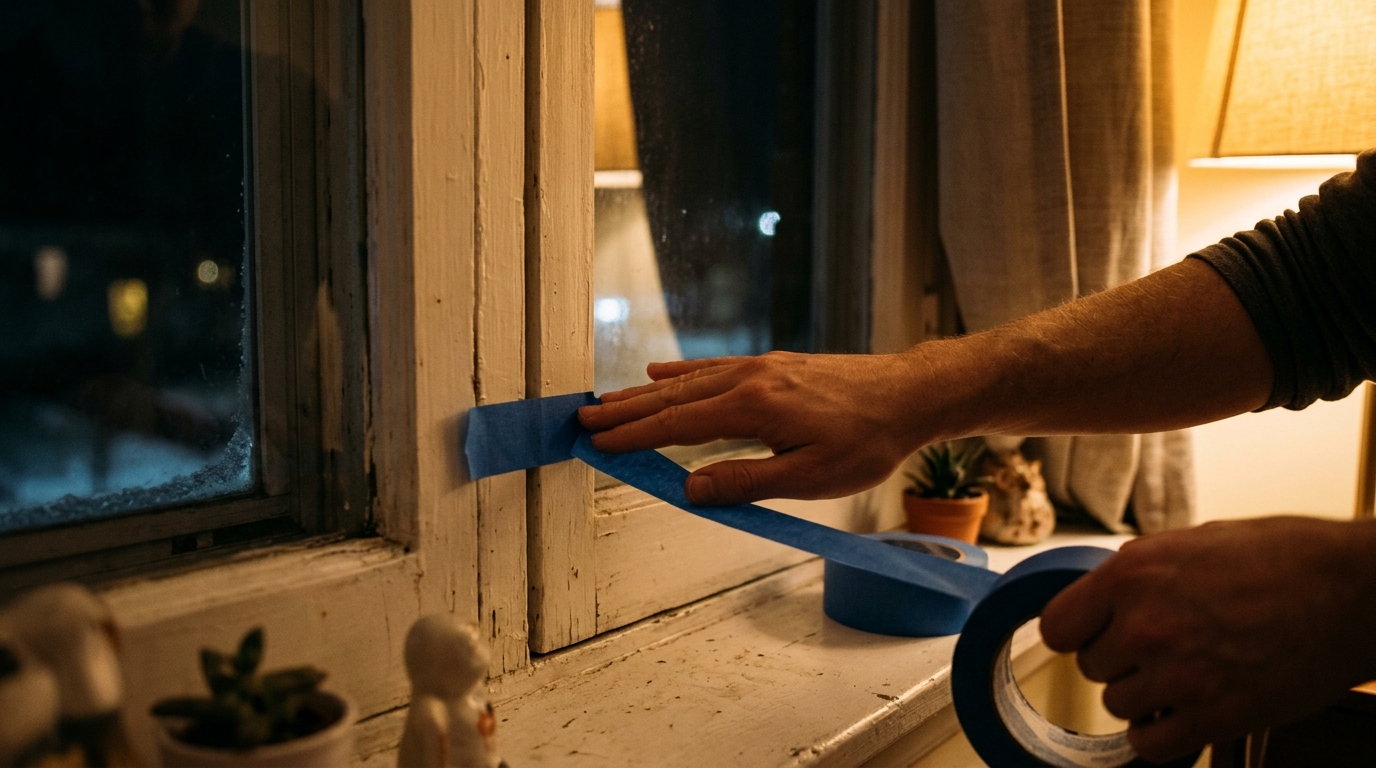
You know the feeling. You sit near a window on a cold night and feel a thin, steady stream of cool air on your neck, even though the thermostat reads 70 degrees. That is not your imagination. According to the U.S. Department of Energy, air leakage around windows and doors can account for 10 to 25 percent of a home’s heating and cooling energy loss, and a single leaky window can behave like a hole several inches wide in your wall.
The good news is that the fix does not require a contractor, a new window, or even a trip to a specialty store. Painter’s tape is designed to stick firmly while peeling away cleanly, which makes it a perfect temporary air sealant for gaps, cracks, and plastic film kits. Unlike duct tape or masking tape, it will not rip paint or leave a gummy residue when spring arrives.
In this post, we will cover two approaches: a 15-minute quick fix that seals the worst gaps tonight, and a more thorough DIY plastic film method that can cut window heat loss by 25 to 50 percent. We will also cover the building science behind why it works, mistakes to avoid, and what to do if you rent or live in an older home.
What You’ll Need
Click on an item below to shop for the recommended items for this recipe on Amazon.
As an Amazon Associate, we earn from qualifying purchases.
How to Do It
- Find the leaks first. On a windy day, hold a lit stick of incense or a feather near the edges of the sash and frame. Wherever the smoke wavers or the feather flutters is a leak. Mark each spot with a small piece of tape.
- Clean the surfaces. Wipe the window frame, sash edges, and trim with a damp cloth and let them dry completely. Tape will not hold to dust, grease, or moisture.
- Close and lock the window firmly. A tight latch pulls the sash against the weatherstripping and reduces the gap you need to seal.
- Apply painter’s tape along the seam where the sash meets the frame. Press down firmly with your thumb or a plastic card to get a tight bond, and overlap any corners by about an inch.
- Seal the trim gaps too. Run a second strip where the window casing meets the wall if you can feel air coming through there.
- Check your work with the incense test again. If you still see movement, add a second layer of tape or press harder on the edges.
- Clean and dry the window frame thoroughly, as in the quick fix. Any dust or moisture will cause the film to peel or the seal to fail.
- Apply a border of painter’s tape around the full outer edge of the window frame. This acts as a protective layer so the stronger double-sided tape does not touch your paint.
- Press the double-sided tape from the kit directly on top of the painter’s tape, forming a continuous rectangle with no gaps at the corners.
- Measure and cut the plastic film about 2 inches larger than the window on all sides. Peel the backing off the tape and press the film onto it, starting at the top and smoothing downward.
- Pull the film taut and press it into the tape along all four sides, working out wrinkles with your hand as you go.
- Use a hair dryer on a medium setting, held 2 to 3 inches from the film, to shrink it tight. Move constantly in a sweeping motion so you do not melt the plastic.
- Trim excess film with a utility knife or scissors, leaving about 1/4 inch past the tape edge.
Why It Works: The Benefits
Sealing drafty windows can trim heating and cooling costs by 5 to 15 percent, which is about $50 to $150 per year for a typical home spending $1,000 or more on conditioning.
Stopping a draft can raise the felt temperature near a window by 3 to 5 degrees, so the room feels more comfortable without touching the thermostat.
Sealing cold air leaks and adding a film layer keeps the interior glass surface warmer, which cuts the chance of condensation and moisture buildup on the sill.
Painter’s tape and removable film kits can be taken down in minutes without damaging paint or trim, so you can use them in rentals.
Sealing gaps blocks some outside noise along with the air, which can make bedrooms along busy streets feel calmer.
💰 Savings Impact by Action
Sealing sash and frame gaps can cut heating and cooling losses through that window by up to 15 percent.
Interior shrink film can reduce heat loss through a single-pane window by 25 to 50 percent by adding an insulating air layer.
Stopping drafts lets many homeowners lower the thermostat 2 to 3 degrees, saving about 1 percent per degree on heating.
A warmer interior glass surface can reduce winter condensation on the window by roughly a quarter.
🏠 Key Concepts Explained
The Science Behind It
Air moves through any opening when there is a pressure difference between inside and outside. In winter, warm indoor air rises and pushes out through upper leaks, which pulls cold outside air in through lower ones. This is the stack effect, and it is the main reason you feel drafts at ankle and chest height near windows. Sealing the visible gaps cuts off the easiest paths for that air to travel.
Heat also moves through glass by conduction, and a single pane has an R-value of only about 1 (a double pane is around 2 to 3). Adding a sealed plastic film creates a thin pocket of still air between the film and the glass. Still air has an R-value of roughly 1 per inch in an enclosed cavity, so even a thin layer measurably slows heat transfer. The DOE reports that interior window films can reduce heat loss through a window by 25 to 50 percent when installed properly.
Painter’s tape plays a supporting role. Its low-tack acrylic adhesive bonds to smooth surfaces through light pressure but releases cleanly, which is why it is a smart base layer for temporary seals. It protects your trim from the stronger double-sided tape that film kits use and makes the whole installation reversible in the spring.
Frequently Asked Questions
▼ Why is my room still cold even after I taped the window?
The leak may be somewhere other than the window edges, such as around the trim, an outlet on the same wall, or a nearby baseboard. Repeat the incense test along the wall, outlets, and floor near the window. If the room is still cold, check attic insulation and other windows, since a single leak rarely explains a whole cold room.
▼ Can renters do this without landlord permission?
Yes, in most cases. Painter’s tape is designed to remove cleanly, and interior shrink film kits do not alter the window. Always test the tape on a small hidden spot first, and take photos before you start. Remove it within a few months to avoid any adhesive residue.
▼ How long before I actually notice savings on my bill?
You will feel the difference in comfort the same night. Bill savings typically show up in the next one to two billing cycles, though they can be small for one window. Treating four to six of your leakiest windows usually saves $50 to $150 over a heating season.
▼ What if my home is older than 30 years?
Older homes often have more air leakage and worn window seals, so you may see larger improvement from this fix. Expect to use extra tape on gaps in the trim and sash. If the frames are warped, rotted, or you can slide your finger into a gap, tape is only a short-term patch and you should plan for weatherstripping, caulking, or a repair.
▼ Will painter’s tape really hold all winter?
Standard painter’s tape can lift after several weeks in cold, dry conditions or if the surface was dusty. Use a firm press on installation and check it monthly. For a longer-lasting seal, apply tape under a window film kit or switch to removable rope caulk for the biggest gaps.
Quick Tips
- Do the sealing job on a dry, mild day if possible. Tape and film adhesives bond best when surfaces are between 50 and 80 degrees and completely dry.
- Seal the north and west-facing windows first. These tend to be the coldest and windiest, so they leak the most heat in winter.
- Press tape down firmly with a plastic card or the back of a spoon rather than just your fingers. A tight bond keeps it from lifting after a few weeks of temperature swings.
- Label each window’s film or tape with the date in a small corner so you remember when to remove it in spring and can track how long it lasted.
Variations for Your Situation
- Apartment/Rental: Start with painter’s tape and a removable interior film kit, which costs about $10 to $20 per window and leaves no marks on trim. Skip caulk and permanent sealants, and test the tape on a hidden spot before you commit. Take photos of the window before and after so you can show the condition when you move out.
- Tight Budget (under $50): Buy a single roll of painter’s tape ($5 to $8) and seal only the windows where you feel the strongest draft, using the incense test to find the spots. Rolled-up towels or a draft snake ($0 to $10) along the sill adds extra blocking at the bottom. Hang heavy curtains if you already own them to add another layer of insulation.
- Older Home (pre-1980): Expect more leakage around the sash, window weights, and trim, so plan for more tape, a second layer where gaps are wide, and the film method on every drafty window. Consider adding rope caulk to the largest gaps first, since tape alone will not hold across a gap wider than about 1/8 inch. Check for peeling lead-based paint before scraping or sanding anything, and call a certified pro if you suspect lead.