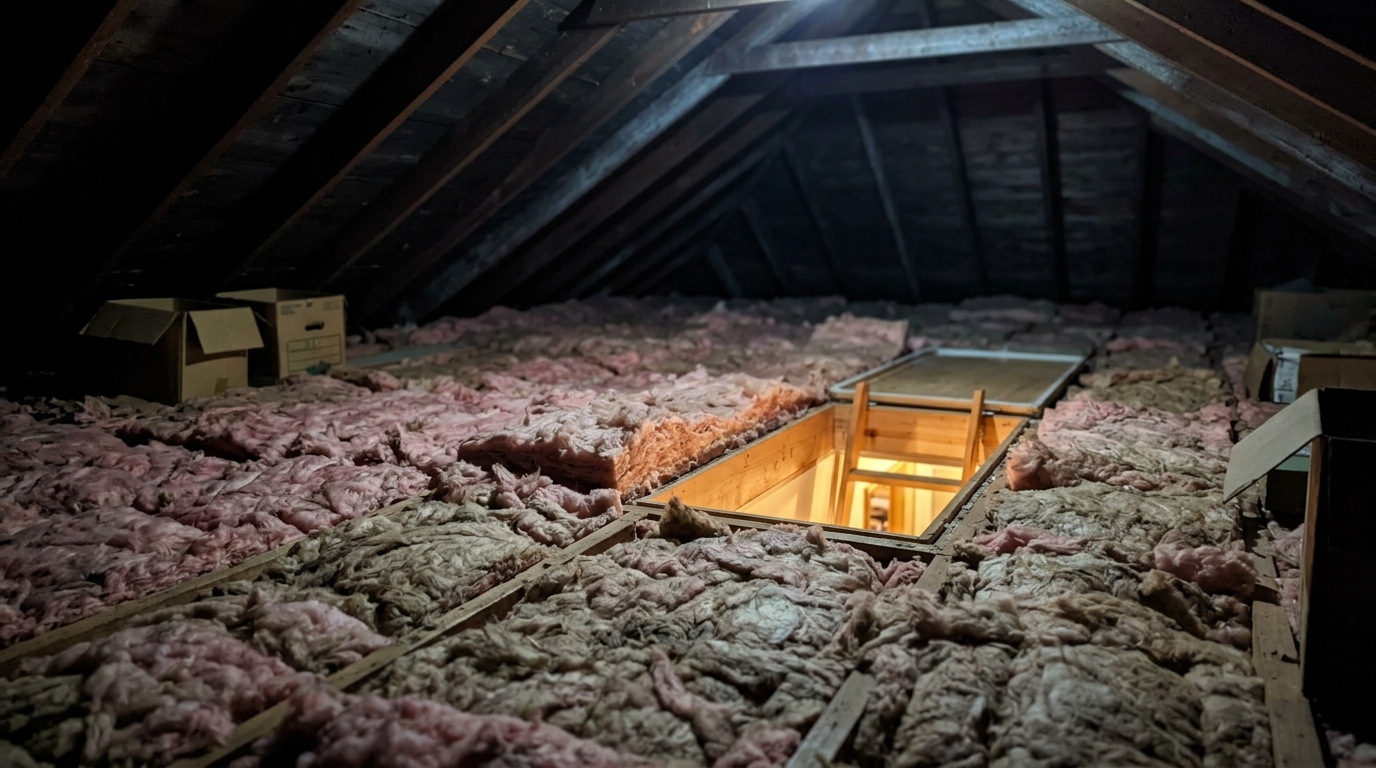
If your house feels cold by 2 a.m. even though the thermostat is set where you like it, the culprit is often right over your head. Warm air naturally rises, and your ceiling is the boundary between the heated rooms below and the unheated attic above. When the attic floor has thin, settled, or patchy insulation, heat pours through it all night long, and your furnace runs harder to replace what you are losing.
Many homeowners assume they should insulate the roof to keep heat in. In a standard vented attic, that is the wrong target. The attic is meant to stay cold and ventilated, so the insulation belongs on the floor, directly above your ceiling drywall, where it separates conditioned air from unconditioned air. Insulating the roof deck instead means heating a huge, awkward, leaky volume of space for no benefit.
This post explains why the attic floor wins, how much insulation you actually need, and two practical ways to get it done: a fast, low-cost top-up for those with some existing insulation, and a full DIY or professional upgrade with air sealing for the best results. You will also find savings numbers, troubleshooting answers, and tips for renters, tight budgets, and older homes.
What You’ll Need
Click on an item below to shop for the recommended items for this recipe on Amazon.
As an Amazon Associate, we earn from qualifying purchases.
How to Do It
- Measure your current insulation depth with a ruler. Fiberglass at roughly 3 inches per R-10 means you need about 16 to 20 inches total for R-49 to R-60.
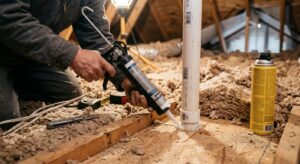
- Seal the biggest air leaks first with expanding foam or caulk: gaps around plumbing stacks, wire penetrations, and the top of interior walls.
- Weatherstrip the attic hatch or pull-down stairs and glue a rigid foam board or insulated cover onto the back of it.
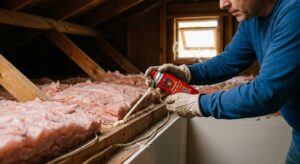
- Add unfaced fiberglass batts or blown-in insulation on top of the existing layer, running perpendicular to the joists to cover the tops of the framing.
- Keep insulation at least 3 inches away from recessed lights unless they are IC-rated, and never block the soffit vents at the eaves.
- Clear the work area and wear a respirator, goggles, gloves, long sleeves, and a hat. Lay boards across the joists so you never step on drywall.
- Air seal thoroughly before adding any insulation: use fire-rated caulk around chimneys and flues, foam around pipes and wires, and cover or box in non-IC recessed lights with proper rated covers.
- Install baffles (rafter vents) at every eave to keep soffit airflow open, then place a depth marker every few feet so you can verify coverage.
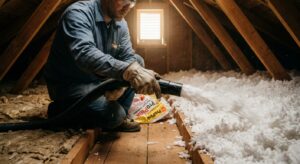
- Blow in loose-fill cellulose or fiberglass to the target depth, usually 16 to 20 inches for R-49 to R-60, working from the far end back toward the hatch.
- Insulate and weatherstrip the attic hatch, then double-check that exhaust fans vent outdoors and not into the attic.
- Schedule a home energy audit or blower door test to identify the biggest leakage paths and set a measurable target.
- Have a contractor remove any wet, moldy, or contaminated insulation and address the source of moisture or pests before covering anything.
- Let the crew air seal top plates, chases, and duct penetrations, then install baffles and blow in insulation to the specified R-value.
- Ask for a post-job inspection or a second blower door reading so you can confirm the improvement and keep documentation for rebates.
Why It Works: The Benefits
The EPA estimates homeowners can save an average of 15% on heating and cooling costs, about 11% on total energy costs, by air sealing and adding insulation in attics, floors over crawlspaces, and basements.
Top-floor bedrooms stop feeling drafty and cold because the ceiling surface stays closer to room temperature, which also improves how comfortable the air feels at the same thermostat setting.
When less heat leaks into the attic, the roof deck stays cold and snow does not melt and refreeze at the eaves, protecting shingles and gutters from costly damage.
Cutting heat flow through the ceiling means shorter run cycles, which reduces wear and can extend equipment life while shaving peak demand.
The same insulation slows attic heat from entering living space in July, easing the load on your air conditioner on hot afternoons and evenings.
💰 Savings Impact by Action
Raising attic floor insulation from R-19 to R-49 typically cuts heating and cooling costs by 10 to 20% depending on climate.
Sealing ceiling bypasses and attic leaks can reduce whole-house energy use by up to 15% according to EPA estimates.
Insulating and weatherstripping the hatch can save 2 to 3% by closing one of the largest single leaks in the ceiling.
Keeping attic temperatures closer to outdoors can cut the freeze-thaw conditions that cause ice dams, protecting thousands of dollars in roof and gutter repairs.
🏠 Key Concepts Explained
The Science Behind It
Heat always flows from warm to cold, and the rate depends on the temperature difference and the resistance of whatever lies between. On a cold night, your living space might sit at 68 degrees while the attic drops to 20 degrees or lower. That large gap drives a steady flow of heat upward through the ceiling, and the only thing slowing it is your insulation. Doubling the R-value roughly halves that conductive heat flow.
There is a second, often bigger, mechanism at work: air movement. Warm air is lighter than cold air, so it rises through any gap it can find in the ceiling, a process known as the stack effect. As that warm air escapes at the top of the house, replacement air is drawn in at the bottom through leaks around doors, windows, and the foundation. Insulation does little against this flow unless the leaks are sealed first, which is why air sealing and insulating work as a pair.
Putting insulation on the attic floor rather than the roof keeps the attic at outdoor temperature, which protects the roof deck from moisture and ice dams while giving the thermal boundary a flat, simple, easy-to-insulate surface. Insulating the roof deck instead would create a large heated volume with a lot more surface area, so you would pay to condition space you never use.
Frequently Asked Questions
▼ Why is my top floor still cold after adding insulation?
Air leaks are the most common reason. Insulation slows heat but does not stop moving air, so gaps around recessed lights, attic hatches, wiring, and plumbing stacks can still bleed warmth. Seal those with foam and caulk, then check that the hatch is weatherstripped and insulated.
▼ Can renters do this without landlord permission?
Generally no, since attic work changes the structure and the landlord controls it. Renters can still weatherstrip the attic hatch from below, use draft stoppers, and ask the landlord to add insulation, which many will consider because it lowers their risk of ice dams and moisture damage.
▼ How long before I actually notice savings on my bill?
You will often feel the comfort improvement the first cold night. Bill savings show up in the first full heating or cooling cycle, and comparing the same month year over year (adjusted for weather) is the most reliable way to see the 10 to 20% reduction.
▼ What if my home is older than 30 years?
Older attics usually have thin, compressed, or uneven insulation and many more air leaks, so the payoff is often larger. Check for vermiculite, knob-and-tube wiring, or moisture damage first, and call a professional if you find any of them before adding new insulation.
▼ Should I remove the old insulation before adding new?
Usually not. If the old insulation is dry, clean, and free of mold or pests, you can add new insulation right on top. Remove it only if it is wet, moldy, contaminated by rodents, or contains vermiculite that has not been tested.
Quick Tips
- Aim for R-49 to R-60 in cold climates (DOE zones 5 to 8) and at least R-38 to R-49 in moderate and warm climates, and check the DOE map for your specific zone.
- Look for frost on the roof sheathing or nail tips in winter: it is a sign that warm, moist air is leaking into the attic.
- On a snowy morning, check whether your roof melts faster than your neighbors’ roofs. Early melting often points to heat leaking through your attic floor.
- Check for utility rebates and the federal 25C tax credit, which can cover a meaningful portion of insulation and air sealing costs.
- Mark the depth with a ruler every year or two, since loose-fill insulation can settle and lose some of its R-value over time.
Variations for Your Situation
- Apartment/Rental: You cannot insulate the building’s attic yourself, but you can ask the landlord to do it, weatherstrip an in-unit attic hatch for $15 to $30, and use heavy curtains and door draft stoppers to reduce heat loss from the top floor.
- Tight Budget (under $50): Focus on air sealing with a $10 can of foam and $8 tube of caulk around the visible gaps, add self-adhesive foam weatherstripping to the attic hatch for about $10, and cover the hatch with a rigid foam board or a DIY insulated box for roughly $20.
- Older Home (pre-1980): Expect thinner insulation (often R-11 to R-19), more air leaks, and possible hazards like vermiculite or knob-and-tube wiring. Have an inspector or energy auditor check the attic first, then plan on a full air seal plus 12 to 20 inches of new insulation for the largest payoff.
- Cathedral Ceiling or Finished Attic: You cannot add depth on the floor, so work with a contractor on dense-pack cellulose or spray foam in the rafter bays, and keep ventilation channels open to protect the roof deck.