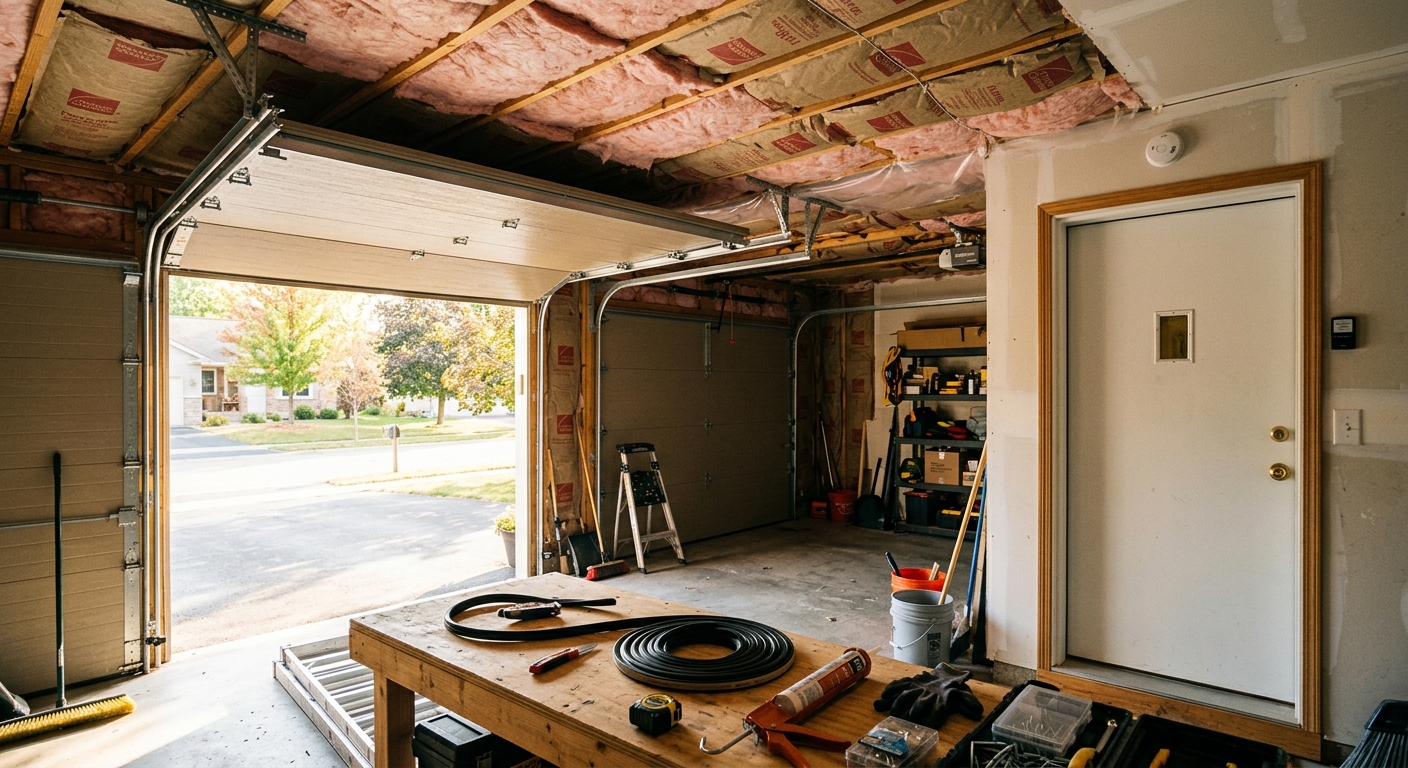
Your attached garage shares walls, a ceiling, and often a door with your living space, yet most homes treat it like an outdoor structure. Uninsulated garage walls act as giant heat sinks in summer and cold radiators in winter, forcing your HVAC system to work harder every hour of the day. The room above the garage, the bedroom next to it, and even the hallway leading to it are all affected by this overlooked thermal boundary.
Beyond temperature, garages are a primary source of air infiltration. Cars, lawn equipment, and stored chemicals off-gas fumes that can migrate through unsealed gaps into your living area. The same gaps that let in exhaust fumes also let conditioned air escape, compounding both your energy bill and your indoor air quality problems.
This post walks you through exactly why your garage undermines energy efficiency, which fixes deliver the fastest payback, and how to tackle improvements whether you have 20 minutes or a full weekend. You will find real numbers, specific product types, and a clear path from quick wins to longer-term upgrades.
What You’ll Need
Click on an item below to shop for the recommended items for this recipe on Amazon.
As an Amazon Associate, we earn from qualifying purchases.
How to Do It
- Inspect the door between the garage and living space. Replace the door sweep if daylight is visible at the bottom, and apply adhesive-backed foam weatherstripping around the door frame if you can feel air movement when the door is closed.
- Check the garage door bottom seal. If the rubber gasket is cracked, flattened, or missing sections, replace it with a universal T-style or T-end garage door bottom seal available at any hardware store for $15 to $30.
- Look for gaps where pipes, electrical conduit, or HVAC ducts pass through the wall shared with the living space. Fill gaps smaller than 1/4 inch with paintable latex caulk, and use expandable foam sealant for larger gaps up to 3 inches.
- Check the garage door side and top seals (the vinyl strips attached to the door frame). If they are brittle or compressed, replace them with new vinyl stop molding or adhesive garage door seal strips.
- Confirm that the door between the garage and living space is a solid-core or fire-rated door, not a hollow-core interior door. A hollow-core door provides almost no insulation or fire separation and should be noted for future replacement.
- Start with the ceiling between the garage and the living space above it. If there is no insulation, add R-19 to R-30 unfaced batt insulation between the joists. Secure batts with insulation support rods or wire and cover with 5/8-inch fire-rated drywall if the existing drywall is damaged or missing.
- Insulate the shared wall between the garage and any adjacent conditioned room. Remove any existing drywall if it is in poor condition, install R-13 to R-15 fiberglass or mineral wool batts in the stud cavities, then re-hang 5/8-inch Type X fire-rated drywall per most local building codes.
- Add a garage door insulation kit to your existing door if replacement is not in the budget. Foam board or reflective foil kits for standard 16-by-7-foot doors cost $50 to $100 and raise door R-value from roughly R-2 to R-8, cutting heat transfer through that surface by 75%.
- Seal all penetrations in the shared wall and ceiling with fire-rated caulk or intumescent foam before closing up the wall cavities. This step is required by building code in most jurisdictions and is critical for both energy performance and fire safety.
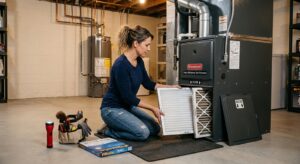
- Inspect any HVAC ducts running through the garage. Seal duct seams with mastic sealant (not standard duct tape, which fails over time) and wrap exposed duct runs in at least R-8 duct insulation to prevent energy loss to the unconditioned space.
- After completing insulation work, do a simple cardboard box airflow test: hold a piece of tissue near the garage-to-house door frame and any outlets on shared walls while the HVAC is running. Any movement indicates remaining gaps worth sealing with caulk or foam.
- Select an insulated steel garage door rated at R-12 to R-18. Double-layer polyurethane-filled doors outperform polystyrene-insert doors of the same thickness. Expect to pay $700 to $1,800 installed for a standard 16-by-7-foot door.
- Request that the installer also replace or adjust the garage door side and top seals during installation. New seals are typically included but confirm this before signing the quote.
- Have an HVAC technician inspect and seal any duct runs passing through the garage during the same project window. Professionally sealed and insulated ducts can reduce duct losses from 30% down to under 10%, saving $100 to $250 per year on their own.
- Consider adding a mini-split unit to the garage only if it is used as a workshop or living space for significant hours. Do not heat or cool an uninsulated garage, as the energy waste negates any comfort benefit. Complete the insulation work first.
- Schedule a whole-home energy audit after all garage improvements are complete. An auditor using a blower door test can confirm whether the thermal boundary is now tight and identify the next highest-priority improvements elsewhere in the house.
Why It Works: The Benefits
Sealing and insulating the garage boundary can reduce energy use in adjacent rooms by 10 to 20%, translating to $150 to $400 per year in savings for an average home depending on climate and fuel costs.
Rooms sharing a wall or floor with the garage often run 5 to 15 degrees warmer in summer and colder in winter than the rest of the house. Proper insulation and air sealing normalizes those temperatures noticeably within days of completion.
Sealing gaps between the garage and living space prevents vehicle exhaust, carbon monoxide, and stored chemical fumes from migrating indoors, reducing exposure to pollutants that standard HVAC filters do not remove.
When the garage thermal boundary is tight, your system runs fewer cycles to maintain setpoint temperatures. Fewer runtime hours extend equipment life and reduce maintenance frequency, saving hundreds of dollars over the system’s lifespan.
An insulated, air-sealed garage is increasingly noted in home inspections and appraisals. Buyers in energy-conscious markets recognize the upgrade, and an insulated garage door alone returns roughly 94% of its cost at resale according to Remodeling Magazine’s Cost vs. Value report.
💰 Savings Impact by Action
Sealing gaps around the garage-to-house door, penetrations, and perimeter seals reduces conditioned air loss by up to 15% in homes with significant garage infiltration.
Adding R-19 to R-30 insulation to the garage ceiling reduces heat transfer into rooms above the garage by up to 20%, directly cutting cooling and heating load.
Replacing an uninsulated garage door with an R-12 to R-18 rated door reduces heat transfer through that surface by up to 85%, contributing roughly 10 to 12% to overall garage envelope improvement.
Sealing and insulating HVAC ducts running through the garage can recover 20 to 30% of conditioned air previously lost to the unconditioned space.
Insulating the shared wall between the garage and an adjacent conditioned room reduces conductive heat transfer through that surface by up to 75%, improving comfort and lowering HVAC runtime by roughly 10%.
🏠 Key Concepts Explained
The Science Behind It
Heat always moves from warm to cold, and it does so through three mechanisms: conduction (direct contact), convection (air movement), and radiation (infrared energy). An uninsulated garage exploits all three. In summer, the garage absorbs solar heat through the roof and door, the air inside heats up through convection, and that hot air pushes against shared walls and conducts heat directly into your living space. Studies from the Florida Solar Energy Center found that garage temperatures regularly exceed 130 degrees Fahrenheit on summer afternoons, creating a heat load against the adjacent room that no thermostat adjustment can fully overcome.
Air sealing matters just as much as insulation, and the two work together. Insulation slows conductive heat transfer, but it does almost nothing to stop convective air movement. A wall with R-15 insulation but gaps around outlets and pipes still allows a significant volume of unconditioned air to enter your living space, carrying both temperature and humidity. The building science principle here is that you should always air seal before or alongside insulating, because insulation without air sealing delivers only a fraction of its rated performance.
Garage door R-value is frequently misunderstood. Manufacturers measure R-value in a lab under ideal conditions, but real-world performance depends heavily on how well the door seals at the edges. A door rated R-16 with worn perimeter seals can perform at an effective R-4 in practice. This is why sealing the door frame and replacing the bottom gasket often produces noticeable comfort improvements before you spend a dollar on the door itself. Addressing the air leakage around the door captures the majority of the available savings at minimal cost.
Frequently Asked Questions
▼ My room above the garage is always the hottest room in summer. Will insulating the garage ceiling actually fix it?
Yes, this is one of the most reliable fixes in home energy improvement. The floor of that room is the ceiling of the garage, and without insulation it conducts heat from a space that can reach 130 degrees directly into the room. Adding R-19 to R-30 insulation between the garage ceiling joists typically drops summer room temperatures by 5 to 12 degrees and significantly reduces how long the AC runs to maintain setpoint. Do the ceiling insulation first before any other improvement for that specific room.
▼ I rent my home and cannot do any permanent modifications. What can I actually do about the garage?
Renters can still make meaningful improvements without permanent changes. Place a draft stopper or adjustable door sweep on the garage-to-house door, which is removable and costs $15 to $30. Add a reflective garage door insulation kit using panels that attach with clips rather than adhesive. Request in writing that your landlord address missing weatherstripping and door seals, since those are maintenance items, not modifications, and many landlords will act once the request is documented.
▼ How long until I see the savings show up on my energy bill?
Quick sealing fixes around the garage-to-house door and perimeter seals typically show up within one or two billing cycles, especially if done before peak heating or cooling season. Full insulation improvements take one to three months to appear clearly in your bills because of weather variability from month to month. Compare the same month year-over-year rather than month-to-month for the clearest picture of savings.
▼ My garage has no drywall on the walls at all. Is insulation even worth it without it?
Insulation without a proper interior finish (drywall) is less effective and potentially a fire code violation on shared walls. Unfaced or kraft-faced batts left exposed in a garage are also a fire hazard. If budget is limited, prioritize the shared wall and ceiling between the garage and living space with proper fire-rated drywall as a combined project. Exterior garage walls with no drywall can use rigid foam boards rated for exposed installation as an interim solution while you plan the full finish.
▼ Is an insulated garage door worth the cost if I already have good insulation on the shared walls?
It depends on how much time you spend in the garage and how extreme your climate is. If the garage is purely a pass-through space, a door insulation kit ($50 to $100) delivers most of the benefit of a full replacement. A new insulated door makes the most financial sense if your current door is more than 15 years old, has a broken or failing seal system, or if you use the garage as a workspace. The payback period for a full door replacement is typically four to seven years based on energy savings alone, but the comfort improvement in adjacent rooms is immediate.
Quick Tips
- Use a stick of incense or a thin piece of tissue to find air leaks around the garage-to-house door and shared walls. Any flicker or movement points to a gap worth sealing.
- Park your car outside for 30 minutes after running it before entering the garage. This single habit reduces carbon monoxide and exhaust fume infiltration into the living space more than any seal alone.
- If your garage has an attic above it that connects to the main home attic, seal and insulate that attic hatch with rigid foam board. Unconditioned garage attic air routinely bypasses home insulation through this overlooked path.
- Painting the inside of your garage door with a light-colored paint reduces radiant heat absorption during summer and can lower garage peak temperatures by 5 to 10 degrees without spending anything on insulation.
Variations for Your Situation
- Apartment or Condo with Shared Garage: If you park in a shared underground or attached structure, focus on the door between the garage corridor and your unit. Apply a door sweep and foam tape weatherstripping to that door yourself (no landlord permission needed in most leases) for under $30. Ask building management to inspect shared duct runs and common wall insulation, framing it as a comfort and air quality concern, which often gets faster action than an energy efficiency request.
- Tight Budget (Under $50): Start with the garage-to-house door since it is the single highest-impact item. Buy a foam weatherstripping kit ($8 to $12), a door sweep ($12 to $20), and a can of expandable foam ($6 to $10) to seal pipe and conduit penetrations. These three items address the majority of air infiltration at the garage boundary for about $35 total and can be completed in under an hour.
- Older Home (Pre-1980): Homes built before 1980 often have no fire-rated drywall on garage shared walls, aluminum single-pane doors, and duct work run through the garage with no insulation or mastic sealing. Prioritize fire-rated drywall on all shared surfaces first since this is a life safety issue, then address duct sealing, and finally upgrade the door. Budget $1,500 to $3,000 for a complete older-home garage envelope upgrade, but the energy savings and safety improvement are both substantial.