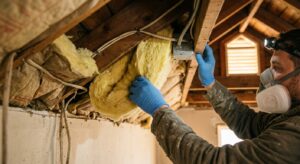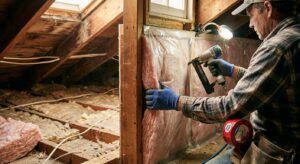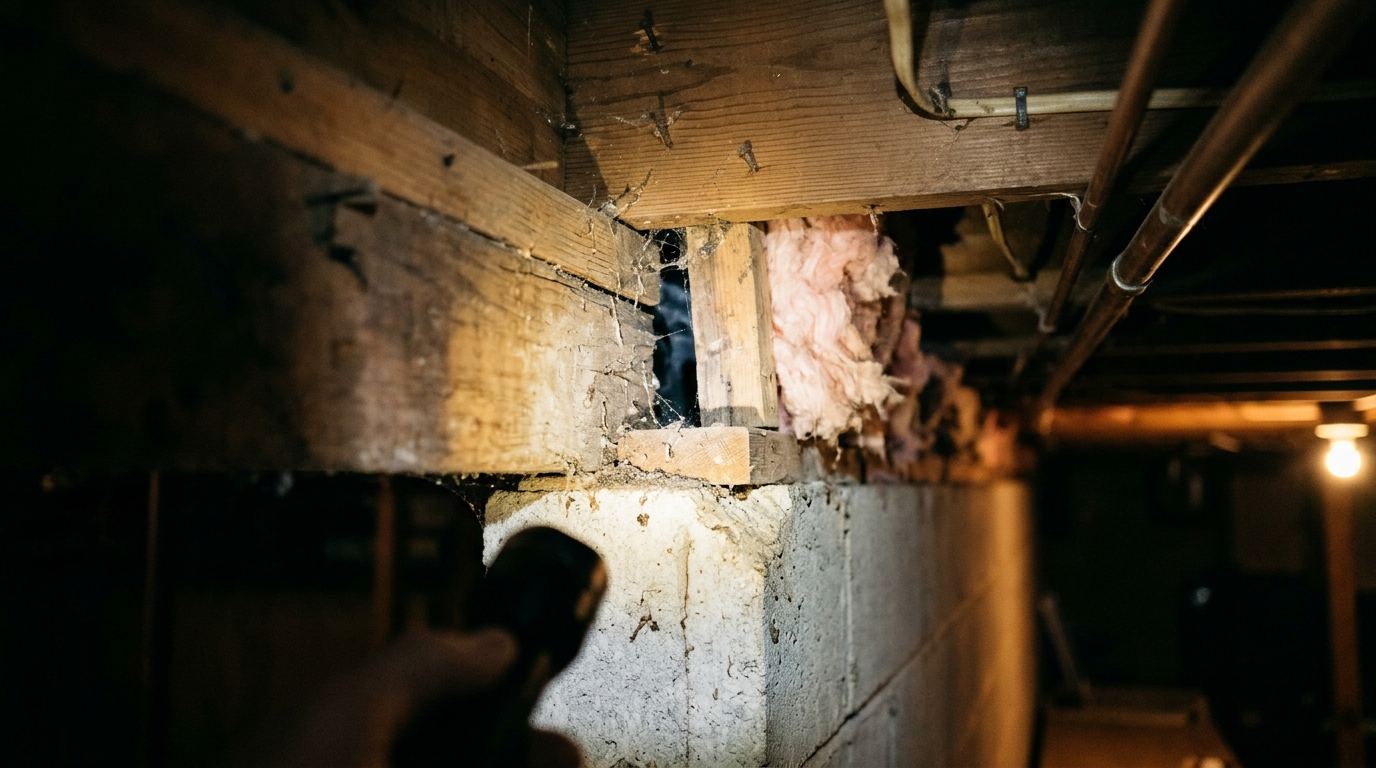
Go down to your basement and look up where the foundation wall meets the wooden floor framing above. That strip of lumber running around the perimeter is the rim joist (also called the band joist or sill box). It sits between your foundation and the first floor, and it is riddled with gaps: where the sill plate meets the concrete, where the joists meet the rim board, and around every wire, pipe, and vent that passes through. Most homeowners never look at it, yet the U.S. Department of Energy identifies it as a major source of air leakage in the home.
Here is why it matters. Warm air rises, and the rim joist sits at the bottom of that giant chimney called your house. Cold outside air gets pulled in through those gaps in winter, and conditioned air gets pushed out through the top. Studies by Building Science Corporation and the DOE have found that rim joist areas can account for a significant share of total air leakage, and in many older homes the wood is covered by nothing more than a thin layer of nothing at all. A 2×10 board has an R-value of roughly 1 per inch of wood, so a rim board offers around R-4 to R-5 in a wall that the rest of your home expects to perform at R-13 or better.
In this post, we will show you how to find out whether your rim joists are costing you money, how to fix them with a quick caulk-and-foam approach or a full rigid foam and spray foam upgrade, and what to avoid so you do not trap moisture or create a fire hazard. Most homeowners can do this themselves in a few hours.
What You’ll Need
Click on an item below to shop for the recommended items for this recipe on Amazon.
As an Amazon Associate, we earn from qualifying purchases.
How to Do It
- Walk the basement perimeter with a flashlight and mark every gap you can see: where the sill plate meets the foundation, where the rim board meets the sill plate, and around every pipe, wire, and vent that passes through the rim area.
- Vacuum or brush away cobwebs, dust, and loose debris so sealants can stick. Let any damp areas dry fully before sealing.
- Apply a high-quality acrylic latex or polyurethane caulk to gaps narrower than 1/4 inch, running a continuous bead along the sill plate seam and each rim board seam.
- Fill gaps from 1/4 inch to 3 inches wide with low-expansion spray foam labeled for gaps and cracks, using short bursts and letting the foam expand before adding more.
- Seal around penetrations (wires, pipes, vents) with fire-rated caulk or foam where required, keeping sealant away from flue pipes and heat sources.
- Check your work with a lit incense stick or smoke pencil on a windy or cold day. Any smoke that wavers or gets pulled sideways marks a gap you missed.
- Complete all the air sealing from the Quick Fix approach first. Insulation without air sealing leaves most of the leak in place.
- Measure the height and width of each rim joist cavity (the space between two floor joists, sitting on the sill plate). Cavities are usually 9 to 11 inches tall and 14 to 22 inches wide.
- Cut pieces of rigid foam board (1.5 to 2 inch XPS or polyisocyanurate, about R-7.5 to R-13) about 1/4 inch smaller than each cavity using a utility knife and straightedge.
- Test fit each piece, then run a bead of spray foam or foam-compatible caulk around all four edges of the board and press it firmly into the cavity.
- Seal the perimeter edges of every board with a second pass of can foam so no air can bypass the board. Foam board without sealed edges is only insulation, not an air barrier.
- Where local code requires it, cover exposed foam in a finished basement with a code-approved thermal barrier such as 1/2 inch drywall. Check your local code, since unfinished spaces are often handled differently.
- Get at least two quotes from licensed insulation contractors and ask specifically about closed-cell spray foam at 2 inches thick for rim joists (about R-12 to R-14).
- Clear stored items and move anything flammable away from the perimeter walls before the crew arrives.
- Have the contractor fix any active moisture or water leaks first. Spray foam should never be applied over wet or leaking surfaces.
- Plan for ventilation and keep family members and pets out of the home during application and cure time, following the manufacturer and contractor instructions.
- After installation, confirm that the foam covers the full height of the rim joist and seals to both the sill plate and the subfloor above.
Why It Works: The Benefits
Sealing and insulating the rim joist can cut whole-house energy use by roughly 10 to 20% in leaky homes, based on DOE and ENERGY STAR air sealing guidance. On a $2,000 annual energy bill, that is $200 to $400 per year.
Cold drafts along the perimeter are a main cause of chilly first-floor floors in winter. Sealing the rim joist often raises perimeter floor surface temperatures by several degrees.
The same gaps that leak air also let in insects, mice, and dust. Sealed rim joists keep out ants, spiders, and rodents that use these gaps as an easy entry point.
Stopping humid summer air from flowing through the rim joist helps lower basement humidity and the musty smell that goes with it, often dropping relative humidity by 5 to 10 points when combined with a dehumidifier.
A DIY rim joist project typically costs $100 to $300 in materials, and with typical savings of $100 to $300 per year, most homeowners recoup the cost in one to three years.
💰 Savings Impact by Action
Sealing rim joist gaps and penetrations can reduce whole-house air leakage and trim heating and cooling costs by roughly 10 to 15% in leaky homes.
Adding R-10 to R-13 of rigid or spray foam to the rim joist closes a major thermal bridge and can save an additional 5 to 10% on energy use.
Stopping cold air infiltration at the basement level can reduce perimeter drafts and cold floors by up to 20% in comfort perception and heat loss.
Blocking humid air at the rim joist can lower basement humidity by 5 to 10 points, which reduces dehumidifier run time.
🏠 Key Concepts Explained
The Science Behind It
Your house behaves like a chimney. In winter, warm air rises and exits through the upper floors and attic, and replacement air is pulled in through gaps at the lowest level, which is almost always the rim joist area. The rate of this airflow depends on the temperature difference and the height of the house: the colder it is outside, the stronger the pull. A taller home or one with leaky upper floors makes the pull even stronger. That is why the rim joist, though a small fraction of your total wall area, can contribute a disproportionate share of air leakage.
Wood is a poor insulator compared to modern insulation, with an R-value of about R-1 per inch. A rim board of 1.5 inches therefore provides under R-2, while adjacent above-grade walls may be R-13 to R-21. Heat will always flow along the path of least resistance, so this under-insulated strip acts as a thermal bridge that lets heat bypass the rest of your envelope. Add the air leakage on top of the conduction, and you have a surprisingly large energy penalty from a strip of lumber only about 10 inches tall.
The reason rigid foam or closed-cell spray foam works so well is that it does two jobs at once: it blocks air movement and adds continuous insulation that is not interrupted by framing. Keeping the warm, moist indoor air away from the cold wood and concrete also reduces condensation risk. Fiberglass alone does neither job well in this location, because air flows through it freely and moisture can collect against the cold wood behind it.
Frequently Asked Questions
▼ Is it okay to just stuff fiberglass insulation in the rim joist?
Not by itself. Loose fiberglass does not stop air flow and can trap moisture against the wood, which leads to mold. If you want to use fiberglass, first air seal the cavity and install a rigid foam board or spray foam layer against the rim board, then add batts only as extra insulation if your climate and code allow.
▼ How do I know if my rim joists are leaking air?
On a cold or windy day, hold a lit incense stick or smoke pencil along the sill plate and rim board seams. If the smoke wavers, gets pulled in, or blows away, you have a leak. You can also feel for drafts by hand, or look for dirty or darkened insulation, which is a sign air has been moving through it.
▼ Can I use spray foam cans on the whole thing, or do I need a professional?
Cans of low-expansion foam work well for gaps and sealing seams, and DIYers can do a full rim joist with foam board plus can foam for $150 to $300. Professional closed-cell spray foam makes sense if you have irregular cavities, lots of obstructions, or you want a one-step job and can budget $500 to $1,500.
▼ Does foam insulation in a basement need to be covered?
In many areas, building codes require exposed foam in occupied or finished spaces to be covered with a thermal barrier such as 1/2 inch drywall, because foam can burn and release toxic smoke. Unfinished basements are sometimes treated differently, so check with your local building department before you decide.
▼ How long before I notice savings on my utility bill?
You may feel warmer floors and fewer drafts right away. On your bill, expect the full effect over one heating season, since weather varies. Compare same-month usage year over year, adjusting for heating degree days, to see the true change.
Quick Tips
- Start your inspection on a cold, windy day. You can often feel drafts with the back of your hand along the sill plate, and a smoke pencil or incense stick makes leaks obvious.
- Seal first, insulate second. Air sealing delivers most of the energy savings, and insulation over unsealed gaps wastes your money.
- Take photos of every cavity before you begin. They help you plan material quantities and give you a record for insurance or resale.
- Mark where electrical lines, plumbing, and dryer vents penetrate the rim joist, and use only fire-rated sealant around heat-producing vents.
- Combine this project with sealing attic bypasses for best results. Reducing upper-level leaks weakens the stack effect and makes your basement work pay off even more.
Variations for Your Situation
- Apartment or Rental: Most renters have no access to a rim joist, but if you live in a ground-floor unit or a townhouse with a basement, ask your landlord to seal and insulate it, since it improves comfort and lowers their building’s energy costs. Meanwhile, use removable draft stoppers and weatherstripping at exterior doors, and consider a $20 to $40 plug-in humidity monitor to track basement moisture.
- Tight Budget (under $50): Focus on air sealing only. A couple of tubes of quality caulk and two cans of low-expansion foam (about $30 to $45 total) will close the biggest gaps. Prioritize the sill plate to foundation seam and penetrations, and you can capture a large share of the benefit for the lowest cost.
- Older Home (pre-1980): Expect more gaps, irregular lumber, and often no insulation at all. Check carefully for rot, termite damage, and old knob-and-tube wiring before sealing, and avoid foaming over wiring that generates heat. If the basement is damp, fix drainage and moisture first, and consider hiring a pro for closed-cell spray foam since it handles uneven surfaces best.
- Finished Basement: If drywall already covers the rim area, you may need to cut access holes or hire a contractor to blow in foam or cut back drywall. Check for moisture and code requirements before you close walls back up.