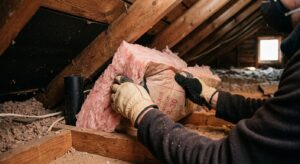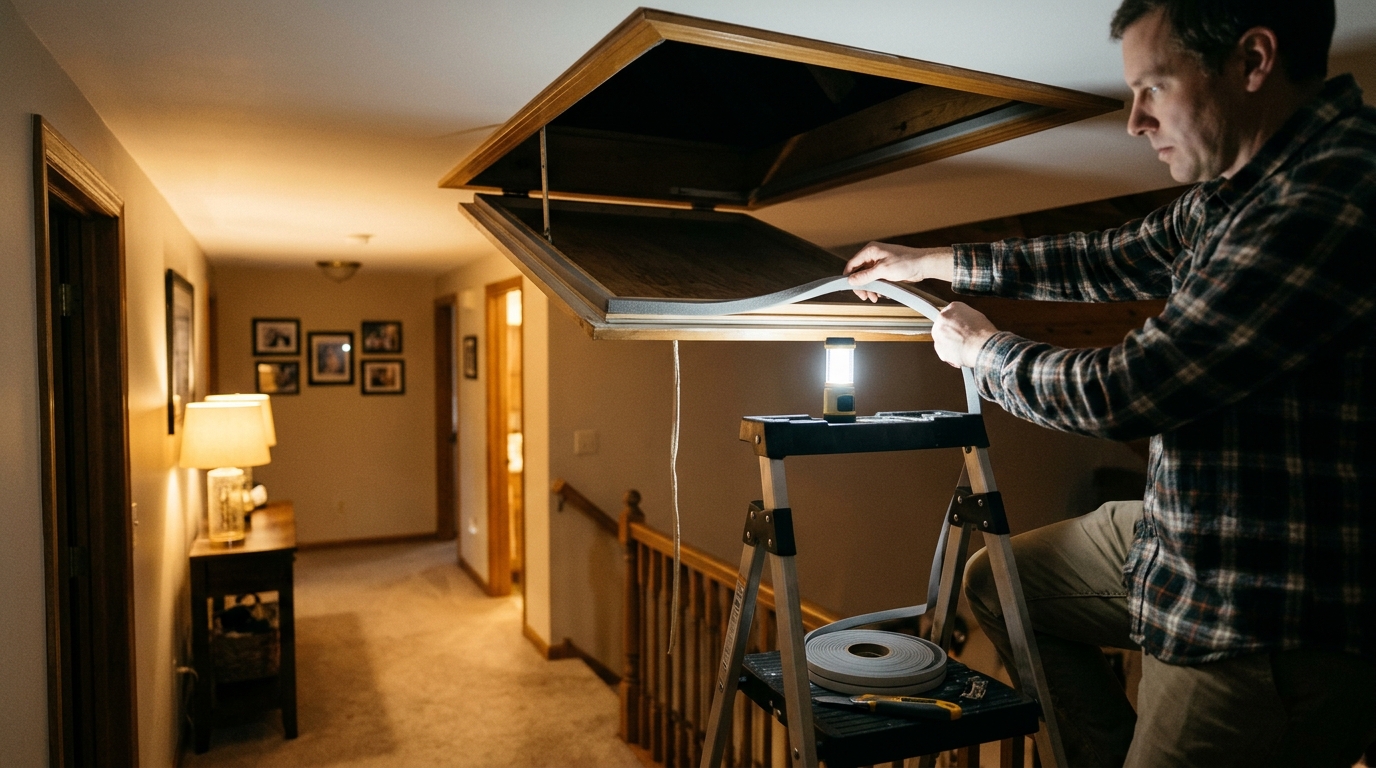
Walk under your attic hatch on a cold January night and hold your hand up near the edges. Chances are you will feel a faint, chilly draft sinking down from above. That little square of thin plywood or drywall is often the weakest link in an otherwise well-insulated ceiling. While your attic floor might carry R-38 or more of insulation, the hatch itself is typically just R-1 to R-2, with a gap around the frame that lets warm air leak straight out.
The physics work against you here. Warm air rises, and in winter your home’s upper level is the highest-pressure zone, pushing heated air through every crack in the ceiling plane. The attic hatch is one of the largest and easiest of those cracks. The U.S. Department of Energy lists attic bypasses like uninsulated hatches among the most common sources of heat loss in existing homes, and air sealing the attic plane is among the highest-return efficiency projects you can do.
This post walks through two ways to fix it: a 30-minute quick fix using weatherstripping and rigid foam, and a more thorough DIY build that creates an insulated, gasketed cover or box you will not have to think about again. Both can be done before the first hard freeze, and neither requires special skills.
What You’ll Need
Click on an item below to shop for the recommended items for this recipe on Amazon.
As an Amazon Associate, we earn from qualifying purchases.
How to Do It
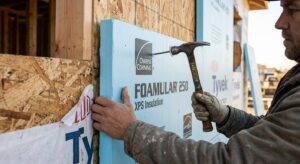
- Measure the hatch panel and cut a piece of 1-inch to 2-inch rigid foam board (XPS or polyiso) to match its size. Each inch adds roughly R-4 to R-6.
- Glue the foam to the attic side of the hatch panel using foam-compatible construction adhesive. Avoid spray adhesives that can melt polystyrene foam.
- Apply self-adhesive foam or rubber weatherstripping around the hatch frame where the panel rests. Clean the surface with a damp rag first so the adhesive sticks.
- Close the hatch and check for compression. If the weatherstripping does not squish slightly under the panel’s weight, add a second layer or use thicker V-seal.
- Test by running your hand around the closed hatch on a windy or cold day. Add more weatherstripping anywhere you still feel air.
- Build a box frame from 1×4 or 1×6 lumber sized to fit over the entire hatch or folding stair opening, with sides tall enough to hold 5 to 6 inches of insulation.
- Line the inside of the box with rigid foam board, cut to fit and sealed at the seams with foil tape or spray foam rated for foam board. Aim for at least R-30 total.
- Run a continuous bead of weatherstripping or adhesive foam gasket around the bottom edge of the box where it meets the attic floor or hatch frame.
- Add a couple of cam latches or hook-and-eye closures on the sides to pull the box down snugly and compress the gasket evenly.
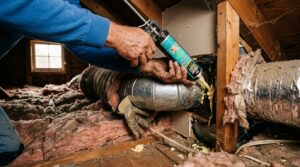
- Seal gaps between the hatch frame and surrounding drywall or ceiling joists with caulk or low-expansion foam from inside the attic.
- Set the box over the hatch from the attic side, keep it clear of loose insulation, and check that it closes firmly.
- Schedule an energy audit or insulation contractor visit and ask them to include the attic hatch or stair as part of a whole-attic air sealing package.
- Request a pre-built insulated attic stair cover (rated R-30 or higher) or a custom-fitted hatch with continuous gasketing.
- Ask the crew to seal around the hatch frame and nearby penetrations with fire-rated caulk or foam as needed.
- Have them run a blower door test before and after if possible, to quantify how much air leakage you eliminated.
Why It Works: The Benefits
Sealing and insulating an attic hatch can trim 2 to 5% off annual heating and cooling costs, which is $30 to $100 per year for many households.
Eliminating the downward draft makes the hallway or closet below noticeably warmer, often by several degrees at floor level.
Stopping warm, humid air from escaping upward reduces frost and condensation on roof sheathing, protecting against mold and wood rot.
A gasketed, insulated hatch also blocks attic noise, such as wind and roof sounds, from reaching your living space.
With materials costing $30 to $75, most homeowners recoup the cost in a single heating season.
💰 Savings Impact by Action
Gasketing and sealing the hatch perimeter stops the stack-effect leak that can account for a notable share of whole-attic air loss.
Raising the hatch from about R-1 to R-10 or higher cuts conductive heat loss through the panel by roughly 90%.
Compressed weatherstripping and a snug latch can eliminate up to 40% or more of felt drafts in the hallway or closet below.
Combined sealing and insulating typically trims about 2 to 5% off yearly heating and cooling costs for an average home.
🏠 Key Concepts Explained
The Science Behind It
Heat moves three ways: conduction through solid material, convection through moving air, and radiation. An uninsulated attic hatch loses energy through the first two. The thin panel conducts heat readily because it has an R-value near R-1, while air gaps around the frame allow convective loss as warm air rises and escapes. Rigid foam boosts the panel’s resistance to conduction, while compressed weatherstripping blocks the air path.
Air leakage matters more than most people realize. Warm indoor air is less dense and builds pressure at the top of a house, a phenomenon called the stack effect. The taller the home and the colder the outdoor air, the stronger this pressure. Even small openings in the ceiling plane, like a loose hatch, act as pressure relief valves that continuously pull conditioned air out and draw cold air in through lower leaks in the walls and foundation.
Sealing the hatch therefore delivers benefits beyond the hatch itself. By reducing that upper-level leak, you reduce the driving force pulling cold air in elsewhere. The ENERGY STAR and DOE guidance on air sealing consistently ranks attic bypasses among the first places to treat because the savings per dollar spent are so high, typically 5 to 15% of heating and cooling costs when a full attic sealing and insulation package is done.
Frequently Asked Questions
▼ Why do I still feel a draft after adding weatherstripping?
The most common cause is a gasket that is not being compressed. Add a second layer or switch to thicker foam, and install a latch or hook that pulls the hatch down tight. Also check the frame itself, because gaps between the hatch frame and the ceiling drywall often leak too and need caulk or spray foam.
▼ Can I use fiberglass batts on top of the hatch instead of foam board?
You can, but it is less effective. Fiberglass does not stop air movement and tends to get crushed or shifted every time the hatch opens. Rigid foam board gives you a solid, air-resistant layer with a higher R-value per inch, which is why it is the better fit for hatches.
▼ How long before I notice savings on my bill?
You should feel the difference in drafts right away. On your bill, expect the savings to appear over the next heating season, typically 2 to 5% of annual energy costs. Compare same-month bills year over year and adjust for weather using degree-day data if you want an accurate read.
▼ What if I have pull-down attic stairs instead of a flat hatch?
Pull-down stairs are leakier and harder to insulate because of the folding mechanism and large opening. The best fix is an insulated cover box that sits over the entire stair assembly from the attic side, plus caulking the gap between the stair frame and ceiling. Pre-made kits run $60 to $150 and work well.
▼ Is it safe to put foam board in the attic?
Standard foam board is flammable and many building codes require it to be covered by a thermal barrier or ignition barrier in attics. For a hatch, check local code, and consider foil-faced polyiso or a fire-rated cover where required. When in doubt, ask your local building department or an insulation pro.
Quick Tips
- Do this project on a cool day so you can feel drafts with your hand and find leaks easily.
- Use foil tape, not duct tape, on foam board seams. Standard duct tape dries out and fails in attic temperatures.
- Mark the hatch with a note reminding the household to close it firmly after each use, since an ajar hatch undoes all your work.
- Pair this project with sealing around attic-bound wiring, plumbing vents, and recessed lights for the biggest combined payoff.
Variations for Your Situation
- Apartment/Rental: Check your lease first, but many renters can use removable, adhesive-free foam gasket tape and a loose-fit foam board panel that lifts out when needed. Total cost is about $25 to $40 and nothing is permanently attached, so it can come with you when you move.
- Tight Budget (under $50): Use a single sheet of 1-inch foam board ($10 to $15) and a roll of self-adhesive weatherstripping ($8 to $12). Cut the foam to size, glue it to the hatch, and seal the perimeter. This simple combination can eliminate most of the draft and deliver the majority of the savings.
- Older Home (pre-1980): Older homes often have undersized or warped hatches and more air leakage around the frame. Plan to add caulk or backer rod around the frame first, then build an insulated box cover. Also inspect for knob-and-tube wiring or vermiculite insulation before disturbing the attic, and call a professional if you find either.