You go to bed at a comfortable 70 degrees, and by 3 a.m. the room feels clammy, drafty, or oddly warm. Your thermostat may be set correctly, yet the house still drifts away from your target overnight. Most of the time, the cause is heat moving through your ceiling, and the type and quality of your attic insulation decide how fast that happens.
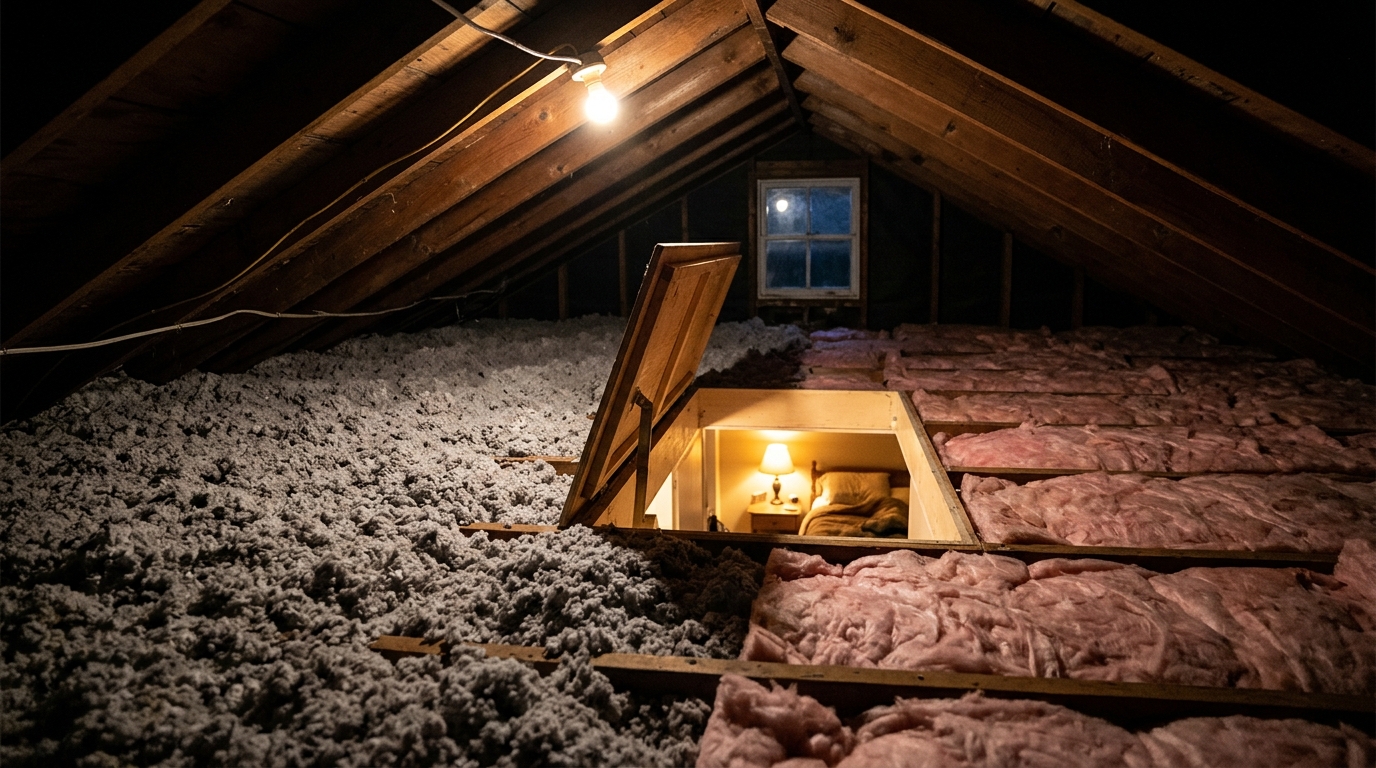
Blown-in insulation, made of loose-fill cellulose or fiberglass, behaves very differently from the pre-cut batts and rolls found in many older homes. It settles into every nook, wraps around wiring and joists, and covers irregular areas that batts tend to miss. That coverage matters most at night, when outdoor temperatures drop in winter or when trapped attic heat radiates down in summer.
This post compares blown-in insulation to other common options with a focus on overnight temperature stability. You will learn what drives nighttime swings, how much you can realistically save, and how to go from a quick weekend fix to a full DIY or professional blown-in installation.
What You’ll Need
Click on an item below to shop for the recommended items for this recipe on Amazon.
As an Amazon Associate, we earn from qualifying purchases.
How to Do It
- Put on a dust mask, goggles, gloves, and long sleeves, then walk the attic on joists or boards only. Never step between joists onto the ceiling drywall.
- Look for thin or bare spots, compressed batts, and areas pushed aside around the attic hatch, recessed lights, and plumbing vents.
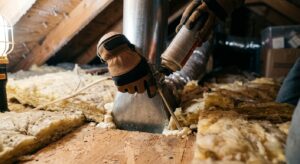
- Seal gaps around wire penetrations, plumbing pipes, and the top plates of interior walls with caulk or expanding foam, using fire-rated sealant around chimneys and flues.
- Weatherstrip the attic hatch and glue a rigid foam board to the back of it so it closes tightly and is insulated.
- Fluff and redistribute existing loose-fill so it is level, and add a few bags where the depth is clearly below the surrounding areas.
- Measure the attic floor area and check current insulation depth. For most U.S. climates, aim for R-38 to R-60, which is roughly 12 to 20 inches of loose-fill cellulose depending on product.
- Air seal first: caulk and foam all ceiling penetrations, seal around recessed light housings (use IC-rated, airtight covers where appropriate), and weatherstrip the attic hatch.
- Install baffles (rafter vents) at the eaves so insulation does not block soffit airflow, and build dams around the attic hatch and any chimney or flue clearances.
- Place depth markers (rulers or stakes) every few hundred square feet so you can verify target depth as you work.
- Set up the blower at ground level with a helper feeding bags into the hopper while you spray from the attic, starting at the farthest corner and working back toward the hatch.
- Blow insulation evenly over the joists and bury them slightly, then check depth with your markers and fill in low spots before cleaning up.
- Request quotes from at least three insulation contractors and ask each to measure your existing depth and explain the target R-value for your climate zone.
- Confirm the quote includes air sealing, baffles, and attic hatch insulation, not just spraying material over the floor.
- Ask whether they offer a blower door test or thermal imaging before and after, which proves the air leakage and coverage improvements.
- Check for utility rebates and tax credits before signing, as these can offset 10 to 30% of the cost.
- After installation, verify depth markers show a uniform level and confirm that soffit vents and recessed lights are clear.
Why It Works: The Benefits
A properly insulated attic at R-38 to R-60 can reduce nighttime temperature drift by several degrees, so your bedroom stays closer to your thermostat setting from bedtime to sunrise.
The EPA estimates that air sealing plus adding insulation can save an average of 15% on heating and cooling costs, or about 11% on total energy use.
When heat moves slowly through the ceiling, your furnace or AC runs fewer, longer cycles instead of frequent short bursts. That reduces wear and can extend equipment life.
Blown-in fills around joists, wiring, and odd-shaped spaces, which can improve effective performance by 10 to 25% compared with batts that have gaps or compression.
Dense loose-fill material also dampens sound from outside, helping bedrooms feel calmer overnight.
💰 Savings Impact by Action
Sealing ceiling penetrations and the attic hatch can reduce heating and cooling energy loss by roughly 15%.
Bringing a thinly insulated attic up to R-49 can cut heating and cooling costs by 10 to 20%.
Slower heat transfer through the ceiling reduces short-cycling, trimming runtime by up to 10%.
Replacing gapped or compressed batts with continuous loose-fill can recover up to 25% of lost real-world performance.
🏠 Key Concepts Explained
The Science Behind It
Heat always flows from warm to cool, and the rate depends on the temperature difference and the resistance in between. That resistance is the R-value. On a winter night, your warm living space pushes heat up through the ceiling toward the cold attic, while in summer the roof soaks up sun all day and pushes heat down into the house long after sunset. Better insulation slows both flows, which is why bedrooms drift less overnight.
Blown-in insulation outperforms many installed batts mainly through coverage rather than a higher lab R-value. Batts are manufactured to fit standard framing spacing, but real attics have wiring, pipes, bracing, and irregular joist spacing. Every gap or compressed section becomes a thermal bypass, and even small voids can reduce overall performance noticeably because heat takes the path of least resistance. Loose-fill flows around obstacles and settles into the gaps, forming a continuous blanket.
Material choice also affects timing. Cellulose has higher density and some thermal mass, which adds a slight lag to temperature changes, while fiberglass is lighter and relies mostly on trapped air. Air movement is the other big factor: without air sealing, warm air rises through the ceiling by stack effect and carries heat with it, bypassing the insulation entirely. That is why the best overnight stability comes from pairing a continuous insulation layer with a well-sealed ceiling.
Frequently Asked Questions
▼ Why is my bedroom still warm at night even after adding insulation?
Check for air leaks around recessed lights, the attic hatch, and ductwork running through the attic, since these can bypass insulation entirely. Also confirm soffit vents are not blocked and consider whether west-facing windows or an uninsulated knee wall is feeding heat into that room.
▼ Can renters do this without landlord permission?
Attic insulation is a building modification, so you will need your landlord’s approval. Renters can still improve overnight comfort with draft stoppers, insulated curtains, window film, and by asking the landlord to schedule an upgrade, which can lower their utility costs.
▼ How long before I actually notice savings on my bill?
You will often feel the comfort difference the first night, while bill savings show up within the first full billing cycle of extreme weather. Compare your usage in kWh or therms to the same month last year, adjusted for weather, for the clearest picture.
▼ What if my home is older than 30 years?
Older homes often have thin or settled insulation and more air leaks, so they tend to see bigger gains. Check for knob-and-tube wiring (which must not be covered by insulation without an electrician’s approval) and test any vermiculite for asbestos before disturbing it.
▼ Is cellulose or fiberglass better for overnight stability?
Cellulose has a higher R-value per inch and greater density, which slows airflow within the material and adds a bit of thermal lag. Blown fiberglass is lighter, does not absorb moisture as readily, and performs well when installed to the proper depth, so either works if the depth and air sealing are right.
Quick Tips
- Check your attic depth this weekend with a ruler: if you can see the tops of your joists, you almost certainly need more insulation.
- Aim for R-38 to R-60 in most climate zones, and check the DOE climate zone map to match your recommendation.
- Seal the attic hatch with weatherstripping and a foam board cover, a $20 fix that often makes a noticeable difference.
- Look into utility rebates and federal tax credits for insulation before you buy, since they can cover a meaningful share of the cost.
- Re-measure depth after a year, because loose-fill cellulose can settle 10 to 20%, and top off if needed.
Variations for Your Situation
- Apartment/Rental: You cannot touch the attic, so focus on what you control. Use insulated cellular shades ($40 to $120 per window), apply removable window insulation film ($15 per window), and place draft stoppers at exterior doors ($10 each). Ask your landlord whether the building has an upgrade plan or utility rebate program.
- Tight Budget (under $50): Weatherstrip and insulate the attic hatch ($20 to $30), caulk visible gaps around ceiling penetrations ($10), and rake existing insulation back over thin spots. These steps cost almost nothing but can cut the worst air leakage and improve overnight comfort.
- Older Home (pre-1980): Expect thin or settled insulation, extensive air leaks at the top plates, and possibly vermiculite or knob-and-tube wiring. Have a pro inspect before blowing in material, then target R-49 to R-60 with thorough air sealing, since older homes often see the biggest payback, sometimes under 3 years.