
Your attic is the single biggest source of heat loss in most homes, yet the average homeowner goes years without ever opening the hatch. According to the U.S. Department of Energy, heating and cooling account for roughly 50% of a home’s total energy use, and a poorly sealed, under-insulated attic can be responsible for 25 to 35% of that loss. That translates directly into real money leaving your wallet every month from November through March.
The good news is that identifying the problems does not require a professional energy auditor or expensive equipment. A focused attic inspection, done in a single afternoon, can pinpoint air leaks, insulation gaps, exhaust vent problems, and moisture issues before they become costly repairs. Most of what you find can be fixed for under $100 in materials, with payback measured in weeks rather than years.
This post walks you through a complete attic inspection checklist, explains what you are looking for and why it matters, and gives you two clear action paths: a quick assessment you can do in 30 minutes, and a full DIY fix-up that could realistically save you $400 or more this heating season alone.
What You’ll Need
Click on an item below to shop for the recommended items for this recipe on Amazon.
As an Amazon Associate, we earn from qualifying purchases.
How to Do It
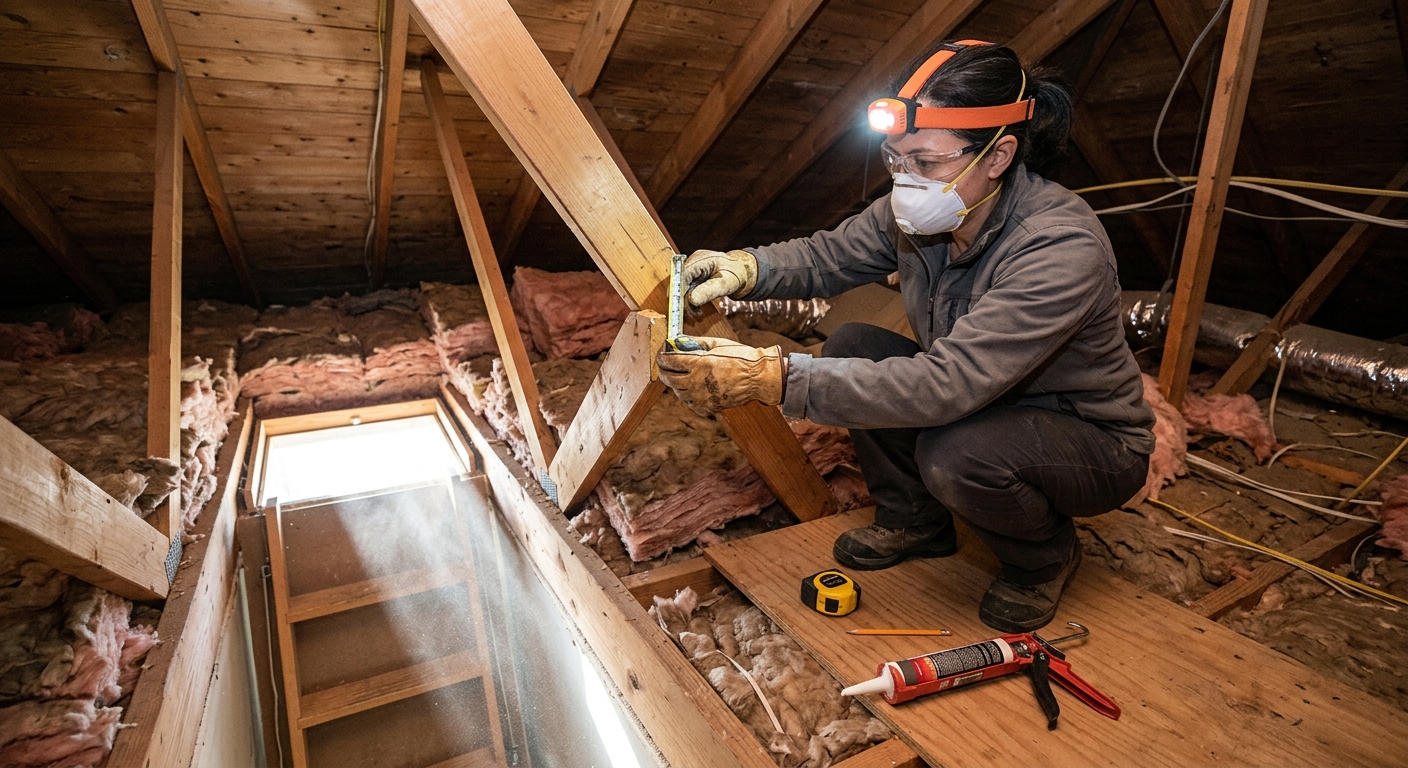
- Gather your supplies before you go up: a flashlight or headlamp, your phone for photos, a tape measure, and a dust mask. Do not enter the attic without eye and respiratory protection.
- At the attic hatch, check whether it has any insulation on top and whether it seals flush against the frame. A bare, unsealed hatch can lose as much heat as leaving a window cracked open all winter.
- Once inside, measure the depth of existing insulation at three or four spots across the floor. Multiply depth in inches by roughly 2.5 for fiberglass batts or 3.7 for blown-in cellulose to estimate R-value. Most cold climates need R-49 to R-60; most moderate climates need R-38.
- Shine your light along the top plate (the wall framing at the edges of the attic floor) and look for any gaps, holes, or areas where you can see daylight or feel a draft. These are major air leak points.
- Look up at the roof deck for any dark staining, streaking, or fuzzy growth, which indicates moisture intrusion or condensation. Check that soffit vents are not blocked by insulation pushed against the eaves.
- Photograph everything you find including insulation depth, visible gaps, staining, and duct conditions. Note the location of each issue relative to the hatch so you can find it again during repairs.
- Seal the attic hatch first. Cut rigid foam board (R-10 minimum) to fit the hatch lid and glue it in place with construction adhesive. Add self-adhesive foam weatherstripping around the perimeter of the hatch frame so it compresses to a tight seal when closed.
- Seal all top-plate gaps using canned spray foam for openings under 3 inches and backer rod plus caulk for larger gaps. Work your way around the full perimeter of the attic, sealing every wire, pipe, and duct penetration through the top plates.
- Seal around all recessed light cans (if accessible from above) using an approved intumescent sealant rated for contact with insulation, or install pre-made recessed light covers designed for attic application. These fixtures are among the largest single air leak points in most homes.
- Seal around plumbing vent stacks, flue pipes (using high-temperature caulk rated for flue proximity), electrical boxes, and any other penetrations through the attic floor. Use a can of spray foam to fill the gap around bath exhaust fan housings.
- Check that all bathroom and kitchen exhaust fans vent completely outside through the roof or gable wall, not just into the attic. Reconnect any disconnected or sagging flex duct runs using foil tape and clamps.
- Once all air sealing is complete and cured, add blown-in insulation or unfaced fiberglass batts on top of the existing insulation to bring the total to the recommended R-value for your climate zone. Use soffit vent baffles to maintain an airflow channel at the eaves before insulating near the edges.
- Contact your utility company or visit the ENERGY STAR website to find certified home energy auditors in your area. Ask specifically about blower door testing, which uses a calibrated fan to pressurize your home and measure total air leakage far more precisely than a visual inspection.
- During the audit, accompany the auditor through the attic so you understand what they find and can ask questions. Request a written report with prioritized recommendations and estimated savings for each measure.
- Get two to three quotes from insulation contractors who are BPI-certified or auditor-recommended. Ask each contractor to specify the R-value they will achieve, the material they will use, and whether they include air sealing in their scope.
- Ask your contractor about the Mass Save, Weatherization Assistance Program, or your state’s equivalent before signing. Federal tax credits under the Inflation Reduction Act currently cover 30% of insulation costs up to $1,200 per year.
- After work is complete, request a post-installation blower door test to confirm that air leakage has measurably decreased. A quality contractor will offer this or support you in arranging it through your utility.
Why It Works: The Benefits
Air sealing attic bypasses alone can reduce heating costs by 15 to 20% annually, according to ENERGY STAR data. Combined with insulation upgrades to R-38 or R-49, total annual savings of $200 to $500 are realistic for most single-family homes.
Cold ceilings and drafty rooms in winter are almost always traced back to attic air leaks. Sealing those leaks eliminates the cold radiant effect from your ceiling, making rooms feel warmer at the same thermostat setting.
Catching condensation, staining, or blocked ventilation early prevents the mold and rot that can cost $2,000 to $10,000 to remediate. A single inspection visit can identify these problems before they escalate.
Poor attic ventilation traps heat and moisture that degrades sheathing and shingles from the inside out. Correcting ventilation imbalances can add years to your roof’s effective lifespan, deferring a $8,000 to $15,000 replacement.
If ducts run through your attic, sealing and insulating them can reduce HVAC energy use by up to 30%, since conditioned air traveling through an unconditioned 130-degree attic in summer loses a substantial portion of its cooling capacity before it ever reaches your living space.
💰 Savings Impact by Action
Sealing attic bypasses and penetrations reduces whole-home heating load by 15 to 20% by eliminating the stack effect’s largest escape route.
Upgrading attic insulation from R-19 to R-49 reduces ceiling heat loss by up to 15%, with the biggest gains in extreme cold climates.
Insulating and weatherstripping the attic hatch alone eliminates a gap that can account for 5% of total ceiling heat loss in an otherwise insulated attic.
Sealing leaky ducts that run through unconditioned attic space can reduce HVAC energy consumption by up to 30% according to ENERGY STAR data.
Rerouting bath fans that dump into the attic prevents moisture-driven insulation degradation that can reduce effective R-value by 8 to 12% over time.
🏠 Key Concepts Explained
The Science Behind It
Heat moves through your home’s envelope in three ways: conduction (through solid materials), convection (via moving air), and radiation (infrared energy traveling through space). Insulation primarily addresses conduction, slowing the rate at which heat flows through your ceiling materials. But when air is allowed to move freely through gaps in the attic floor, it carries heat by convection at a rate that completely overwhelms whatever insulation is present. This is called a thermal bypass, and it is why a heavily insulated attic with unsealed penetrations still performs poorly.
The stack effect amplifies this problem in winter. As warm air inside your home rises and escapes through ceiling gaps, it creates a slight negative pressure at lower levels that pulls cold outside air in through foundation cracks and lower-floor gaps. Your home acts like a chimney, with the attic as the flue. Every gap you seal in the attic directly reduces this suction effect throughout the entire house, which is why attic air sealing delivers savings that exceed what the insulation math alone would suggest.
Moisture behavior in the attic is governed by vapor pressure gradients. In winter, warm humid indoor air is under higher vapor pressure than the cold dry outdoor air. That pressure differential drives moisture-laden air toward the cold roof deck. If it condenses before escaping through ventilation, you get the mold, rot, and insulation saturation that shortens both your roof life and your insulation’s effective R-value. Proper air sealing reduces the volume of humid indoor air reaching the attic, while balanced soffit-to-ridge ventilation ensures that any moisture that does get in can exit before causing damage.
Frequently Asked Questions
▼ I added insulation but my heating bills are still high. What did I miss?
Insulation alone without air sealing rarely delivers the full expected savings. Go back and focus on air sealing the top plates, hatch, and all penetrations before adding more insulation on top. Also check whether your HVAC ducts run through the attic, as leaky ducts can negate insulation improvements entirely. A blower door test from a certified auditor will tell you exactly how much air leakage remains and where it is concentrated.
▼ How do I know if my current insulation is enough?
Measure the depth at several spots and use these benchmarks: fiberglass batts deliver roughly R-2.5 per inch, blown fiberglass about R-2.2 per inch, and cellulose about R-3.7 per inch. Most cold-climate homes (DOE Climate Zones 4 through 7) need R-49 to R-60 in the attic. If your math comes out below that target, you are under-insulated and losing money every day the furnace runs.
▼ Can I do this inspection and work safely if I have a very shallow or tight attic?
If your attic is too shallow to move around in safely (under about 30 inches of clearance), limit your inspection to what you can see and reach from the hatch. In these cases, a professional with the right equipment and experience is the safer and often more effective choice. Attempting air sealing in a cramped space without adequate movement increases the risk of falls through the ceiling or prolonged exposure to insulation fibers.
▼ What if I find gray or silver-colored granular insulation that looks like pebbles?
Stop immediately. That description matches vermiculite insulation, which was widely used before 1990 and can contain asbestos. Do not disturb it, sweep it, or vacuum it. Have a sample tested by a certified lab (test kits run about $30 to $50 with mail-in lab analysis) before doing any further work. If it tests positive for asbestos, you will need a licensed abatement contractor to handle it.
▼ My bathroom exhaust fan vents into the attic. Is that a big deal?
Yes, this is a significant problem and a building code violation in most jurisdictions. Dumping warm, humid bathroom air directly into your attic in winter is a primary cause of mold, rot, and sheathing damage. Rerouting the duct to exit through the roof or a gable vent is a straightforward DIY job using flexible insulated duct and a roof cap kit, costing about $40 to $80 in materials and taking two to three hours.
Quick Tips
- Do your attic inspection on a cold, windy day and you may actually feel the air moving through gaps, making them much easier to locate than under calm conditions.
- Use a cheap infrared thermometer gun to scan the attic floor from inside your living space first. Cold spots on the ceiling directly correspond to insulation voids or air leaks above.
- Expanding spray foam cures to a paintable, cuttable solid in about 8 hours. Apply it slightly proud of the gap and trim flush with a bread knife once cured rather than overfilling and creating a mess.
- Batt insulation loses roughly 40% of its rated R-value when compressed by even an inch. Never stack heavy storage on top of attic insulation, and use raised attic storage platforms if you need the space.
Variations for Your Situation
- Apartment or Condo: Residents in multi-unit buildings typically cannot access or modify the attic directly. Instead, focus on what you can control: add a draft stopper to the front door, use insulating cellular shades on windows, and request that your building manager schedule a professional energy inspection. If you have a top-floor unit, drafty ceilings and high heating bills are strong indicators your HOA or landlord should be addressing attic insulation above your unit.
- Tight Budget (under $50): Skip the insulation top-up for now and focus entirely on air sealing, which delivers most of the savings at a fraction of the cost. A can of expanding spray foam ($8), a tube of fire-rated caulk ($6), and a roll of foam weatherstripping for the hatch ($10) can seal the most impactful leaks in your attic for under $30. Prioritize the hatch, top plates, and any visible light fixture penetrations first.
- Older Home (pre-1980): Homes of this era often have no insulation at the eaves, knob-and-tube wiring that cannot be covered with insulation without an electrician’s sign-off, and original single-pane recessed fixtures with no air sealing. Have an electrician confirm whether any knob-and-tube wiring remains active before adding insulation. Budget more time for sealing because older construction has far more and larger penetrations than modern framing, and expect total air sealing costs to run 30 to 50% higher than in a newer home.