Hold your hand near a light switch on an exterior wall on a windy winter day and you may feel a thin stream of cold air. That is not your imagination. The electrical box behind the switch plate is basically a hole cut into your wall, and in many homes it connects directly to wall cavities, the attic, or the crawlspace. Air moves freely through it, carrying heated air out and cold air in.
Any single switch leaks only a small amount of air, but a typical home has 20 to 40 switches and outlets, and the ones on exterior walls are the worst offenders. The U.S. Department of Energy estimates that air leakage accounts for 25 to 40 percent of the energy used for heating and cooling in a typical home. Outlets and switches are a small but easy piece of that puzzle, and they are among the cheapest leaks to fix.
This post walks you through two ways to fix it: a 15-minute quick fix using foam gaskets, and a more thorough DIY upgrade using fire-rated sealant and airtight boxes. Both are safe for a beginner when done correctly, and both start with one critical step: turning off the power.
What You’ll Need
Click on an item below to shop for the recommended items for this recipe on Amazon.
As an Amazon Associate, we earn from qualifying purchases.
How to Do It
- Turn off power to the switch at the breaker panel, then confirm it is dead using a non-contact voltage tester held near the switch. Never skip this step.
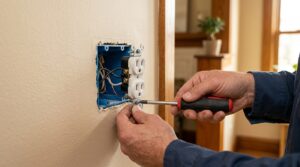
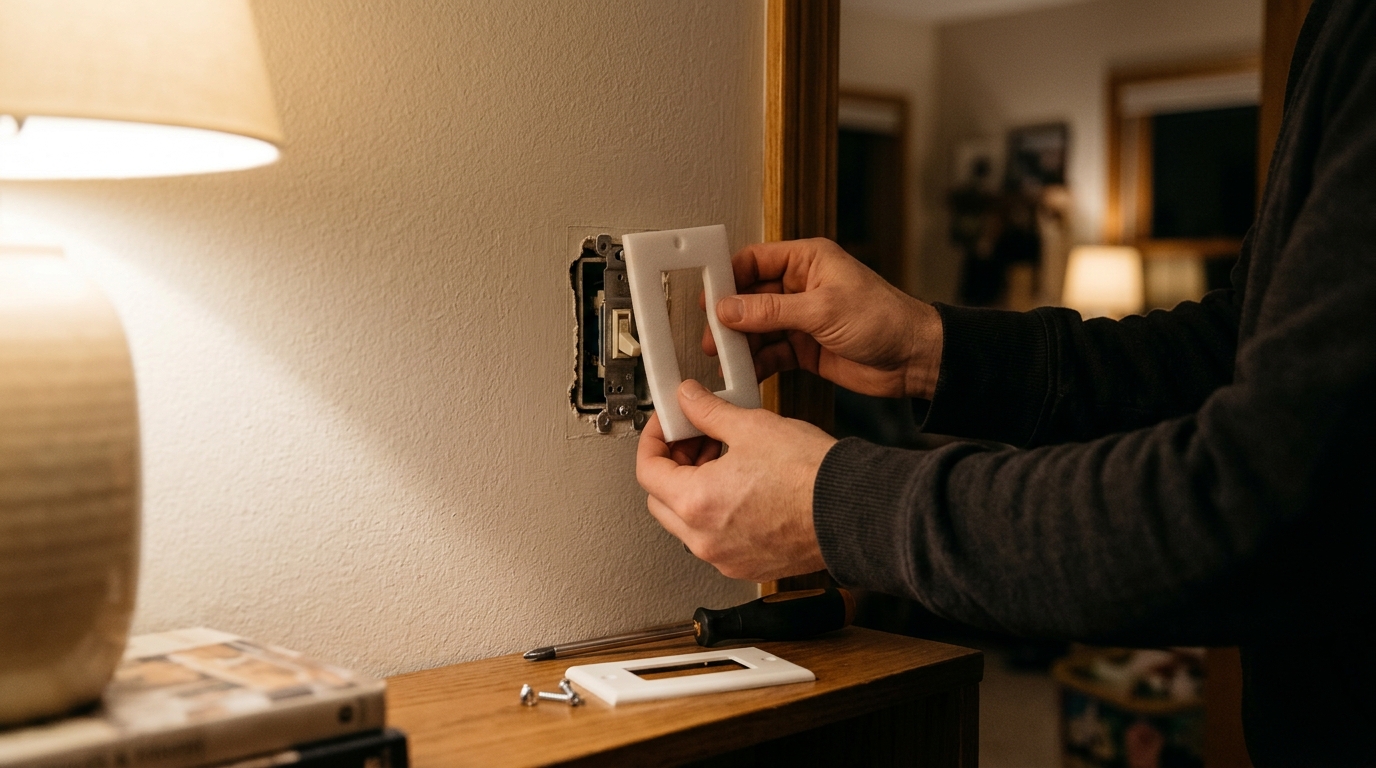
- Unscrew and remove the switch cover plate. Do not unscrew the switch itself from the box. The cover plate alone is all you need to remove.
- Place a pre-cut foam gasket over the switch so that it sits flat against the wall. Gaskets are sold by switch type (standard toggle, decorator, outlet), so match the shape.
- Press the gasket into place so the foam sits snugly around the switch body and fills any visible gap between the switch and the wall opening.
- Reinstall the cover plate and tighten the screws until snug but not overtightened, which can crack the plate.
- Restore power at the breaker and test the switch. Then hold your hand near the plate to confirm the draft is gone.
- Turn off power at the breaker and verify with a non-contact voltage tester. Remove the cover plate.
- Inspect the gap between the edge of the electrical box and the drywall. If you see a visible crack, run a thin bead of acrylic latex or fire-rated caulk around the outside edge of the box where it meets the drywall.
- Seal the wire openings on the back of the box using a small amount of fire-rated putty or sealant around where cables enter. Keep sealant away from the switch terminals and wiring connections.
- Install a foam gasket as in the quick fix, pressing it flat against the wall surface.
- For persistent leaks, consider replacing the standard box with an airtight electrical box (sold as a vapor barrier or air-sealed box), which has built-in gaskets and wire seals. This is more involved and is best done if you are already opening the wall.
- Reinstall the cover plate, restore power, and test the switch. Check for drafts again using the back of your hand or a stick of incense.
Why It Works: The Benefits
Sealing a whole house worth of switches and outlets can trim 1 to 3 percent off your energy bill. On a $2,000 annual energy spend, that is $20 to $60 per year for a project that costs about $10.
Stopping air movement near walls makes rooms feel more consistent, and you can often lower your thermostat 1 to 2 degrees without noticing a difference.
Air leaking through walls carries dust, pollen, and insulation fibers into your living space. Sealing the boxes reduces that pathway.
Air gaps are also sound gaps. Sealing electrical boxes can slightly dampen traffic and street noise on exterior walls.
Foam gaskets cost about $4 to $8 for a pack of 10 to 20, and the work needs only a screwdriver.
💰 Savings Impact by Action
Sealing all exterior-wall switches and outlets can trim 1 to 3 percent from heating and cooling costs.
Caulking the box perimeter and wire penetrations stops air from traveling through wall cavities.
Combining switch sealing with door, window, and attic sealing can cut energy use by 10 to 20 percent per ENERGY STAR.
Eliminating drafts lets you lower the thermostat by 1 to 2 degrees, saving about 1 percent per degree.
🏠 Key Concepts Explained
The Science Behind It
Your home is never perfectly sealed. Air moves from high pressure to low pressure through every available opening. In winter, warm air rises and escapes near the ceiling, which lowers the pressure at the bottom of the house and draws cold air in through low openings. This is called the stack effect, and it is strongest when the temperature difference between inside and outside is large. Wind adds to the effect by pushing air through gaps on the windward side of the house.
Electrical boxes are particularly leaky because they are holes cut into the air barrier of the wall, and they are connected to hidden pathways. Wires run through drilled holes in studs, plates, and joists, and those holes often link wall cavities to the attic, crawlspace, or other rooms. So the switch plate is just the visible end of a much larger airflow path. Researchers using blower door tests have found that outlets and switches can account for a measurable share of a home’s total air leakage, especially in homes built before modern air sealing practices.
A foam gasket works by blocking airflow at the visible surface, which breaks the path from the wall cavity into your room. It does not insulate in a meaningful way, since the foam is thin, but air sealing matters more than insulation at this scale. Stopping the air movement removes the convective heat loss and the draft sensation. For a more complete fix, sealing the box edges and wire penetrations addresses the leak at its source and stops air from traveling through the wall cavity at all.
Frequently Asked Questions
▼ I installed gaskets but I still feel a draft near the switch. What now?
The leak is probably around the outside edge of the box or through the wire holes, which the gasket does not cover. Remove the plate and run a thin bead of fire-rated or acrylic latex caulk where the box meets the drywall, and seal the wire entries with fire-rated putty. If the draft continues, an airtight box replacement may be needed.
▼ Can renters do this without landlord permission?
Yes, foam gaskets are fully reversible. Just remove the cover plate, add the gasket, and replace the plate. No wall changes are needed, and you can remove the gaskets when you move out. Still, turn off the breaker first, and skip any caulking work unless your lease allows it.
▼ How long before I notice savings on my energy bill?
You will feel the comfort difference right away, but the bill impact is small and hard to isolate. Expect roughly 1 to 3 percent savings across a heating season if you seal all exterior-wall boxes. Compare your bill to the same month last year, adjusted for weather, to see the effect.
▼ What if my home is older than 30 years?
Older homes tend to leak more, so you will likely see a bigger improvement. Be extra careful about wiring condition, though. If you see cloth-covered wires, brittle insulation, or aluminum wiring, stop and call an electrician before sealing anything near the box.
▼ Are foam gaskets a fire hazard?
Gaskets made for switches and outlets are designed to be safe in this application and are widely sold at hardware stores. Use only products labeled for electrical boxes, and never substitute household foam, paper, or insulation scraps. Gaskets do not replace proper wiring or covers.
Quick Tips
- Start with exterior walls only. Interior wall switches and outlets rarely leak enough to justify the effort or cost.
- Buy gaskets sized for your plates. Standard toggle, decorator (rocker), and outlet gaskets are not interchangeable, so check before you buy.
- Do the job on a windy, cold day if you can. The draft is easiest to feel and you will see the improvement right away.
- Pair this project with weatherstripping your doors and sealing window gaps. Together these small fixes can add up to 5 to 10 percent savings on heating and cooling.
Variations for Your Situation
- Apartment/Rental: Stick with foam gaskets, which are removable and need no permission. A 10-pack runs about $5 to $8 at any hardware store. Focus on exterior-wall switches and outlets, and skip caulking unless your lease permits it. Always turn off the breaker or ask maintenance if you cannot access the panel.
- Tight Budget (under $50): Buy a single gasket multipack for about $6 and a tube of paintable acrylic caulk for about $5. Prioritize the 5 to 8 switches and outlets on north and west exterior walls, where wind exposure is worst. Use incense smoke to find the leakiest ones and seal those first.
- Older Home (pre-1980): Expect more leakage and possibly outdated wiring. Inspect before you seal, and call an electrician if you find cloth wiring or aluminum conductors. Pair gaskets with caulking around the box edges, since old plaster or lath walls often have larger gaps around electrical boxes than modern drywall.