You paid for double-pane windows, so why does the room next to them still feel like a refrigerator at 10 p.m.? Because a standard double-pane window is a surprisingly weak part of your home’s thermal barrier. A typical wall is rated around R-13 to R-19, while a standard double-pane window with a clear glass and air-filled gap sits near R-2 to R-3. Windows are the thinnest, leakiest, least-insulated surface in your home, and they only get worse after sunset.
On a cold night, three things happen at once. Heat conducts through the glass and frame, warm indoor air leaks through gaps around the sash and trim, and your body radiates heat toward the cold glass surface, which makes you feel chilly even when the thermostat says 70 degrees. Add in worn weatherstripping, a failing seal, or an aluminum frame, and the performance drops further. The Department of Energy estimates windows account for 25 to 30 percent of residential heating and cooling energy use.
This post breaks down exactly why double-pane windows underperform on cold nights, and gives you two practical paths: a fast, low-cost quick fix you can finish this weekend, and a more thorough DIY upgrade that tackles air leaks and insulation value for the long haul.
What You’ll Need
Click on an item below to shop for the recommended items for this recipe on Amazon.
As an Amazon Associate, we earn from qualifying purchases.
How to Do It
- Do the draft test first: on a cold, windy night, hold a lit incense stick or a strip of tissue near the sash edges and trim. Movement means an air leak to fix.
- Apply removable rope caulk or peel-and-stick foam weatherstripping to any gaps you found, especially where the sashes meet in the middle and along the bottom rail.
- Install heat-shrink window insulation film on the interior side of the frame. Apply double-sided tape, attach the film, then use a hair dryer to pull it tight. This adds a still air layer and can improve the window’s effective R-value by about 1.
- Hang insulated or thermal-lined curtains that reach the floor or at least the sill, and close them at dusk. Seal the sides and top with a valance or tight mounting to trap air against the glass.
- Open curtains on sunny winter days to let solar heat in, then close them again at sunset.
- Remove old, cracked, or compressed weatherstripping from the sash and frame. Clean the channels with rubbing alcohol so new material adheres.
- Install new weatherstripping suited to your window type: V-strip (tension seal) for double-hung sides, foam or rubber bulb strips for the bottom rail, and compression seals for casements.
- Scrape out failed caulk around the exterior trim and interior casing, then apply a flexible, paintable, 50-year or silicone-acrylic exterior caulk. Fill gaps under 1/4 inch with caulk, and use low-expansion foam for larger gaps around the rough opening.
- Add cellular (honeycomb) shades with side tracks, or insulating roman shades. Quality cellular shades can cut winter heat loss through the window by 20 to 40 percent, depending on cell count and edge sealing.
- Install low-e storm window inserts or interior acrylic panels for the coldest windows. These can reduce heat loss and drafts by 30 to 50 percent and are an affordable alternative to full replacement.
- Re-check with the draft test and a hand held near the glass, then note any remaining problem windows for future replacement.
Why It Works: The Benefits
Sealing leaks and adding insulating layers can reduce window heat loss by 10 to 25 percent, which often translates to 5 to 10 percent off your total winter heating bill.
Reducing radiant heat loss raises the interior glass surface temperature by 5 to 10 degrees, so you feel comfortable at a thermostat setting 1 to 2 degrees lower.
A warmer glass surface and fewer air leaks reduce moisture buildup, protecting window frames and sills from rot and mold.
Weatherstripping and caulk eliminate the cold air streams that make seating and beds near windows unusable on winter nights.
Most window sealing and film projects cost $20 to $100 and pay for themselves in one to two heating seasons, far faster than window replacement at $600 to $1,500 per window.
💰 Savings Impact by Action
Weatherstripping and caulking around sashes and trim can reduce infiltration through the window by 15 to 25 percent.
Interior shrink film adds a still air layer and reduces conductive heat loss by roughly 10 to 20 percent.
Sealed-edge honeycomb shades can cut nighttime heat loss through glass by 20 to 40 percent.
Low-e interior storm panels can reduce total window heat loss by 30 to 50 percent compared to a bare double-pane.
Closing insulated curtains at sunset instead of bedtime captures an additional 5 to 15 percent in nighttime savings.
🏠 Key Concepts Explained
The Science Behind It
Heat always moves from warm to cold, and a double-pane window gives it three routes. Conduction carries heat through the glass and frame. Convection moves air along the glass surface, so the thin layer of air next to cold glass cools, sinks, and creates a draft-like current that pulls more warm air in behind it. Radiation sends infrared energy from your warm skin and furniture straight into the cold glass, which is why sitting near a window feels colder than the air temperature suggests.
A standard double-pane window has a U-factor of roughly 0.45 to 0.60, meaning for every degree of temperature difference, about half a BTU per hour leaks through each square foot. With a 40-degree gap between indoors and out, a 15-square-foot window can lose around 300 BTUs per hour, around the same as several people sitting in the room giving off heat in reverse. Argon fill and low-e coatings improve this to about 0.25 to 0.30, but only if the seal is intact.
At night, windows lose heat with no solar gain to offset it. During the day, south-facing glass can actually bring in more heat than it loses, but after sunset it becomes a net loss. Adding a layer of trapped, still air (through film, cellular shades, or storm inserts) interrupts convection and slows conduction, and the improvement is real: each added still-air layer of about 1/2 inch adds roughly R-1 to the assembly.
Frequently Asked Questions
▼ Why is there frost or condensation on the inside of my double-pane windows?
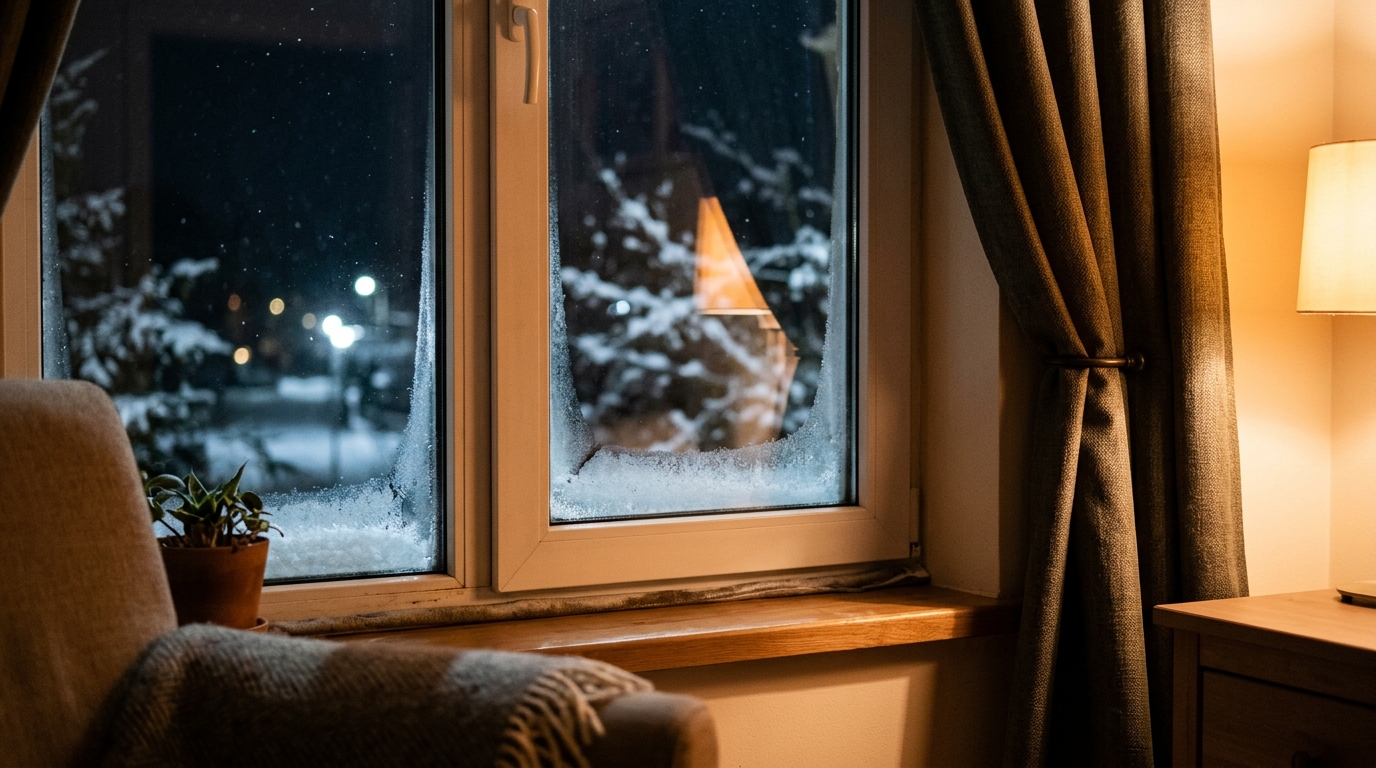
Interior condensation means the glass surface is below the dew point of your indoor air, usually from high humidity combined with cold glass. Lower indoor humidity to 30 to 40 percent in winter with a dehumidifier or by running bathroom and kitchen fans, and improve the glass surface temperature with film or cellular shades. If moisture appears between the panes, the seal has failed and the window unit needs replacement.
▼ Can renters do this without landlord permission?
Yes. Removable rope caulk, peel-and-stick weatherstripping, heat-shrink film applied with removable tape, tension-rod curtains, and thermal curtains are all non-permanent and leave no damage. Avoid exterior caulking or any change to the frame or glass, and check your lease before drilling holes for shade hardware.
▼ How long before I actually notice savings on my bill?
You will feel the comfort improvement the first cold night, but bill savings show up over the next billing cycle or two. Expect roughly 5 to 10 percent off your total winter heating cost if you treat most of your windows, though results vary with climate, window count, and how leaky they were to begin with.
▼ What if my home is older than 30 years?
Older windows often have worn weatherstripping, failed gas seals, and aluminum or single-glazed frames, so start with a draft test and a seal inspection. Air sealing and cellular shades or storm inserts usually deliver the best value, and if more than a few windows show failed seals, consider replacing the worst ones with ENERGY STAR certified units for your climate zone.
▼ Is window replacement ever worth it just for energy savings?
Rarely on energy savings alone. At $600 to $1,500 per window and annual savings of $20 to $60 per window, the payback is often 15 to 30 years or more. Replacement makes the most sense when seals have failed, frames are rotting, or you also want better comfort, noise reduction, and security.
Quick Tips
- Test windows on a cold, windy night with a lit incense stick. If the smoke wavers or streams sideways, you have an air leak worth sealing.
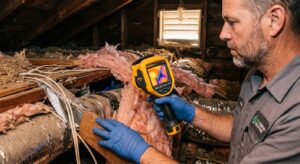
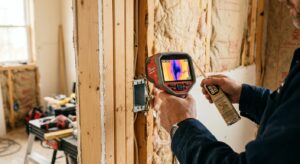
- Use an infrared thermometer to compare glass temperatures. If the edges are more than 5 to 8 degrees colder than the center, the spacer and seal are the weak points.
- Prioritize north-facing and large windows first, since they lose the most heat and gain little solar warmth in winter.
- Do not mount blinds or curtains in a way that blocks a heating vent or baseboard heater, which can trap heat behind the fabric and warp the glass or damage the covering.
Variations for Your Situation
- Apartment/Rental: Stick to removable fixes. Use heat-shrink film with removable double-sided tape ($15 to $25 for a multi-window kit), rope caulk for gaps, and tension-rod or tension-mounted thermal curtains ($20 to $40 per window). Most of these can be removed in spring with no damage to the frame or paint.
- Tight Budget (under $50): Draft-test first, then seal the leakiest windows with rope caulk or foam tape ($8 to $15). Add window film to the 2 or 3 coldest windows ($12 to $20 per kit), and close the curtains you already own at sunset. For extra insulation, tuck a rolled towel along the bottom sash on very cold nights.
- Older Home (pre-1980): Expect higher baseline leakage from worn sash cords, loose-fitting double-hungs, and possible lead paint. Prioritize caulking exterior trim, replacing weatherstripping, and installing interior storm inserts, which can cut heat loss by 30 to 50 percent. Test for lead paint before sanding or scraping any frame, and consider an energy audit to find leakage beyond the windows.