If you have ever lain awake listening to a hum, rattle, whistle, or thump from your furnace or air handler, you know how disruptive it can be. For light sleepers, even a 35 to 40 decibel sound (about the level of a quiet library) can fragment sleep, especially when it cycles on and off every 15 to 20 minutes. The noise is not just annoying. It is often a sign that your system is working harder than it should.
The good news is that most air handler noise comes from a short list of fixable problems: a clogged filter starving the blower of air, loose panels vibrating against the cabinet, a blower wheel out of balance, or ductwork transmitting vibration straight into your walls. These are not mystery problems, and most do not require replacing the equipment.
This post walks you through diagnosing the type of noise you are hearing, a quick fix you can do tonight, a deeper DIY upgrade for stubborn vibration, and when it is time to call a professional. Along the way, you will see how quieting your system often improves airflow and efficiency too.
What You’ll Need
Click on an item below to shop for the recommended items for this recipe on Amazon.
As an Amazon Associate, we earn from qualifying purchases.
How to Do It
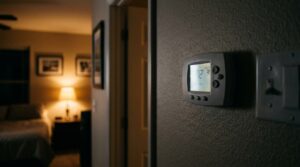
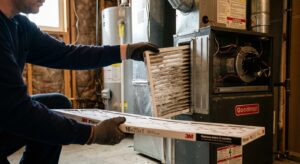
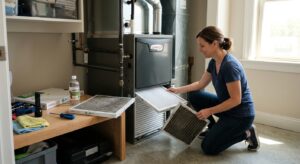
- Turn off power to the air handler at the thermostat and the service switch near the unit, then remove and inspect the air filter. If it is gray, furry, or has not been changed in 3 months, replace it with a clean filter of the same size and a MERV 8 to 11 rating.
- Check that every supply vent and return grille in the house is fully open and unblocked by furniture or rugs. Closing more than 20% of vents raises static pressure and increases whistling and roaring.
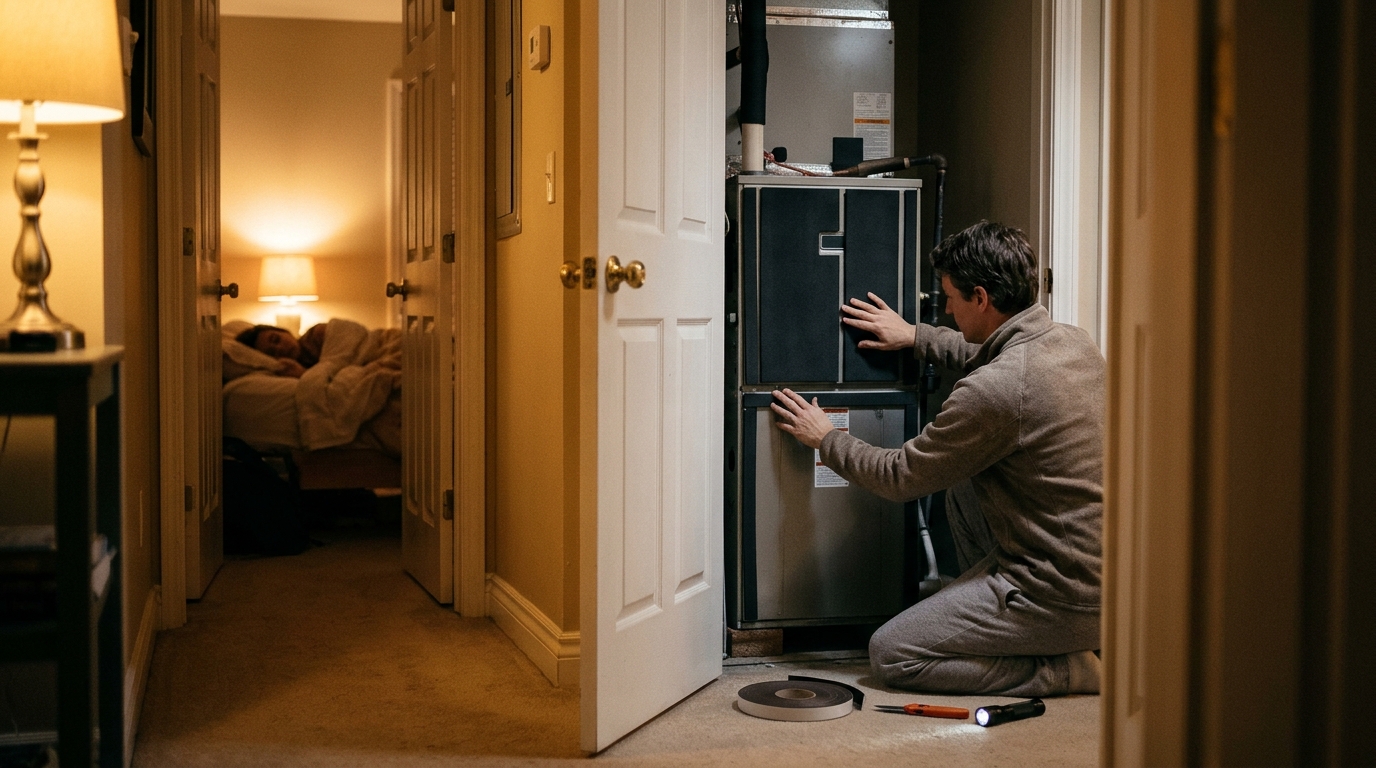
- Tighten all visible screws on the access panels and blower door by hand or with a screwdriver. Press on each panel while the system runs (after restoring power) to see if the rattle changes, which pinpoints the loose spot.
- Look for ducts touching framing, pipes, or other ducts. Gently push the duct away from any contact point and wedge a folded piece of foam or rubber between them to stop the buzzing.
- Run the system and listen at the unit and in the bedroom. Note whether the sound is a whistle (airflow), rattle (loose parts), hum (electrical or motor), or thump (balance), which tells you what to tackle next.
- Install rubber vibration isolation pads under the air handler if it sits on a platform or the floor. Lift one corner at a time (or have a helper tilt it) and slide in dense rubber pads rated for the unit weight, typically $15 to $30 for a set.
- Replace rigid duct connections with a flexible canvas or vinyl connector (about $15 to $25) at the supply and return plenums. This breaks the metal-to-metal path that carries vibration into the ductwork.
- Replace worn or loose duct hangers with padded strap hangers, and add a rubber grommet or foam wrap where ducts pass through framing so they cannot rattle against wood.
- With power off, remove the blower compartment door and use a soft brush and vacuum to clean dust off the blower wheel blades. Do not bend the fins. A clean wheel often eliminates humming and thumping caused by imbalance.
- Seal visible duct seams and joints with foil tape or mastic (not cloth duct tape) to stop air whistling through leaks, which also recovers 10 to 20% of lost airflow in leaky systems.
- Add acoustic duct liner or sound-damping mat to the first 5 to 6 feet of supply duct nearest the air handler if noise still travels into bedrooms, about $20 to $40 for a roll.
- Schedule a tune-up and ask the technician to measure static pressure across the system. Readings above about 0.5 inches of water column indicate a duct restriction or undersized return that is causing noise.
- Have the technician inspect and lubricate or replace blower motor bearings and the capacitor. A failing bearing makes a grinding or squealing sound and a new motor typically runs $400 to $900 installed.
- Ask for a blower wheel cleaning or replacement if deep dirt buildup or a bent blade is found, usually $150 to $350 depending on the unit.
- If the return air path is undersized, discuss adding a return duct or enlarging the return grille. This often drops noise by 5 to 10 dB and improves efficiency at the same time.
Why It Works: The Benefits
Reducing nighttime noise from around 45 dB to under 30 dB can meaningfully reduce sleep disruptions for light sleepers.
Restoring proper airflow by replacing a clogged filter or sealing leaky ducts can cut HVAC energy use by 5 to 15%, according to DOE estimates.
Blower motors running under high static pressure fail sooner. Fixing the airflow problem can extend motor life by years and avoid a $400 to $900 motor replacement.
New noises often signal developing failures like worn bearings or loose belts. Catching them early typically costs $0 to $150 versus $1,000 or more for a breakdown repair.
Correcting airflow restrictions that cause noise also helps rooms heat and cool more evenly, reducing hot and cold spots.
💰 Savings Impact by Action
Replacing a clogged filter restores airflow and can reduce blower energy use by 5 to 15%.
Sealing leaky duct seams recovers up to 15 to 20% of conditioned air lost to unconditioned spaces.
A clean blower wheel moves air more efficiently and can improve system efficiency by 5 to 10%.
Adding or enlarging a return reduces static pressure, cutting blower strain and energy use by 5 to 10%.
🏠 Key Concepts Explained
The Science Behind It
Most HVAC noise comes from two sources: moving air and vibrating metal. Air moving through a duct creates turbulence when it speeds up or hits an obstruction. When velocity climbs past roughly 700 feet per minute in a residential duct, the turbulence becomes audible as whistling or rushing. A dirty filter, closed vents, or an undersized return forces the blower to push the same volume of air through less open space, raising velocity and noise together.
Vibration is trickier because it travels through solids far better than through air. A blower motor spinning at 1,000 RPM or more transmits tiny oscillations into the cabinet, then into the connected ductwork and framing. Sheet metal ducts act like speaker cones, amplifying those vibrations into audible sound. This is why a unit in a basement can seem loud in an upstairs bedroom, because the duct and joists carry the energy directly.
Breaking the vibration path is the key. Rubber pads and flexible connectors work by decoupling the vibrating machine from rigid structure, so energy dissipates instead of traveling. Fixing airflow restrictions helps for a related reason: a blower working against high static pressure draws more current and runs hotter and louder, so correcting the restriction cuts both noise and energy use.
Frequently Asked Questions
▼ Why does my air handler still make noise after I changed the filter?
A new filter only fixes noise caused by restricted airflow. If you still hear rattling, check for loose panels and ducts touching framing. If it is a humming or thumping that follows the blower speed, the blower wheel is likely dirty or out of balance and needs cleaning.
▼ Is a loud air handler a sign it is about to fail?
Not always, but grinding, squealing, or screeching often point to failing bearings or a bad motor and should be inspected within a week or two. Rattles and whistles are usually harmless airflow or loose-part issues. If the noise is new and getting worse, schedule a tune-up before it becomes a breakdown.
▼ Can renters fix air handler noise without landlord permission?
Renters can safely do the filter swap, open blocked vents, and report loose panels or vibrating ducts to the landlord or maintenance. Anything involving opening equipment or modifying ducts should be done by the landlord or their contractor. You can also use a white noise machine or foam-backed return grille covers as a non-invasive workaround.
▼ How long before I notice a difference in sleep or energy bills?
Noise improvement is immediate once the source is fixed, so you should notice it the first night. Energy savings from restored airflow typically show up on your next one or two billing cycles, with average savings in the 5 to 15% range depending on how restricted the system was.
▼ What if my home is older than 30 years?
Older homes often have undersized returns, aging ductwork, and stiff or leaking joints that amplify noise. Focus on sealing duct seams, replacing old rigid connectors with flexible ones, and having a pro check static pressure. Equipment older than 15 to 20 years may be better replaced than repaired if noise persists.
Quick Tips
- Change your filter every 1 to 3 months, and mark the date on the filter frame so you do not guess.
- Run the system on a low continuous fan speed if your equipment supports it. Slower, steadier airflow is often quieter than short loud bursts.
- Place a small piece of foam weatherstrip along the edge of access panels to stop buzzing without any tools beyond scissors.
- Close bedroom doors only if a return grille or door undercut allows air back, otherwise pressure builds and whistling increases.
Variations for Your Situation
- Apartment/Rental: Lead with what you can change without touching the HVAC itself. Replace the filter (about $10 to $20), clear furniture off vents, and add foam weatherstripping around the closet door if the air handler is in a utility closet. Report loose panels or vibrating ducts to maintenance in writing, and use a white noise machine ($20 to $40) as a backup.
- Tight Budget (under $50): Focus on the quick fix: a fresh filter ($8 to $20), tightening panels, wedging foam between ducts and framing, and clearing all vents. Add a $15 to $25 set of rubber vibration pads if the unit sits directly on the floor. This combination solves a majority of noise complaints for the price of a pizza.
- Older Home (pre-1980): Expect leaky, undersized ducts and stiff metal connections. Prioritize sealing seams with foil tape or mastic ($15 to $30), replacing rigid connectors with flexible ones, and having a pro evaluate whether the return air path is large enough. Adding a second return grille in the bedroom hallway can drop noise noticeably while improving airflow.