If your heating bill keeps climbing but your house still feels drafty in certain rooms, you probably have insulation gaps you cannot see. Walls hide their secrets, and attics rarely get a second look. Meanwhile, the Department of Energy estimates that air leaks and inadequate insulation can waste 25 to 40 percent of a home’s heating and cooling energy. That is real money leaving through places you never inspected.
The overnight temperature drop test is a low-tech way to find those weak spots. The idea is simple: turn your heating or cooling system off for a controlled stretch of time, record how fast each room loses or gains temperature, and compare the results. Rooms that change temperature quickly are losing the thermal fight against the outdoors. Rooms that hold steady are well insulated and sealed.
This post walks you through exactly how to run the test, how to read your results, and what to do next. You will find a quick, zero-cost approach for getting a rough diagnosis tonight, a more rigorous DIY method that produces data you can trust, and guidance on when it makes sense to call in a professional with an infrared camera or blower door.
What You’ll Need
Click on an item below to shop for the recommended items for this recipe on Amazon.
As an Amazon Associate, we earn from qualifying purchases.
How to Do It
- Pick a calm evening forecast to drop below 35 degrees Fahrenheit. Avoid very windy nights, which exaggerate air leaks and muddy the results.
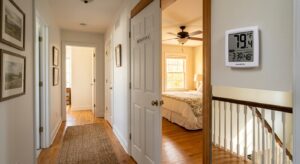
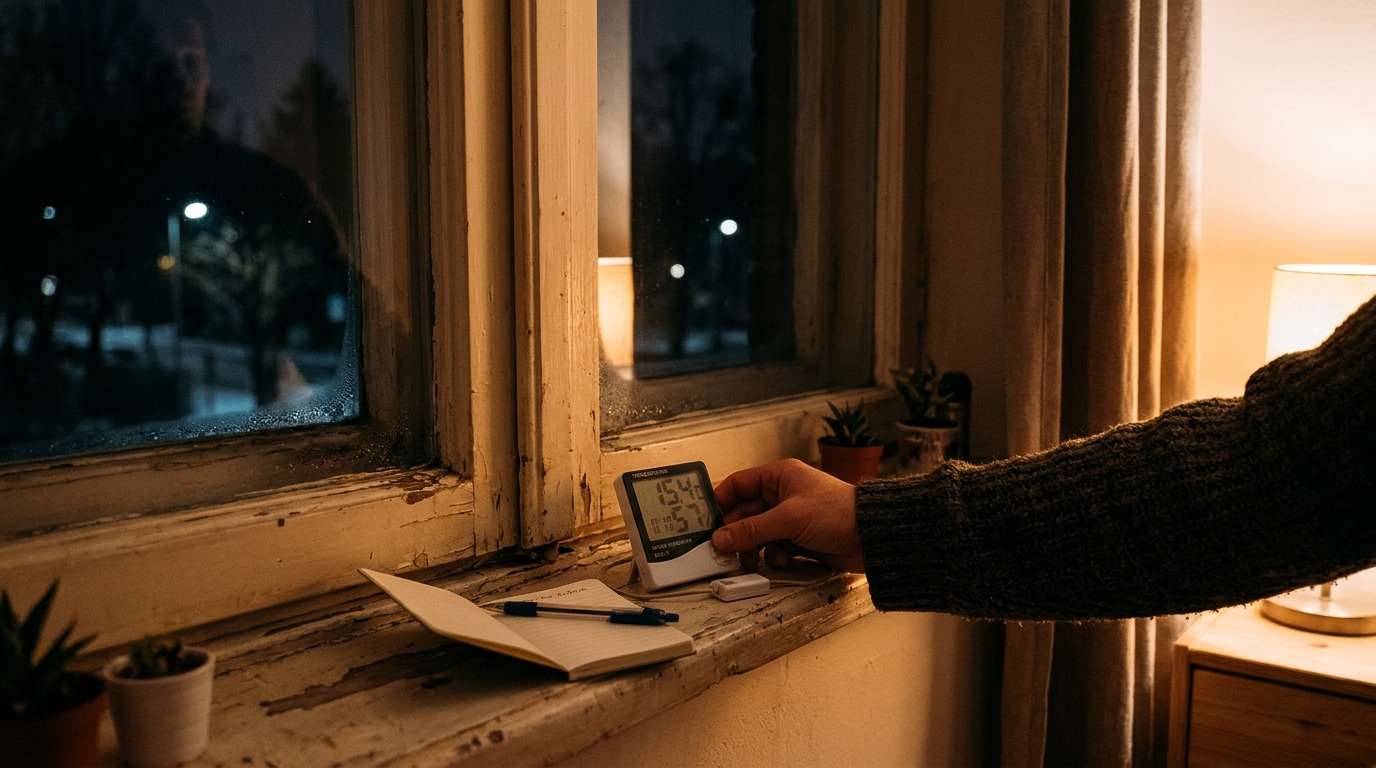
- Place one thermometer in the center of each room you want to test, about 4 feet off the floor and away from windows, vents, and exterior walls.
- Set your thermostat to your normal comfort temperature, let the house settle for an hour, then record each room’s starting temperature.
- Turn the heating system off at bedtime and keep interior doors in their usual position. Do not open windows or run fans.
- Check and record each thermometer first thing in the morning, then subtract to find each room’s overnight drop.
- Rank rooms from biggest drop to smallest. Rooms that lost 2 or more degrees than the average room are your prime suspects for insulation or air sealing problems.
- Buy 4 to 6 low-cost Bluetooth temperature and humidity sensors and place one in each target room, plus one outdoors in a shaded spot to log the outside temperature.
- Pre-heat the house to a steady 70 degrees Fahrenheit for at least 3 hours so walls and furnishings are evenly warmed.
- Shut off the heating system, close interior doors to isolate each room, and let sensors record every 15 minutes for at least 6 to 8 hours.
- Export or screenshot each room’s temperature curve in the morning. A steep, early slope usually means air leakage, while a gradual but steady decline points to poor insulation.
- Compare each room’s drop against the outdoor curve. Calculate degrees lost per hour per room and flag any room losing more than 1 degree per hour.
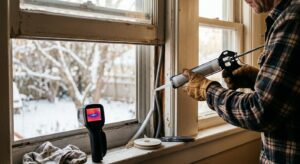
- Follow up on the worst rooms with a flashlight and smoke pencil or incense stick to find drafts at outlets, recessed lights, window trim, rim joists, and the attic hatch.
- Share your temperature drop results with the auditor so they can focus on the rooms you flagged.
- Have them run a blower door test, which depressurizes the house to measure total air leakage and exposes specific leak locations.
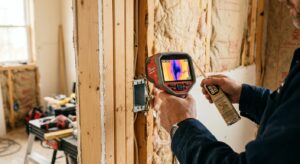
- Ask for infrared camera scans of walls, ceilings, and attic floor to visualize missing or compressed insulation.
- Request a written report ranking recommended fixes by cost and estimated annual savings so you can budget upgrades in priority order.
Why It Works: The Benefits
Instead of insulating the whole house blindly, you learn which rooms lose heat fastest, letting you spend money where it returns the most.
A few $10 to $15 digital thermometers are all you need, compared with $300 to $600 for a professional energy audit.
Sealing and insulating the gaps the test reveals typically trims 10 to 25 percent off annual energy costs, according to ENERGY STAR estimates.
Fixing cold rooms and drafty corners narrows the temperature swing between rooms, often by 3 to 5 degrees Fahrenheit.
Ranking rooms by temperature loss gives you a clear order of operations so you tackle the highest-impact fixes first.
💰 Savings Impact by Action
Sealing cracks and gaps identified by the test can cut total heat loss by up to 20 percent.
Upgrading from R-19 to R-49 in an under-insulated attic reduces heating and cooling costs by 10 to 20 percent.
Adding storm windows, film, or weatherstripping to leaky windows trims 5 to 10 percent off energy use.
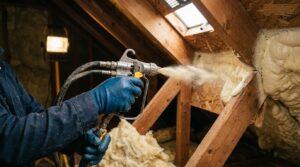
Dense-pack cellulose in uninsulated exterior walls can reduce wall-related heat loss by 12 to 15 percent.
Sealing leaky ducts in unconditioned spaces recovers up to 8 percent of delivered heating and cooling.
🏠 Key Concepts Explained
The Science Behind It
Heat always moves from warm areas to cold areas, and it does so through three paths: conduction through solid materials, convection through moving air, and radiation across open space. Your home’s insulation primarily fights conduction, while air sealing fights convection. When you shut off your heating system overnight, the only thing keeping rooms warm is the thermal mass of your home and how well the envelope resists these three heat flows.
A room’s rate of temperature drop is roughly proportional to its total heat loss divided by its thermal mass. Rooms with thin insulation, drafty windows, or exposed exterior surfaces have a higher heat loss coefficient, so they cool faster. A well-insulated room with R-19 walls and an R-49 attic can lose only 1 to 2 degrees Fahrenheit overnight, while a poorly insulated room may lose 5 to 8 degrees in the same conditions.
Air leakage makes the picture worse because moving air strips heat from surfaces far faster than still air. A gap just one-eighth of an inch wide around a window can leak as much heat as a hole several inches across in an otherwise solid wall once wind and stack effect are factored in. That is why comparing slopes on a time-based graph helps: a sharp early drop suggests leakage, while a slow, steady slide suggests inadequate insulation.
Frequently Asked Questions
▼ Why does one room drop 6 degrees when the rest of my house only drops 2?
A large drop in a single room usually means a specific local problem: missing wall insulation, an uninsulated cantilever or bonus room over a garage, or a significant air leak like a leaky window or attic hatch. Inspect that room with a flashlight and incense stick on a windy night, and check the attic space directly above it for gaps or compressed insulation.
▼ Can renters do this test without landlord permission?
Yes, the test is completely non-invasive since it only uses thermometers and observation. Share your results with your landlord to support requests for weather stripping, window repairs, or attic insulation, and handle small fixes yourself with removable window film, draft stoppers, and door sweeps.
▼ How long before I notice savings on my bill after fixing the gaps?
Air sealing and insulation upgrades start working immediately, but you will see the effect most clearly after one full billing cycle in the same season. To compare fairly, look at heating degree days on your utility bill or use a free tool like your utility’s online usage dashboard to normalize for weather.
▼ What if my home is older than 30 years?
Expect larger temperature drops, often 4 to 8 degrees overnight, because older homes typically have lower insulation levels and more air leakage. Start with air sealing at the attic floor, rim joists, and around windows, since those fixes are cheap and deliver the fastest payback before you invest in new insulation.
▼ Does the test still work if I live in a hot climate and want to find cooling losses?
Yes, reverse the logic. Turn off the air conditioning in the late afternoon on a hot day and track how fast each room warms up over several hours. Rooms that gain heat fastest usually have poor attic insulation, west-facing windows without shading, or leaky ductwork.
Quick Tips
- Test on a night with minimal wind and a clear forecast so results reflect insulation quality, not gusts.
- Keep thermometers out of direct sunlight, away from electronics, and at least 3 feet from exterior walls for accurate readings.
- Run the test again after any air sealing or insulation upgrade to measure how much each fix actually helped.
- Write down room names, orientations (north, south, east, west), and floor levels. Patterns often emerge, such as all north-facing rooms losing heat faster.
Variations for Your Situation
- Apartment/Rental: Focus on removable fixes after your test, such as $15 to $30 window insulation film kits, rope caulk, door sweeps, and foam outlet gaskets. Document the temperature results with screenshots and send them to your landlord to request repairs on larger issues.
- Tight Budget (under $50): Use two or three $10 digital thermometers or even your smartphone’s weather app and a kitchen thermometer. Fix the biggest problems first with $5 tubes of caulk, $10 weatherstripping rolls, and a $15 attic hatch cover, which together can reclaim 5 to 10 percent of heating costs.
- Older Home (pre-1980): Expect to find multiple weak areas, so rank them and tackle attic air sealing and insulation first, since that typically delivers the biggest return. Be cautious about vermiculite insulation and old wiring, and consider an energy audit before opening walls or adding blown-in insulation.