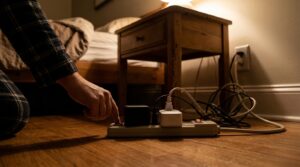
Carbon monoxide (CO) is produced whenever fuel burns incompletely: in gas furnaces, water heaters, fireplaces, stoves, generators, and attached garages with running cars. You cannot see it or smell it, and at moderate levels it causes headaches and nausea that feel like the flu. The CDC estimates that CO poisoning sends roughly 100,000 Americans to the emergency room each year and causes hundreds of deaths, with many cases tied to nighttime exposure.
Night is the riskiest window for a few reasons. Your furnace runs the most when outdoor temperatures drop after dark, windows are shut tight, and you are asleep and cannot notice early symptoms. A sleeping person who is overcome by CO will not wake up to look for the cause. A CO detector is the only warning system that works while you are unconscious, and a detector with a dead or weak battery is just a plastic box on the wall.
This post covers how to check your detectors in about five minutes, when a quick battery swap is enough, and when you should upgrade to hardwired or sealed 10-year units. We also cover where detectors belong, why low-battery chirps always seem to start at 3 a.m., and what an efficient, well-maintained combustion system has to do with all of this.
What You’ll Need
Click on an item below to shop for the recommended items for this recipe on Amazon.
As an Amazon Associate, we earn from qualifying purchases.
How to Do It
- Locate every CO detector in your home. There should be one on each level and one within 10 feet of every bedroom door.
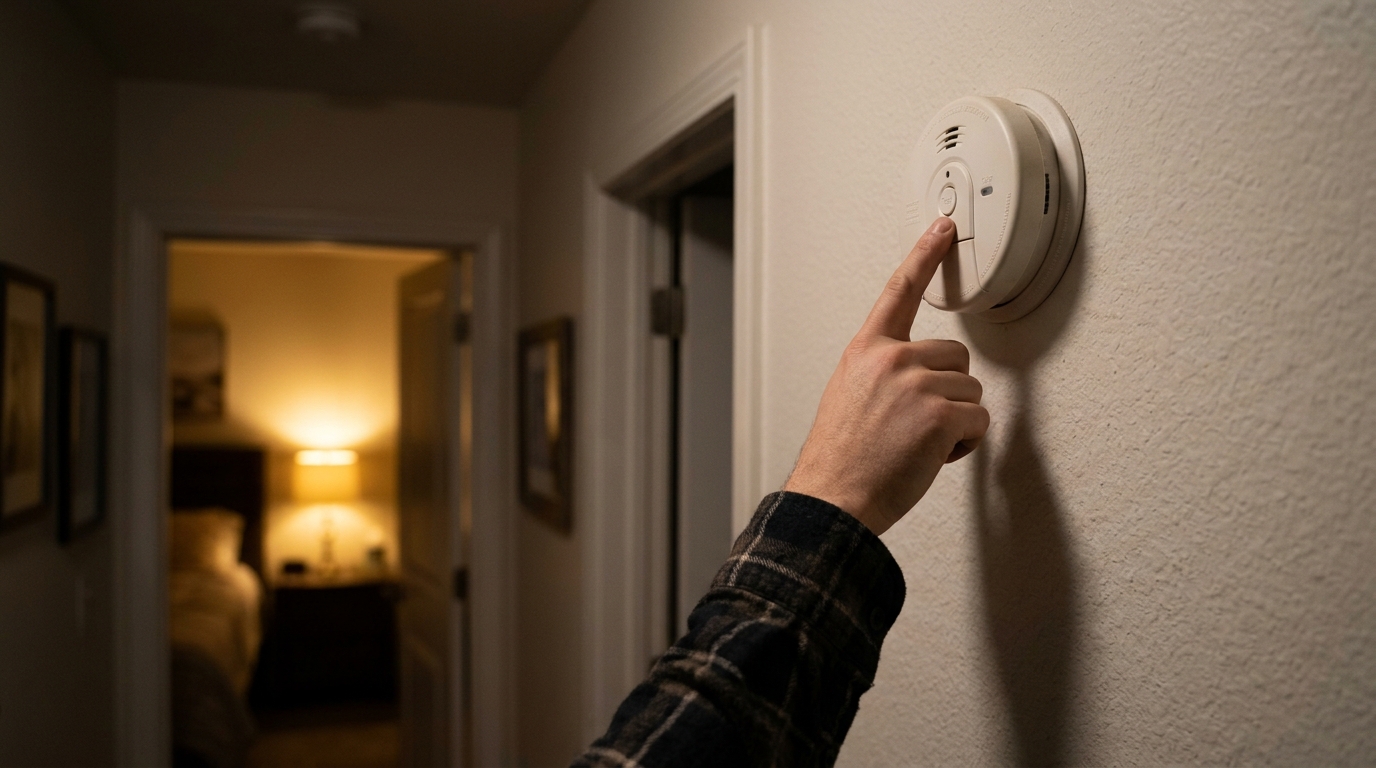
- Press and hold the test button on each unit for 5 to 10 seconds until the alarm sounds. A weak chirp or no sound means the battery or unit has failed.
- Replace the batteries in any battery-powered or battery-backup unit with fresh name-brand alkaline (or lithium) cells, even if the old ones still pass the test.
- Check the manufacture or replace-by date printed on the back of each detector. If it is 5 to 7 years old (or 10 years for sealed units), replace the entire unit.
- Write the test date on a piece of masking tape on the back of each detector or set a recurring phone reminder.
- Vacuum or gently wipe dust from the vents of each detector, since dust can interfere with sensor response.
- Buy UL 2034 (or UL 2075) listed CO alarms. Look for plug-in, hardwired with battery backup, or sealed 10-year lithium models. Combination smoke/CO units are fine if they meet current standards.
- Install one alarm on every level of the home, including the basement, and one within 10 feet of each sleeping area. Mount at a height recommended by the manufacturer, since CO mixes evenly with air and does not need to be near the floor or ceiling.
- Keep detectors at least 15 feet from fuel-burning appliances, and away from bathrooms, kitchens, and dead-air corners behind curtains or furniture to reduce false alarms and sensor dust.
- If you choose interconnected units, link them so one alarm sounds every alarm in the house, which matters when you are asleep on a different floor from the source.
- Consider a unit with a digital display and peak-level memory. It shows low-level CO readings (even below alarm threshold) that can reveal a developing problem, such as 15 to 30 ppm near a water heater.
- Test the new alarms, record the install date, and set a reminder to replace them before the expiration date.
- Schedule an annual furnace and water heater tune-up with a licensed HVAC or plumbing contractor, ideally in early fall before heating season.
- Ask the technician to inspect the heat exchanger, flue, venting, and combustion air supply, and to measure CO in the flue gases and at the living space.
- If you recently added insulation or air sealing, request a combustion appliance zone (CAZ) depressurization test to confirm appliances still vent properly.
- Keep the written report with your detector maintenance log, so future repairs and home sales go smoothly.
Why It Works: The Benefits
A working detector sounds at roughly 70 ppm over 1 to 4 hours or at higher levels within minutes, giving your household time to leave before symptoms become dangerous.
A furnace with a cracked heat exchanger or a water heater with a blocked vent often triggers a detector before any visible problem appears. Catching it early can mean a $150 to $400 repair instead of a $4,000 to $8,000 emergency replacement.
Most states and many insurers require working CO alarms near sleeping areas, especially in homes with fuel-burning appliances or attached garages. Documented maintenance helps with claims and home sales.
A new battery costs $1 to $3 and a quality replacement detector runs $20 to $60. Spread over a 7-year lifespan, protection costs only a few dollars per year.
Replacing batteries on a schedule means no more 3 a.m. low-battery chirps, and no temptation to pull the battery out and forget to put it back.
💰 Savings Impact by Action
Replacing batteries on schedule restores full detector function, eliminating the main cause of missed nighttime alarms
A yearly furnace and water heater tune-up can improve combustion efficiency by roughly 5 to 15 percent while checking for CO leaks
Catching a failing heat exchanger early can avoid up to 80 percent of the cost of an emergency furnace replacement
Sealed lithium detectors remove battery swaps for a decade, eliminating the chirp-and-pull-the-battery habit
🏠 Key Concepts Explained
The Science Behind It
Carbon monoxide forms when carbon-based fuels (natural gas, propane, oil, wood, gasoline) burn without enough oxygen to complete combustion. A properly tuned furnace burns almost cleanly, producing mostly carbon dioxide and water vapor. When airflow is restricted, burners are dirty, or the heat exchanger cracks, the combustion balance shifts and CO levels rise. Because CO has nearly the same density as air, it spreads evenly through a room rather than pooling at the floor or ceiling, which is why placement near sleeping areas matters more than height.
Inside your body, CO competes with oxygen for hemoglobin in your blood and wins by a wide margin. At 70 ppm, you may feel mild headaches after several hours, while concentrations above 400 ppm can become life-threatening within a few hours, and much higher levels can cause unconsciousness in minutes. A sleeping person experiences a gradual increase without waking, which is why nighttime exposure leads to the worst outcomes.
Most residential detectors use an electrochemical sensor that generates a tiny current proportional to CO concentration. The sensor and the alarm circuit both draw power, and batteries lose voltage as they age, especially in cold hallways and basements. Many detectors are designed to chirp when voltage falls below a threshold, but that threshold can be crossed during the overnight temperature low, so the chirp often seems to start at 3 a.m. The sensor chemistry also degrades over time, which is why even a freshly powered detector must be replaced at the end of its rated life.
Frequently Asked Questions
▼ Why does my CO detector keep chirping even after I put in a new battery?
The most common causes are a battery that was not seated fully, residual charge after the swap (hold the test button for 15 seconds to reset), or an expired sensor. Check the date on the back, and if the unit is older than 5 to 7 years (or its stated end-of-life), replace the whole detector rather than the battery.
▼ Can renters check or replace CO detectors without landlord permission?
Yes, renters can test detectors and replace batteries without permission, and in most states landlords are legally required to provide working CO alarms. If a unit is expired, missing, or hardwired and failing, send your landlord a written request and keep a copy. A $25 plug-in or battery detector is a reasonable stopgap if your landlord is slow to respond.
▼ How soon should I replace a CO detector that sounded and then stopped?
Do not wait. Treat any alarm as real: ventilate, leave the home, and call emergency services. After the all-clear, have a professional inspect all combustion appliances, and replace the detector if it is more than 5 to 7 years old or if the sensor has been exposed to high concentrations.
▼ What if my home is older than 30 years?
Older homes often have aging furnaces, water heaters, and flues that are more likely to leak CO, and they may have no detectors at all. Install detectors on every level, schedule an annual professional combustion inspection, and replace any appliance older than 15 to 20 years that shows soot, rust, or a yellow flame.
▼ Do smoke detectors also detect carbon monoxide?
Not unless they are specifically labeled as combination smoke and CO alarms. Standard smoke alarms cannot sense CO at all. Check the label for UL 2034 or a CO symbol, and keep both types of protection in the home.
Quick Tips
- Tie your detector check to a date you already remember, such as the daylight saving time change in March and November.
- Buy detectors with a 10-year sealed lithium battery if you hate chirping. They cost $30 to $60 each and eliminate battery swaps.
- Never remove a battery to silence a chirp, since people often forget to put it back. Replace the battery immediately instead.
- Take a photo of each detector’s date label with your phone so you always know when it expires.
- If you travel in an RV or camper, or stay in rentals, bring a portable battery-powered CO detector.
Variations for Your Situation
- Apartment/Rental: Test every detector the day you move in, since landlords are usually required to supply them. Add a $25 to $40 plug-in or battery CO alarm near the bedrooms as your own backup, and ask for written confirmation of the last furnace inspection if the building uses shared gas appliances.
- Tight Budget (under $50): Skip fancy models. Buy fresh alkaline batteries ($5 to $10 for a multi-pack) for existing units, test each one, and replace only the oldest unit with a basic UL 2034 listed battery detector at around $20 to $25. Put it outside the main bedroom area first.
- Older Home (pre-1980): Expect higher risk from aging atmospheric-draft water heaters, unlined chimneys, and leaky ductwork. Install a digital-display detector in the basement or utility area and one near bedrooms, and schedule a combustion safety inspection ($100 to $200) before the next heating season.
- Homes with Attached Garage: Place a detector on the wall near the door between the garage and the house, and another outside bedrooms. Never warm up a vehicle with the garage door closed, even for a minute.