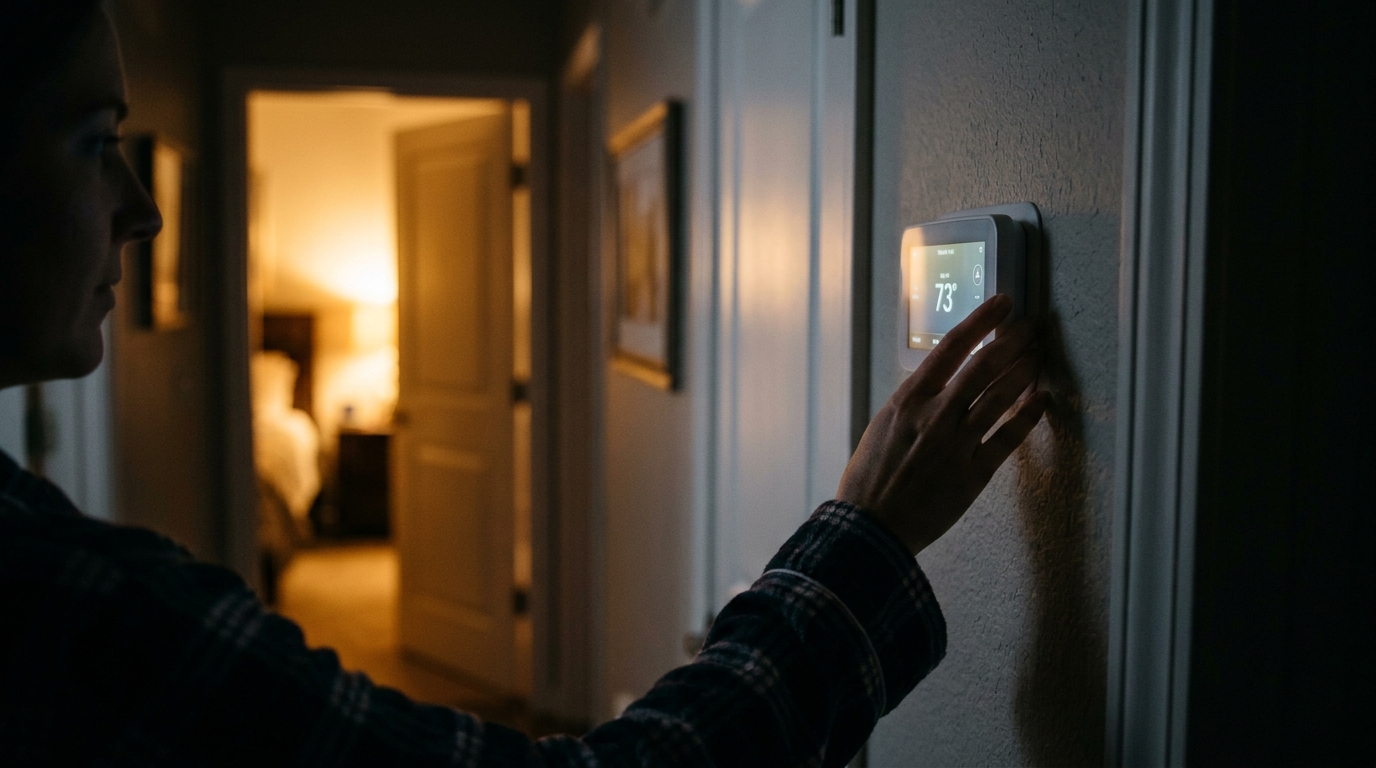
You set the thermostat to 68 degrees before bed, wake up shivering, and find the display says 68 while a separate room thermometer says 64. Or the reverse: the furnace runs all night because the thermostat thinks the house is colder than it is. Overnight errors are especially frustrating because the house is quiet, the settings are on a setback schedule, and you are asleep while the equipment works on bad information.
Why does this happen mostly at night? Because overnight conditions expose the weak spots in how a thermostat measures temperature. Outdoor temperatures drop, walls and windows get colder, drafts get stronger, and the heat from lamps, electronics, and sunlit walls disappears. A thermostat sitting on an exterior wall, near a supply vent, or caked with dust will drift from the true room temperature, and the error is largest when the swing between day and night is largest. A 3 degree error is not trivial. Every degree of unnecessary heating or cooling costs roughly 1 to 3% on your energy bill.
This post walks through a quick fix you can do in 15 minutes, a more thorough DIY upgrade, and the signs that mean it is time to call a pro. You will also learn how to verify your thermostat’s accuracy with a simple test so you are not guessing.
What You’ll Need
Click on an item below to shop for the recommended items for this recipe on Amazon.
As an Amazon Associate, we earn from qualifying purchases.
How to Do It
- Compare the readings first: place a separate, reliable thermometer next to the thermostat (a basic digital model works) and let it sit for 15 minutes. Note the difference.
- Gently remove the thermostat cover and use a can of compressed air or a soft, dry paintbrush to clear dust from the sensor and circuit board. Do not use liquids.
- Check that the thermostat is level and firmly seated on the wall plate. A loose unit can let wall cavity air flow across the sensor.
- Seal the wall opening behind the thermostat with a small piece of foam, removable putty, or a bit of fiberglass insulation to stop drafts from the wall cavity.
- Look for heat sources near the thermostat: lamps, TVs, sunny windows, or supply vents. Relocate the item if you can, or shade the area.
- Retest the next night by comparing the thermostat to your reference thermometer at 10 pm and 6 am.
- Check for a calibration or temperature offset setting in the menu. Many digital and smart thermostats let you adjust the displayed temperature by 1 to 5 degrees to match your reference thermometer.
- On older mechanical models, adjust the heat anticipator slider to match the amp rating printed on your furnace’s gas valve. A wrong setting causes overshoot and short cycling.
- If the thermostat is more than 10 to 15 years old and still reads off after cleaning, replace it with a programmable or smart model. Basic programmable units run $25 to $60; smart units $100 to $250 and some utilities offer rebates up to $100.
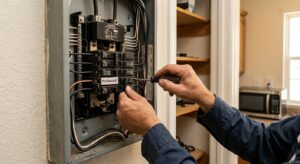
- Install a new thermostat by turning off power, photographing and labeling the wires, connecting them to the same terminals, and mounting the base plate level. Check that your system has a C-wire if the new model requires one.
- If the existing location is poor, relocate to an interior wall about 52 to 60 inches off the floor in a central, regularly used room, away from vents, windows, and electronics. Hire an electrician if you need to run new wire.
- Consider adding a wireless remote room sensor ($30 to $50) if your model supports it, so the thermostat averages readings from the bedroom or main living space instead of just the hallway.
- Schedule an HVAC technician to test the thermostat output with a multimeter and verify call-for-heat and call-for-cool signals.
- Have the tech check the furnace’s temperature rise, blower operation, and airflow, since restricted airflow can cause overnight temperature problems.
- Ask the pro to inspect ductwork for leaks or poor balancing, which can make some rooms much colder than the thermostat location.
- Discuss zoning or a smart thermostat with remote sensors if you have a multi-story home with persistent temperature differences.
Why It Works: The Benefits
Correcting a 3 degree sensing error can trim 5 to 10% off annual HVAC costs, which is roughly $60 to $200 per year for the average household.
Sleep research suggests the ideal bedroom temperature is 60 to 67 degrees. Accurate readings keep the room in that range instead of drifting several degrees off.
Short cycling caused by faulty readings can shorten furnace and AC compressor life. Fixing it can help your system reach its typical 15 to 20 year lifespan.
The DOE estimates up to 10% annual savings from an 8 hour setback of 7 to 10 degrees, but only if the thermostat actually reads and recovers accurately.
Moving a poorly placed thermostat to a central interior wall helps the system respond to the whole-house temperature, not one cold corner.
💰 Savings Impact by Action
Correcting a 2 to 4 degree reading error can trim roughly 5 to 10% off annual heating and cooling costs.
Blocking wall cavity air behind the thermostat prevents false cold readings that cause the furnace to overrun.
An accurate thermostat lets you capture the DOE’s estimated 10% annual savings from 7 to 10 degree setbacks.
Proper cycle settings reduce frequent on-off cycles that waste energy and wear out compressors and blowers.
🏠 Key Concepts Explained
The Science Behind It
A thermostat does not measure your home’s comfort, it measures the temperature of a tiny sensor, usually a thermistor, whose electrical resistance changes with heat. That sensor responds to the air immediately around it, plus any heat it picks up through conduction from the wall and radiation from nearby surfaces. When anything other than room air influences the sensor, such as a draft from the wall cavity or the warmth of a nearby lamp, the reading and the real room temperature drift apart.
Overnight, these effects grow. On a winter night, exterior walls can fall several degrees below room temperature, and any gap behind the thermostat lets that cold wall air flow across the sensor. This effect is related to the stack effect, where warm air rises and escapes in the upper part of the home while colder air is pulled in lower down, creating constant movement through small gaps. Meanwhile, the furnace or AC cycles less often at night, so the sensor’s errors have more time to build before a correction happens.
Thermal lag adds another layer. Drywall, furniture, and floors store heat during the day and release it slowly at night, so the air near the thermostat may be warmer or cooler than the room’s center. A thermostat with a heat anticipator or a modern cycle-rate setting tries to predict this, but if it is set wrong, it overshoots, runs too long, or short cycles. The fix is a combination of clean sensing, a sealed mounting, a sensible location, and correct cycle settings, all of which restore the match between what the thermostat sees and what you feel.
Frequently Asked Questions
▼ Why is my thermostat accurate during the day but wrong at night?
This usually points to drafts from the wall cavity, an exterior wall location, or thermal lag. At night the outside air is colder and indoor air movement changes, so small leaks affect the sensor more. Seal the hole behind the thermostat and test again with a reference thermometer, and consider relocating it to an interior wall if the error persists.
▼ Can renters fix a thermostat reading wrong without landlord permission?
Renters can safely do the cleaning, sealing, and calibration offset steps, since none of them modify the system. Do not replace or rewire the thermostat without written permission. A good renter-friendly option is a standalone digital thermometer or a plug-in smart sensor placed in the bedroom, which lets you see the true temperature and tell your landlord with data.
▼ How long before I notice savings on my bill?
Cleaning and sealing can reduce short cycling right away, but savings show up over a full billing cycle, typically 30 to 60 days. A 3 degree correction can save roughly 5 to 10% annually, so on a $1,800 yearly HVAC cost that is about $90 to $180. Replacing an old thermostat with a programmable model usually pays for itself in 1 to 2 years.
▼ What if my home is older than 30 years?
Older homes often have mechanical or early digital thermostats with worn sensors, plus more air leaks around wall openings. Start with cleaning and sealing, then verify the reading with a separate thermometer. If the error is greater than 2 degrees after that, replace the thermostat, and have a technician check whether the wiring is compatible with a modern unit.
▼ My thermostat reads correctly but the house still feels colder at night. What now?
If the reading is accurate, the problem is likely the house, not the thermostat. Check for duct leaks, closed or blocked vents, poor attic insulation, and drafty windows. An HVAC technician can measure temperature rise and airflow to find out whether the equipment or ducts are underperforming.
Quick Tips
- Check thermostat accuracy once a year in spring or fall, when the system is not working hard, by comparing it to a separate thermometer.
- If you use a smart thermostat with remote sensors, set the bedroom sensor as the priority at night so the system targets where you sleep.
- Replace the batteries in battery-powered thermostats every year, since low batteries can cause display errors and erratic readings.
- Avoid placing decorative items, plants, or electronics within 3 feet of the thermostat, since they can alter local air temperature.
Variations for Your Situation
- Apartment/Rental: Stick to non-invasive steps like cleaning the sensor, sealing the wall opening with removable putty, and using a $15 to $30 digital thermometer or plug-in smart sensor in your bedroom to track real conditions. Ask your landlord in writing before any replacement or rewiring.
- Tight Budget (under $50): Use compressed air ($6 to $10) to clean the sensor, seal the wall hole with a scrap of insulation or a foam strip (under $5), and use the calibration offset in your thermostat menu if available. Add a $10 to $15 digital thermometer to verify results over two nights.
- Older Home (pre-1980): Expect larger wall cavity drafts and possible mercury-bulb or mechanical thermostats that cannot be calibrated. Seal behind the thermostat first, then budget $25 to $60 for a basic programmable replacement, and have a pro confirm the wiring and furnace amp rating before installing.
- Multi-Story Home: Because heat rises, a thermostat on the first floor may read cool while the upstairs bedroom is warm at night. Consider a smart thermostat with remote sensors ($100 to $250 total) so the system balances temperature where you sleep.