Most homes cool every room to the same temperature around the clock, even though the family spends eight or more hours a night in just two or three bedrooms. That means your air conditioner is working hard to chill a living room, kitchen, and home office that nobody is using from 10 p.m. until morning. According to the Department of Energy, cooling typically accounts for about 12% of average home energy use, and in hot climates it can top 25% of your annual bill.
Zoned cooling solves this by directing conditioned air only where you need it. Done well, it lowers run time, reduces peak-hour electricity use, and often makes bedrooms more comfortable because they get more airflow, not less. You do not need a brand new HVAC system to get started. Some of the most effective changes cost nothing or under $200.
In this guide, we will walk through two approaches: a free quick fix using vents and doors, and a more robust DIY upgrade using smart vents and room sensors. We will also cover the building science behind why zoning works, the mistakes that can damage your equipment, and what to do if your home has a single-zone system.
What You’ll Need
Click on an item below to shop for the recommended items for this recipe on Amazon.
As an Amazon Associate, we earn from qualifying purchases.
How to Do It
- Identify which rooms you do not use at night, such as the living room, dining room, office, and basement. Count your total supply vents so you know your 20 to 25% limit.
- Partially close, rather than fully shut, the supply vents in unused rooms. Closing them about halfway is usually safer than going all the way.
- Fully open every bedroom vent and remove obstructions like furniture, curtains, and rugs so air flows freely.
- Close the doors to the bedrooms you are cooling so cool air stays in the room, and make sure there is a return path (a door undercut, transfer grille, or return vent) so air can circulate back to the system.
- Set your thermostat to 74 to 76 degrees F at bedtime, then drop to 70 to 72 degrees F in the bedroom using a fan to boost comfort without overcooling.
- Check the system after a few nights. If you notice weak airflow, strange noises, or ice on the indoor coil, reopen some vents right away.
- Pick a smart vent and sensor system compatible with your thermostat, such as models designed to work with major smart thermostat platforms. Confirm vent sizes (standard sizes are 4 by 10, 4 by 12, 6 by 10, and so on).
- Measure each supply vent opening before buying. Order one smart vent per room you want to control and one room sensor for each bedroom.
- Remove the existing floor or wall registers and install the smart vents, then replace batteries or connect power as directed.
- Pair the vents and sensors with your thermostat in the app, and place each sensor at bed height, away from direct airflow and sunlight.
- Create a nighttime schedule that targets 70 to 72 degrees F in bedrooms and allows 76 to 78 degrees F in unused rooms, with the vents in those rooms partially open for pressure relief.
- Monitor temperatures and run times for a week, then fine-tune setpoints and vent positions so the bedrooms stay comfortable without short cycling.
- Ask a licensed HVAC contractor to evaluate your ducts and equipment, including a Manual J load calculation and airflow assessment.
- Have motorized dampers installed in the main trunk or branch ducts so you can create at least two zones, such as sleeping areas and living areas.
- Install a zone control panel and a dedicated thermostat for each zone, and make sure the system includes a bypass duct or a variable-speed blower to manage static pressure.
- Have the technician seal and insulate accessible ducts, since this alone can recover 10 to 20% of lost cooling.
- Program each zone with a nighttime schedule, such as bedrooms at 71 degrees F and living areas at 78 degrees F after 10 p.m.
- Schedule a follow-up visit after the first month to confirm airflow, temperature split, and system pressures are within spec.
Why It Works: The Benefits
Reducing the cooled volume overnight can trim nightly cooling energy by 20 to 30%, which often adds up to $15 to $40 per month in a hot summer.
Redirecting airflow to bedrooms delivers more cfm per room, so you can hit 68 to 72 degrees F where you actually sleep without overcooling the whole house.
Shorter, more targeted run cycles reduce compressor starts and total run hours, which can extend equipment life when done within safe airflow limits.
With the system working less overall and airflow focused on the sleeping zone, you spend less time hearing the outdoor unit and rushing air through unused rooms.
Lower evening and overnight load helps on time-of-use plans, where peak-hour electricity can cost two to three times the off-peak rate.
💰 Savings Impact by Action
Cooling only sleeping areas overnight can cut nightly cooling energy by 20 to 30% compared to whole-house cooling.
Raising the setpoint in unused zones by 4 to 5 degrees saves about 3% per degree, adding up to roughly 10% overall.
Sealing leaky ducts can recover 10 to 20% of cooled air that would otherwise be lost in attics and crawlspaces.
A bedroom fan lets you raise the thermostat 3 to 4 degrees while keeping the same comfort level, trimming another 8 to 10%.
🏠 Key Concepts Explained
The Science Behind It
Air conditioners remove heat from the air inside your home and dump it outside, and the amount of heat they must move depends on the temperature difference between indoors and outdoors and the total volume and surface area being cooled. When you let unused rooms drift warmer overnight, you reduce how much heat the system has to pull out, and you also slow heat gain through walls, ceilings, and windows in those spaces. The DOE estimates that each degree you raise the thermostat in cooling season can save about 3% on cooling costs, so even a few degrees of setback in unoccupied zones adds up.
Duct systems are designed around a balance of supply and return airflow. When you partially close vents, you reduce the total open area, which raises static pressure and can reduce total airflow. Moderate changes are usually fine, especially on newer systems with variable-speed blowers, but extreme closures can cause the evaporator coil to run too cold and freeze, reducing capacity and risking compressor damage. This is why smart vents and professional dampers are designed to modulate airflow within safe limits and, in many designs, include bypass paths.
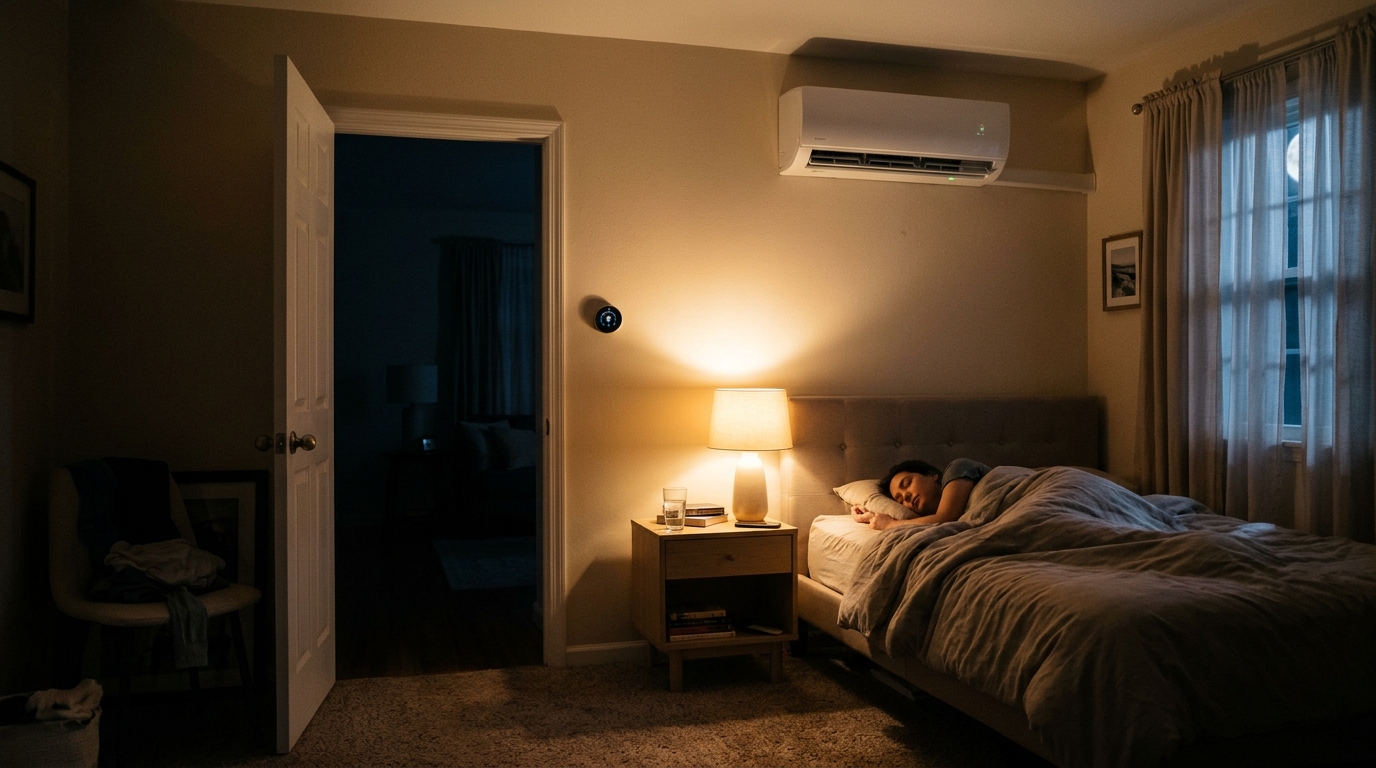
Finally, sleep science supports bedroom-focused cooling. Research from sleep specialists generally points to bedroom temperatures between about 65 and 72 degrees F as ideal for most adults, so concentrating your cooling in sleeping areas gives you better rest and avoids the waste of chilling rooms you are not using. Combined with sealed ducts, good insulation, and a ceiling fan, zoning turns your cooling system from a blunt instrument into a targeted comfort tool.
Frequently Asked Questions
▼ Why is my AC still running all day even after I tried these fixes?
Check for duct leaks, a dirty filter, or undersized equipment, since any of these can force long run times regardless of zoning. Make sure you have not closed too many vents, which can restrict airflow and reduce cooling. If the system still cannot keep up on moderate days, have an HVAC technician check refrigerant charge and airflow.
▼ Can renters do this without landlord permission?
Yes, the quick fix is fully renter-friendly because it only uses existing vents and doors. Many smart vents and room sensors can be installed without permanent changes, and you can reinstall the original registers when you move out. Avoid altering ducts or dampers, and check your lease before swapping any registers.
▼ How long before I actually notice savings on my bill?
You will usually see a difference within one full billing cycle, especially during hot months. Track your daily kWh with your utility’s app or a smart meter if available, and compare nights before and after zoning. Expect savings of roughly 15 to 30% on nighttime cooling, depending on home size and climate.
▼ What if my home is older than 30 years?
Older homes often have leakier ducts and weaker insulation, so sealing and insulating ducts should come first. Avoid aggressive vent closing on older single-speed systems, which are more sensitive to pressure changes. Consider an HVAC inspection before adding smart vents or dampers.
▼ Do I need to close the doors in the rooms I am not cooling?
Closing doors to unused rooms can help limit air exchange, but only if the room still has a return path or you leave the supply vent partly open. Closing the door and fully shutting the vent can create pressure imbalances and reduce system efficiency. Start with doors open and vents partly closed, then adjust based on how the house feels.
Quick Tips
- Seal duct leaks with mastic or foil tape before zoning. A leaky duct can waste 20 to 30% of your cooled air, which undermines any zoning savings.
- Place a room sensor or thermometer at bed height in each bedroom to track the actual sleeping temperature, not just what the hallway thermostat reads.
- Use blackout curtains or cellular shades on west and south bedroom windows to cut heat gain by up to 20 to 25% and make nighttime cooling easier.
- Replace your air filter before summer and check it monthly. A clogged filter restricts airflow and makes any vent closing more risky.
Variations for Your Situation
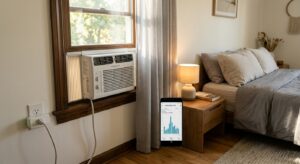
- Apartment/Rental: Stick to the quick fix. Partially close vents in unused rooms, use a box fan or tower fan in the bedroom, and add a $20 to $40 smart plug or portable thermometer to monitor temperatures. If you have a window unit or mini-split, simply cool the bedroom only and let the rest of the apartment float warmer.
- Tight Budget (under $50): Focus on free changes like partially closing vents in unused rooms, closing bedroom doors, and raising the thermostat 3 to 4 degrees at night. Add a $15 to $25 box fan and a $10 stick-on thermometer to fine-tune comfort. Weatherstrip bedroom doors and windows for a few dollars more.
- Older Home (pre-1980): Prioritize duct sealing and attic insulation before zoning, since leakage and heat gain can be significantly higher. Use foil tape or mastic ($10 to $30) on accessible duct joints, and avoid closing more than 15 to 20% of vents on older single-speed equipment. Consider a professional duct test, which often costs $100 to $300 and can reveal major savings.