Most homeowners install insulation once and never think about it again. But insulation is not a permanent, set-it-and-forget-it material. Loose-fill fiberglass and cellulose settle over time under their own weight, moisture, and vibration. Cellulose can settle 10 to 20% in the first few years, and batts can get compressed by stored boxes, foot traffic, or wiring work. When the depth drops, so does the R-value, and your attic stops doing its job as a thermal barrier.
The cost shows up on your utility bill. The attic is the biggest source of heat loss in winter and heat gain in summer, because hot air rises and the roof absorbs intense solar energy. The U.S. Department of Energy estimates that properly insulating and air sealing a home can save an average of 15% on heating and cooling costs, or about 11% on total energy costs. If your insulation has slumped well below the recommended level, you may be paying for that difference every month.
This post walks you through exactly how to check whether your attic insulation has settled, what depth you should be looking for in your climate, and what to do about it. You can start with a simple 20-minute quick check, then move on to a deeper DIY inspection and top-off if the numbers show you are falling short.
What You’ll Need
Click on an item below to shop for the recommended items for this recipe on Amazon.
As an Amazon Associate, we earn from qualifying purchases.
How to Do It
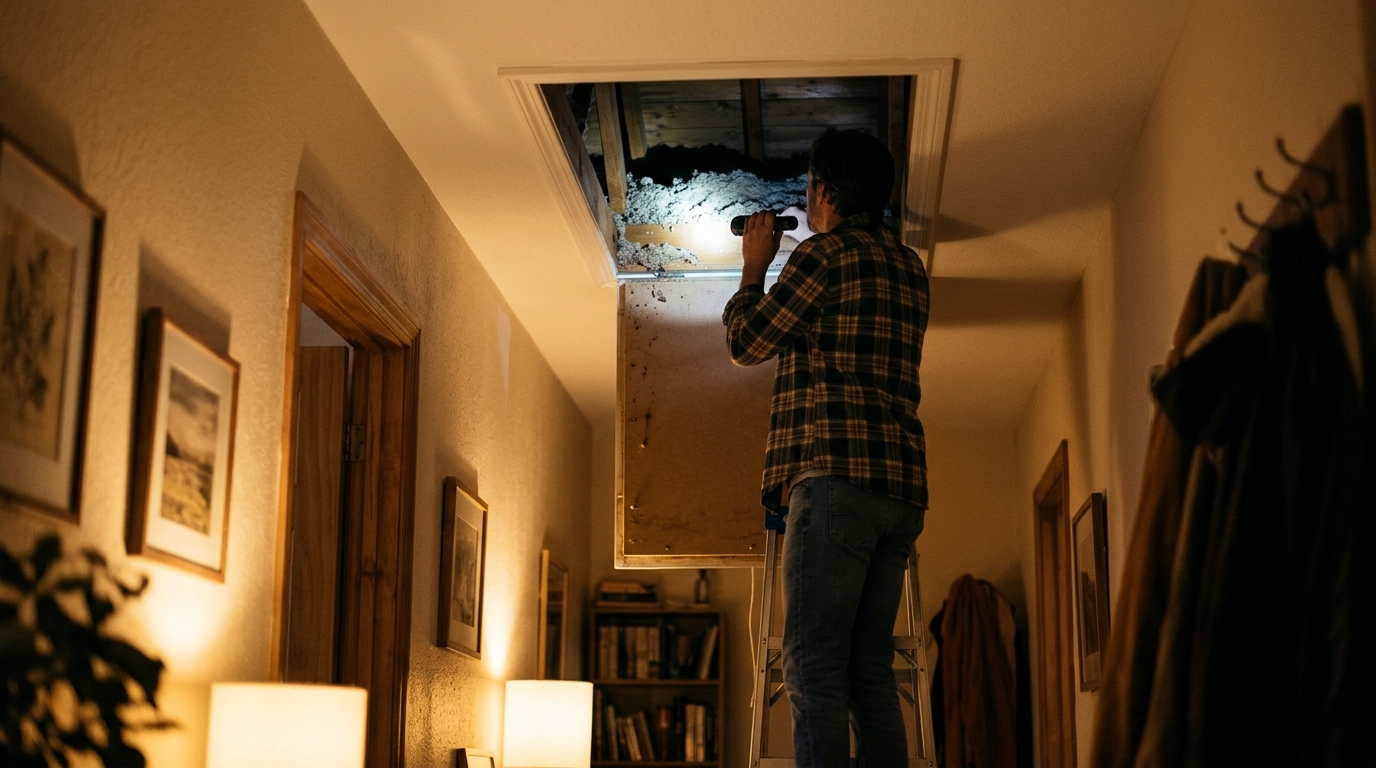
- Go up to the attic with a flashlight, a tape measure or ruler, and a board or plywood scrap to walk on. Step only on the joists or the board, never on bare drywall between them.
- Measure the insulation depth in at least five or six spots across the attic, including near the eaves, the center, and above the main living areas. Write each number down and average them.
- Compare your average to the target for your climate zone. Roughly 12 to 14 inches of fiberglass or 10 to 12 inches of cellulose gets you near R-38. If you can see the tops of the ceiling joists, you almost certainly need more.
- Look for obvious warning signs: flat or matted patches, bare spots, dark streaks, damp areas, or insulation pushed aside near vents, wiring, or recessed lights.
- Check the insulation at the attic hatch and along the eaves, where it often slides away or gets blocked by baffles that have fallen out of place.
- Use your depth measurements to calculate how much R-value you need to add. For example, if you have 6 inches of settled fiberglass (about R-15) and want R-49, you need about R-34 more, or roughly 13 to 14 inches of added loose-fill.
- Before adding anything, fix the source of any moisture problems and replace any wet or moldy insulation. Insulating over damp material traps moisture and makes the problem worse.
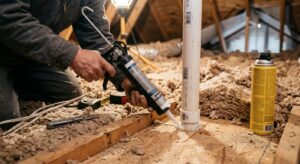
- Seal air leaks first. Use caulk or expanding foam around wiring and plumbing penetrations, and seal gaps around the attic hatch and top plates with weatherstripping. Never cover recessed lights unless they are rated IC (insulation contact).
- Install baffles at the eaves to keep soffit vents clear so air can flow into the attic. Insulation that blocks the vents leads to moisture and ventilation problems.
- Blow or lay the new insulation evenly across the attic, working back toward the hatch. Use depth markers or a ruler as you go to hit your target thickness consistently.
- Insulate and weatherstrip the attic hatch cover with rigid foam board, and measure final depth in several spots to confirm your result.
- Schedule a home energy audit with a certified auditor (BPI or RESNET). They can run a blower door test and infrared camera scan to find hidden gaps and thin spots you cannot see.
- Review the audit report to see where insulation is missing, compressed, or bypassed by air leaks, and get quotes from two or three insulation contractors.
- Have the contractor air seal first, then add insulation to your target R-value. Confirm that baffles, vent chutes, and recessed lights are handled correctly.
- Ask for a final depth verification and keep the invoice and product certification statement for tax credits and rebates.
Why It Works: The Benefits
Restoring insulation to recommended levels can cut heating and cooling costs by 10 to 15% in a home with significantly deficient attic insulation. For a $2,000 annual energy bill, that is $200 to $300 back each year.
Rooms directly below the attic often run hotter in summer and colder in winter when insulation is thin. Proper depth reduces those swings and eliminates many hot or cold spots.
When the attic holds the temperature barrier, your furnace and air conditioner cycle less often. That means less wear and a longer system life.
Heat escaping through a poorly insulated attic melts roof snow unevenly and causes ice dams. Adequate insulation and air sealing keep the roof deck cold and consistent.
Adding attic insulation is consistently ranked among the most cost-effective energy upgrades, with a strong return and a noticeable comfort improvement.
💰 Savings Impact by Action
Bringing under-insulated attics up to R-49 can cut heating and cooling costs by 10 to 15% in many climates.
Sealing attic floor leaks and bypasses can reduce total energy use by 10 to 20% when paired with added insulation.
An uninsulated attic hatch acts like an open window, and sealing and insulating it can recover 2 to 3% of energy loss.
Keeping soffit vents clear improves airflow, protects insulation from moisture, and helps preserve its performance.
🏠 Key Concepts Explained
The Science Behind It
Insulation works by trapping tiny pockets of still air. Air itself is a poor conductor of heat, and the fibers in fiberglass and cellulose simply hold that air in place so it cannot circulate and carry heat away. When the material settles or compresses, those air pockets collapse. The same weight of material now fills less space, so there is less trapped air and heat moves through more easily. That is why R-value is closely tied to thickness and density.
Heat moves three ways: conduction, convection, and radiation. In an attic, conduction carries heat through the insulation itself, while convection happens when air leaks through gaps and moves warm air up through the ceiling. In winter, warm indoor air rises through leaks and escapes, a process called the stack effect. In summer, the roof deck heats up and radiates heat down toward the attic floor. Thick, even insulation fights conduction and radiant heat, but only air sealing stops the convection pathway.
Settling also matters because heat loss through a ceiling is roughly proportional to 1 divided by R-value. Going from R-30 to R-19 because of settling does not seem dramatic, but it increases heat flow through that surface by about 58%. That is why a modest loss of depth can show up as a noticeable bump on a monthly bill, especially in extreme climates.
Frequently Asked Questions
▼ How do I know if my attic insulation needs replacing or just topping off?
If the insulation is dry, clean, and just thin or settled, simply adding more on top works well. Replace it if it is wet, moldy, contaminated by rodents, or full of dirt and debris. When in doubt, have a pro or energy auditor take a look before covering it up.
▼ Can I mix different types of insulation, like blowing cellulose over fiberglass batts?
Yes, in most cases. Adding loose-fill over existing batts or loose-fill is common and effective, as long as the existing material is dry and the new layer does not block vents. Avoid using a vapor barrier or foil-faced batts on top of existing insulation, since that can trap moisture between layers.
▼ How long before I notice savings on my energy bill?
You may notice more stable indoor temperatures within days. On your bill, expect to see the difference in the first full heating or cooling season, with typical payback of 2 to 5 years depending on your climate and how far below target your insulation was.
▼ What if my attic has vermiculite insulation or I see something that looks like pebbly gray granules?
Do not disturb it. Some vermiculite insulation, especially the kind sold under the name Zonolite, can contain asbestos. Leave it alone and hire a certified abatement or insulation professional to test and handle it safely.
▼ Will adding more insulation cause moisture or mold problems?
Not if you air seal first and keep soffit vents clear with baffles. Problems occur when warm, humid indoor air leaks into the attic and condenses on cold surfaces. Sealing leaks and maintaining ventilation prevents that.
Quick Tips
- Measure depth in the same spots every 2 to 3 years so you can track settling over time and catch problems early.
- If you can see the tops of your ceiling joists, your insulation is almost certainly below the recommended level for any climate zone.
- Pick a cool morning or evening for attic work, since summer afternoon temperatures can climb past 130 degrees F.
- Look for dark, dirty streaks on insulation, which show where air has been leaking through and filtering out dust.
- Check for local utility rebates and the federal 25C tax credit before buying materials or hiring a contractor.
Variations for Your Situation
- Apartment/Rental: You generally cannot access or modify the attic, so focus on what you can control. Ask your landlord in writing to check attic insulation depth, and use weatherstripping and door sweeps for $15 to $40 to reduce drafts. Thermal curtains ($30 to $80 per window) can also help offset a thin ceiling barrier.
- Tight Budget (under $50): Do the free depth check, then fix the cheapest high-impact problems. Use a few cans of expanding foam and a tube of caulk ($20 to $30) to seal gaps around pipes and wires, and add weatherstripping and a foam board cover to the attic hatch for about $15 to $25.
- Older Home (pre-1980): Expect lower baseline insulation, often R-11 to R-19, along with more air leaks and possible knob-and-tube wiring or vermiculite. Have an electrician confirm it is safe to cover old wiring, and plan for air sealing before insulation. Older homes often see the biggest savings, sometimes 15 to 20% on heating and cooling bills.