Every summer day, your home soaks up heat. The roof bakes, the walls warm, and your furniture, drywall, and flooring all store thermal energy. When the sun goes down, that stored heat keeps radiating into your living spaces, and many homeowners respond by running the AC well past bedtime. A central air conditioner typically draws 3,000 to 5,000 watts. Over a single night, that adds up fast.
A whole-house fan flips the strategy. Instead of cooling the air inside your home with refrigerant, it pulls cool outdoor air in through open windows and pushes hot indoor air out through the attic. A typical whole-house fan uses 200 to 700 watts, which is roughly 10% of what your AC draws. When nighttime temperatures drop below about 75 degrees Fahrenheit, it can drop your indoor temperature by 10 to 15 degrees in an hour or two.
This post covers two ways to get this done: a no-install quick fix using window fans that works for almost anyone, and a full whole-house fan installation for homeowners ready to make a long-term upgrade. We will cover sizing, venting, costs, payback, and the mistakes that make people give up on this strategy too early.
What You’ll Need
Click on an item below to shop for the recommended items for this recipe on Amazon.
As an Amazon Associate, we earn from qualifying purchases.
How to Do It
- Wait until outdoor temperature drops at least 5 to 10 degrees below your indoor temperature, usually after sunset. Check a weather app for the actual temperature and dew point.
- Open windows on the upwind or shaded side of the house about 4 to 6 inches in the rooms you want to cool, especially bedrooms and the lowest floor.
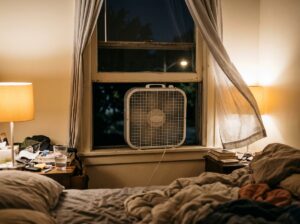
- Place one box fan or window fan in an upper-floor window on the opposite side of the house, facing outward so it exhausts hot air. Seal gaps around the fan with a towel or cardboard.
- Open interior doors so air can travel freely through the home. Closed doors block the airflow path and cut the effectiveness dramatically.
- Run the fan overnight on medium or high. Aim for a 10 to 15 degree drop in indoor temperature by bedtime.
- In the morning, once outdoor air climbs above indoor temperature, turn off the fan, close all windows, and draw blinds on sun-facing sides to hold the cool air in.
- Calculate the CFM you need. Multiply your home’s square footage by 2 to 3 for a good starting point. A 2,000 square foot home needs a fan around 4,000 to 6,000 CFM.
- Check your attic vent area. You need 1 square foot of net free vent area for every 750 CFM. Most homes need added gable, ridge, or soffit vents to meet this.
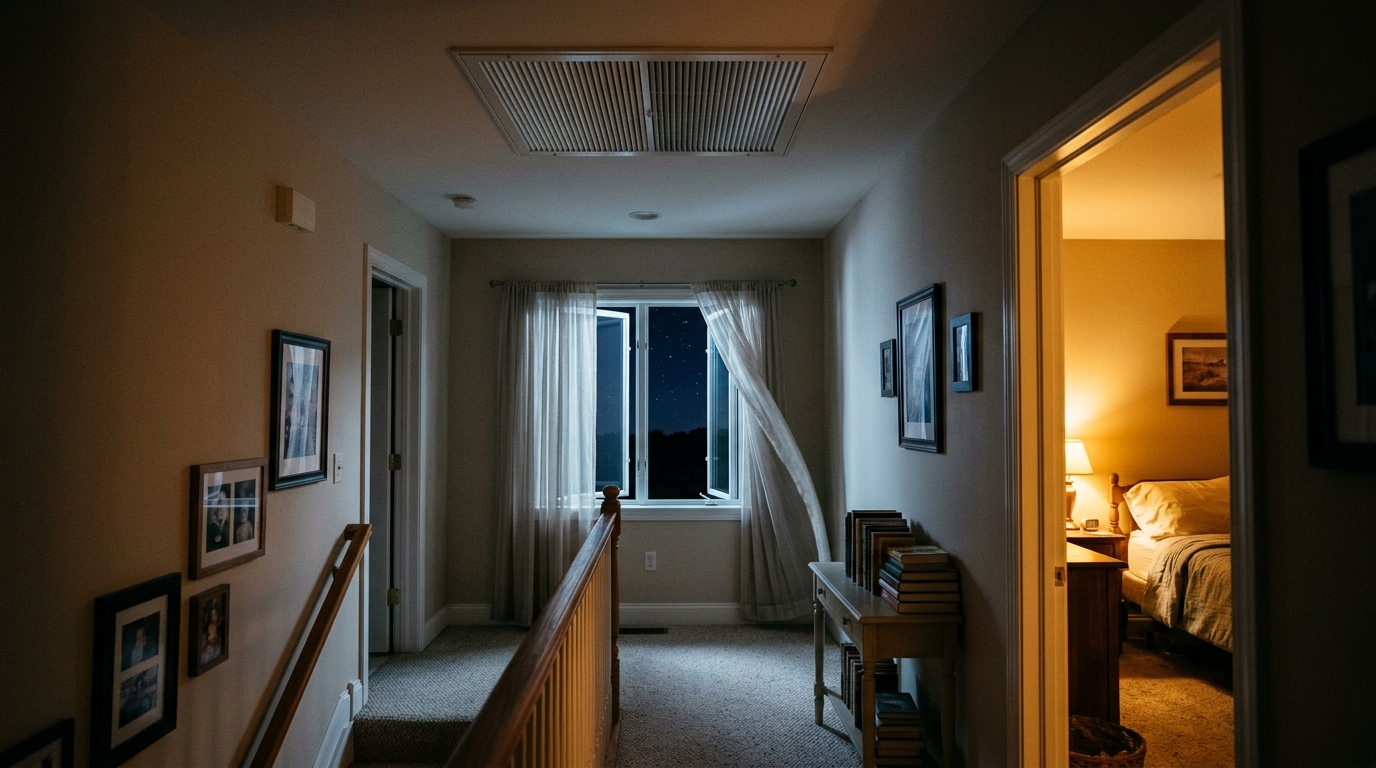
- Choose a ceiling location in a central hallway or stairwell, between joists. Confirm there is attic clearance for the fan housing and that no wiring or plumbing is in the cut path.
- Cut the ceiling opening using the manufacturer’s template, frame it if needed, and mount the fan unit between joists with the supplied hardware.
- Run power from a nearby junction box or switch location. Wire a wall switch or a multi-speed timer, and hire an electrician for this step if you are not comfortable with household wiring.
- Install the insulated shutter or damper that closes when the fan is off. This prevents conditioned air from escaping to the attic in winter and summer.
- Test the unit with windows open in several rooms. You should feel a clear inward draft at the windows and hear the fan run smoothly without strain.
- Get at least two quotes from licensed contractors who specifically install whole-house fans, not just general HVAC. Ask about CFM sizing and attic ventilation upgrades.
- Have the installer assess your attic vent area, insulation levels, and any combustion appliance backdrafting risks before work starts.
- Choose a model with a variable-speed or multi-speed motor and an insulated, airtight damper. Quieter models cost more but are worth it for bedroom comfort.
- Ask for a final airflow test at completion and confirm the warranty covers motor and damper separately.
- Request instruction on seasonal use, including how to seal and cover the unit in winter if it lacks an airtight damper.
Why It Works: The Benefits
A whole-house fan uses about 90% less electricity than central AC. Homeowners in moderate climates commonly report cutting summer cooling bills by 30 to 50%, which can mean $30 to $100 per month saved.
A properly sized fan can drop indoor temperatures 8 to 15 degrees within one to two hours of turning it on at dusk. That is often faster than an AC can recover a heat-soaked house.
Constant air exchange flushes out cooking odors, VOCs from furnishings, and stale air. Indoor air quality improves compared with a sealed, recirculating AC system.
Fewer compressor run hours means a longer equipment life. Cutting AC runtime by even 30% can add years to a system that costs $6,000 to $12,000 to replace.
A $400 to $1,200 installed whole-house fan typically pays for itself in 2 to 4 years, and window fan setups pay back in a single season.
💰 Savings Impact by Action
Replacing 8 hours of nightly AC runtime with a fan drawing roughly 10% of the power cuts typical summer cooling costs by 30 to 50%.
A 400 to 700 watt whole-house fan uses about 90% less electricity per hour than a 3,500 watt central air conditioner.
Pre-cooling thermal mass overnight delays AC startup by 4 to 8 hours, reducing compressor runtime by roughly a third.
Flushing hot attic air each evening lowers attic temperatures and reduces heat transfer through the ceiling by up to 15%.
Closing blinds and shades on sun-facing windows blocks roughly 40 to 50% of incoming solar heat during the day.
🏠 Key Concepts Explained
The Science Behind It
A whole-house fan relies on a simple physical principle: heat moves from hot to cold, and moving air accelerates the transfer. During the day, your home gains heat through the roof, walls, windows, and any air leaks. At night, outdoor temperatures often fall 20 to 30 degrees from the daytime peak, particularly in dry or coastal climates. By pulling this cooler air through the living space and venting hot air out the attic, you replace warm, stored air with cooler air at the cost of just a few hundred watts.
The real magic is in thermal mass. Your house is not just air. It is thousands of pounds of drywall, wood, tile, and furniture that act like a heat battery. A whole-house fan does not just cool the air. It cools the mass. When the sun comes up and indoor temperatures start to rise, this cooled mass absorbs incoming heat gradually, a phenomenon called thermal flywheel effect. A well-pre-cooled house can stay comfortable until mid-afternoon without any AC.
Evaporative and ventilation cooling effectiveness depends on humidity. Air at 70 degrees and 40% relative humidity feels crisp and comfortable, while air at 70 degrees and 90% relative humidity feels sticky. This is why whole-house fans are most effective in the West, Mountain regions, Pacific Northwest, and parts of the Midwest, and less effective in the humid Southeast, where nighttime dew points stay high.
Frequently Asked Questions
▼ Why is my AC still running all day even after I tried these fixes?
Check that your windows are fully closed and blinds are drawn by mid-morning, since leaving them open lets heat flood back in. Also verify your attic vent area is adequate and that your attic insulation is at least R-38, as a hot attic radiates heat downward. If your home is in a humid region, the fan may only reduce the temperature, not the humidity, so the AC still has to dehumidify.
▼ Can renters do this without landlord permission?
Yes, the window fan method requires no permanent changes. Use two or three high-quality box or window fans with a temperature-based schedule, and seal gaps with removable foam weather stripping. Avoid installing permanent ceiling fans or cutting into attic space, which does need landlord approval.
▼ How long before I actually notice savings on my bill?
You will feel the effect on the first cool night, and your next monthly bill will show it if you use the fan consistently for at least 15 to 20 nights. Savings depend on your climate, but most homeowners see a 20 to 40% drop in cooling-season electricity within the first full billing cycle.
▼ What if my home is older than 30 years?
Older homes often have leaky ceilings and less attic insulation, so seal ceiling penetrations like recessed lights and plumbing chases first, and confirm your attic has at least R-30 to R-38 insulation. Also check for knob-and-tube wiring or asbestos-containing materials before cutting into the ceiling, and hire a professional if either is present.
▼ Will the fan make my house dusty or bring in pollen?
It can, since you are pulling outdoor air through the home. Use window screens in good condition and consider adding a MERV 8 to 11 filter media to the window openings during high pollen seasons. Running the fan after rain or at night, when pollen counts are lower, also helps.
Quick Tips
- Open windows only in rooms you want to cool. Opening every window in the house reduces airflow velocity through the spaces that matter most.
- Run the fan with windows open just a few inches rather than wide. Narrower openings increase air speed and improve cooling at the occupant level.
- Check the forecast for overnight lows. Whole-house fans pay off best on nights that drop below 72 degrees, so plan around the weather instead of running it blindly.
- Add a layer of insulation over the fan opening in winter. A simple R-30 insulated cover box over the attic side stops heat loss during heating season.
- Close blinds and curtains on sun-facing windows before the day heats up. This simple step reduces solar heat gain by 40 to 60% and extends the benefit of your overnight cooldown.
Variations for Your Situation
- Apartment/Rental: Use two box fans in a window pair, one facing in and one facing out on opposite sides of the unit, to create cross-ventilation. Add reflective window film (about $20 to $40) and blackout curtains for a total setup under $100 with no permanent changes.
- Tight Budget (under $50): Buy one 20-inch box fan (about $25 to $40) and run it in a window at night while closing blinds during the day. Open the lowest and highest windows in the house to take advantage of the natural stack effect, which makes even a single fan noticeably more effective.
- Older Home (pre-1980): Prioritize attic air sealing and adding vents before installing a fan, since many older attics lack adequate ventilation. Budget $300 to $800 for added soffit or ridge vents and baffles, and verify electrical wiring is up to code before adding a new circuit for the fan.