Ever notice your furnace seems to run nonstop between 10 PM and 6 AM? You are not imagining it. The temperature difference between your warm indoor air and the cold outdoors is at its largest overnight, and heat loss is directly proportional to that difference. A house that sheds heat at a manageable rate at 45°F in the afternoon can lose twice as much when the outdoor temperature falls to 20°F after midnight.
Several things stack against you at night. The sun is no longer warming your walls, roof, and south-facing windows. Clear winter skies let your house radiate heat directly out toward the cold sky, a process called radiative cooling. Wind often picks up after dusk in many regions, driving cold air through every gap in your building envelope. Meanwhile, you may be bumping the thermostat up for evening comfort, which widens the temperature gap even further.
The good news is that nighttime heat loss is one of the most fixable problems in a home. This post breaks down exactly where the heat goes after dark and gives you two practical approaches: a fast, nearly free quick fix you can do this evening, and a weekend DIY upgrade with a payback period of roughly one to two heating seasons.
What You’ll Need
Click on an item below to shop for the recommended items for this recipe on Amazon.
As an Amazon Associate, we earn from qualifying purchases.
How to Do It
- Close all curtains, blinds, and shades at sunset. Heavy or thermal-lined curtains can cut window heat loss by up to 25%, while cellular shades can cut it by up to 40%.
- Open south-facing curtains fully during the day to harvest free solar heat, then close them as soon as the sun drops below the horizon.
- Set a programmable or smart thermostat to drop 7 to 10 degrees for 8 hours overnight. The DOE estimates this saves about 10% annually on heating.
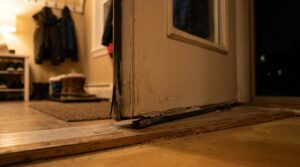
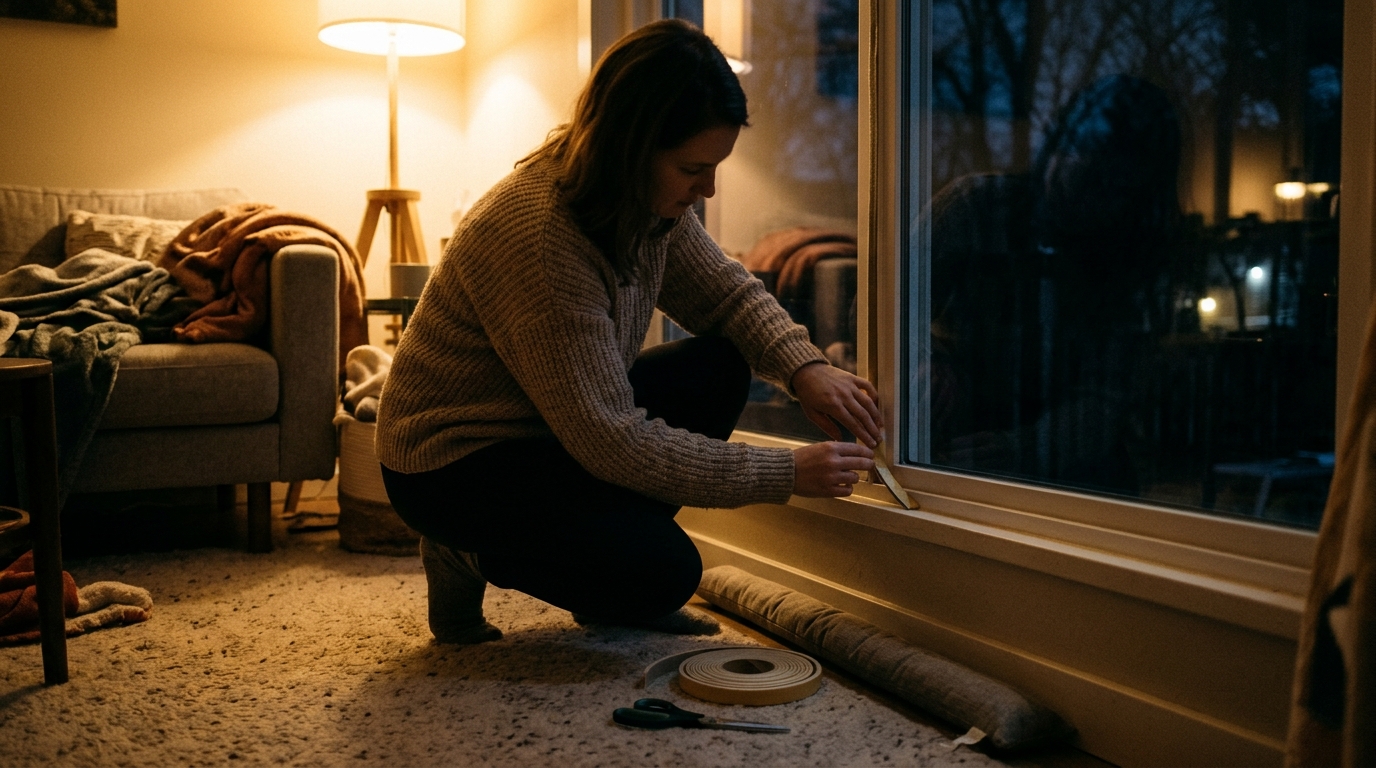
- Place rolled towels or draft snakes at the base of exterior doors and any drafty window sills. A $10 door sweep can stop a gap you could slide a pencil through.
- Cover unused fireplace openings with a chimney balloon or inflatable plug, and close the damper whenever no fire is burning.
- Use removable rope caulk (about $6 per roll) on window gaps you can feel air moving through with the back of your hand.
- On a cold, windy night, walk the house with a lit incense stick or smoke pencil and mark every spot where the smoke wavers or gets pulled sideways: windows, baseboards, outlets, attic hatch, and plumbing penetrations.
- Seal gaps up to 1/4 inch with paintable acrylic latex caulk around window and door trim. Use low-expansion spray foam for larger gaps around pipes and wires.
- Install foam outlet and switch plate gaskets on all exterior-wall outlets. They cost about $0.50 each and stop a surprising amount of airflow.
- Replace worn weatherstripping on exterior doors with new adhesive-backed foam or V-strip, and add a door sweep if daylight shows under the door.
- Install interior window insulation film kits on single-pane or leaky windows. Shrink film adds roughly R-1 and cuts drafts, and a kit that covers 3 to 5 windows costs about $15 to $25.
- Weatherstrip and insulate your attic hatch with a rigid foam board cap and foam weatherstripping around the frame, since this is one of the largest overlooked leaks in most homes.
- Schedule a blower door test and infrared scan with a certified energy auditor, typically $200 to $500, to pinpoint hidden leaks and insulation gaps.
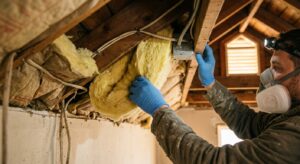
- Have the contractor air seal the attic floor, including top plates, wire penetrations, and chases, before adding any insulation.
- Add blown cellulose or fiberglass to reach R-38 to R-60 depending on your climate zone, which can cut heating loss through the ceiling by 15 to 25%.
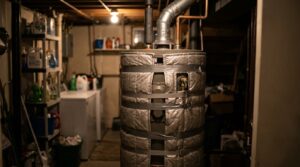
- Address rim joists and basement walls with closed-cell spray foam or rigid foam board, since these are common nighttime cold-air entry points.
- Request a post-work blower door test to verify the air tightness improvement and confirm your rebate eligibility.
Why It Works: The Benefits
Air sealing and window treatments together can reduce whole-house heating costs by 10 to 25%, or roughly $150 to $400 per year for a home spending $1,500 annually on heat.
Reducing cold-surface effects near windows and drafty walls raises the comfort level in bedrooms, letting you keep the thermostat 2 to 3 degrees lower without feeling chilly.
A furnace that cycles less overnight experiences less wear, which can extend its service life and reduce the chance of a mid-winter breakdown.
Sealing gaps stops the cold air streams that make couches, beds, and desks near exterior walls feel uncomfortable even when the thermostat reads 68°F.
Warmer interior window and wall surfaces reduce the chance of moisture condensing overnight, which helps prevent window sill rot and mold growth.
💰 Savings Impact by Action
Sealing gaps around windows, doors, attic penetrations, and rim joists can reduce heating and cooling energy by 15 to 25%, according to ENERGY STAR.
Lowering the setpoint 7 to 10 degrees for 8 hours overnight saves about 10% annually on heating, per the U.S. Department of Energy.
Insulated cellular shades or thermal curtains closed at night can cut window heat loss by 20 to 40%, trimming total heating costs by about 10 to 15%.
Raising attic insulation to R-38 or higher can reduce overall heating and cooling costs by 10 to 20% in under-insulated homes.
Weatherstripping and a door sweep on exterior doors can reduce heat loss by up to 5% by stopping a continuous stream of cold air.
🏠 Key Concepts Explained
The Science Behind It
Heat moves three ways: conduction through solid materials, convection through moving air, and radiation across open space. At night, all three accelerate against your home. Conduction rises because the temperature difference between indoors and outdoors grows. Convection rises because the stack effect and wind pressure push more air through your envelope. Radiation increases because your roof and walls can send heat toward a clear night sky, which can effectively be 30 to 50 degrees colder than the surrounding air.
Windows are the weak link because even a good double-pane window has an R-value of only about R-2 to R-3, compared to R-13 to R-20 for a typical insulated wall. When the sun sets, that thin glass surface drops quickly toward the outdoor temperature, creating a cold surface that pulls radiant heat from your body and sets up a convection loop of falling cold air known as a cold downdraft. This is why you can feel chilled sitting near a window even when the room thermostat reads 70°F.
Insulation and air sealing work together. Insulation slows conduction, but it does little against moving air, which is why a drafty home with thick attic insulation can still lose enormous amounts of heat. Sealing leaks stops the air movement, and insulation then holds the warmth in. Because heat loss scales with temperature difference, every dollar spent on the envelope pays back more at night, when your system is working against the largest delta-T of the day.
Frequently Asked Questions
▼ Why is my house still cold at night even after I sealed the windows?
Windows are rarely the only leak. Check the attic hatch, recessed lights, outlets on exterior walls, and the rim joist area in the basement, since these often account for more air loss than windows do. A blower door test can pinpoint the largest leaks and typically pays for itself in the savings it uncovers.
▼ Is it cheaper to leave the heat on all night or turn it down?
Turning it down is almost always cheaper. The DOE says setting back 7 to 10 degrees for 8 hours can save about 10% a year, because a cooler house loses heat more slowly. The exception is a heat pump with no auxiliary heat strategy, where very large setbacks can trigger expensive backup heating in the morning.
▼ Can renters do any of this without landlord permission?
Yes. Thermal curtains, removable rope caulk, door sweeps with adhesive backing, draft snakes, outlet gaskets, and interior window film are all renter-friendly and removable. Skip permanent caulking or foam and ask the landlord about weatherstripping, which many are willing to provide.
▼ How long before I notice savings on my bill?
You should see changes in your next full billing cycle, though weather differences can mask small improvements. Compare your usage in kWh or therms against the same month last year, adjusted for heating degree days, to get an accurate picture.
▼ What if my home is older than 30 years?
Older homes usually benefit the most because they often have more leakage and less attic insulation than modern code requires. Start with air sealing, then check attic insulation depth. If you see less than 10 inches of fiberglass or cellulose, an upgrade will likely pay back within 3 to 5 years.
Quick Tips
- Use a smart or programmable thermostat to start warming the house 30 to 45 minutes before you wake, rather than holding a high setpoint all night.
- Keep interior doors open between rooms and the main living space unless you are closing off an unused room, so the heating system can circulate air properly.
- Run ceiling fans at low speed in clockwise rotation in winter to push warm air down from the ceiling without creating a draft.
- Add an extra blanket or heated mattress pad and lower the thermostat 3 to 4 degrees overnight, which saves energy and often improves sleep quality.
- Check your attic hatch and recessed lights first, since warm air escaping through the ceiling is often the single biggest nighttime leak.
Variations for Your Situation
- Apartment or Rental: Focus on window treatments and removable sealing. Thermal-lined curtains ($25 to $60 per window), interior window film kits ($15 to $25), outlet gaskets ($10 per pack), and adhesive door sweeps ($8 to $12) can reduce nighttime heat loss by 10 to 15% without touching the structure.
- Tight Budget (under $50): Close curtains at dusk, set a nighttime thermostat setback, roll up towels along door bottoms, install foam outlet gaskets, and apply a $6 roll of rope caulk around leaky windows. These steps cost almost nothing and can trim 5 to 10% off heating costs.
- Older Home (pre-1980): Prioritize the attic first. Seal around chimneys, plumbing stacks, and wiring penetrations, then add insulation to at least R-38. Many older homes also have uninsulated rim joists and knee walls, which are major nighttime heat loss points worth addressing next.