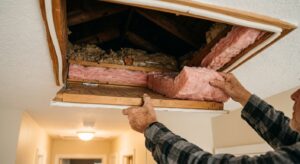
You are lying in bed, the house is finally quiet, and then you hear it: a thin, high-pitched whistle from the window across the room. Wind pushes air through a small gap, the air speeds up as it squeezes through, and that vibration becomes a sound. It tends to show up at night because ambient noise drops and because temperature swings after sunset increase the pressure difference between inside and outside.
The whistle is more than an annoyance. It is audible proof of an air leak, and the Department of Energy estimates that air leakage through windows, doors, and other gaps can account for 10 to 20 percent of a home’s heating and cooling energy use. A single leaky window will not wreck your bill, but several of them add up, and they also create cold drafts, dust intrusion, and uneven room temperatures.
This post walks through two ways to fix the problem. The first is a 30-minute caulk job that handles the most common cause, gaps around the window frame and trim. The second is a more thorough DIY upgrade for leaks that caulk alone will not solve, like worn sash seals and failed weatherstripping. You will also learn how to find the exact source of the leak so you do not waste time sealing the wrong spot.
What You’ll Need
Click on an item below to shop for the recommended items for this recipe on Amazon.
As an Amazon Associate, we earn from qualifying purchases.
How to Do It
- Find the leak. On a windy day, hold a lit incense stick or a strip of tissue near the edges of the window and watch where the smoke or tissue flutters. Mark the spots with painter’s tape.
- Remove old caulk. Use a utility knife or a caulk removal tool to cut out cracked, shrunken, or peeling caulk along the trim and frame. Pull out the loose pieces so the new bead bonds to a clean surface.
- Clean and dry the joint. Wipe the area with a rag and rubbing alcohol, then let it dry fully. Caulk does not stick to dust, grease, or moisture.
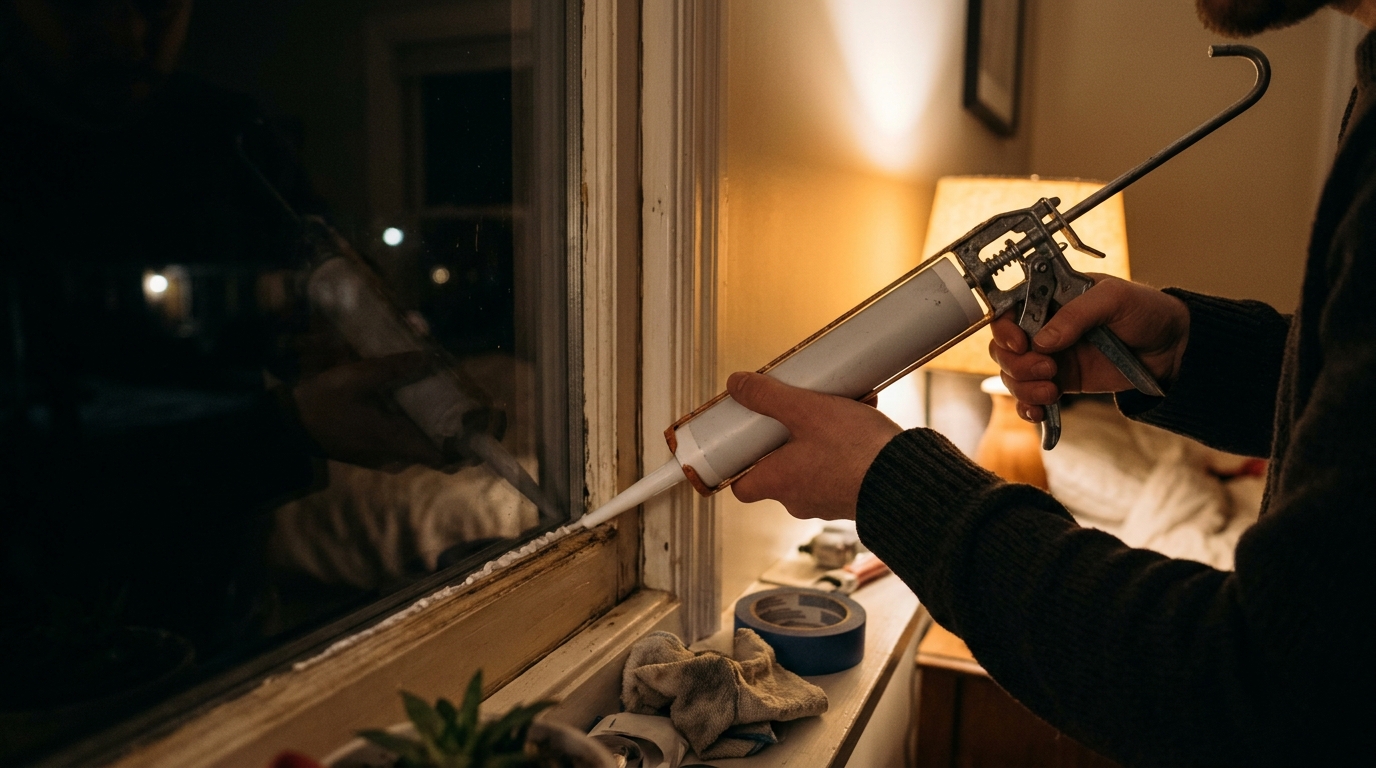
- Cut the caulk tube nozzle at a 45 degree angle, about 1/4 inch wide, and puncture the inner seal with a nail.
- Apply a continuous bead along the gap, pushing the caulk into the joint rather than dragging it over the top. Keep steady pressure and move at a consistent speed.
- Smooth the bead with a damp finger or a caulk tool within a few minutes, then let it cure per the label, usually 24 hours before painting or exposure to heavy rain.
- Open and close the window to inspect the sash tracks and meeting rail. Look for compressed, torn, or missing weatherstripping, and check whether the sash locks pull the two halves tightly together.
- Remove the old weatherstripping by peeling or scraping it out, then clean the track with a vacuum and a damp rag.
- Measure each side and cut new weatherstripping to length. V-seal (tension seal) works well for the side tracks of double-hung windows, and foam or kerf-in strips suit other styles.
- Install the weatherstripping along the tracks and meeting rail, pressing it firmly so it compresses lightly when the window closes without making it hard to operate.
- Tighten or adjust the sash lock so it draws the sashes together. If the lock does not close firmly, a small adjustment or replacement often makes a major difference.
- Add a bead of caulk around the exterior of the frame where it meets the siding or brick, and around the interior trim, to seal any remaining static gaps.
- Test again with incense or tissue on a windy day. If you still feel air movement, check for cracked glazing putty or failed glass seals.
Why It Works: The Benefits
Closing the leak path eliminates the whistle immediately in most cases, which can noticeably improve sleep quality in bedrooms.
Air sealing is among the highest-return efficiency upgrades. ENERGY STAR estimates that sealing and insulating can save an average of 15 percent on heating and cooling costs, and sealing leaky windows contributes to that.
Sealing the gap removes the steady trickle of cold air that makes a room feel several degrees cooler than the thermostat reading.
Every air leak also lets in dust, pollen, and outdoor noise. Sealing gaps reduces all three, which helps allergy sufferers in particular.
Gaps allow moisture to reach wood trim and framing. A sound caulk joint helps prevent rot, peeling paint, and mold in the surrounding wall.
💰 Savings Impact by Action
ENERGY STAR estimates that sealing air leaks and adding insulation can cut heating and cooling costs by an average of 15 percent, and window gaps are a major contributor.
Replacing worn sash seals can reduce window air leakage by up to 10 percent of a home’s total infiltration.
Sealing the worst window and door leaks can cut perceived drafts and room-to-room temperature swings by roughly 20 percent.
Using premium exterior caulk instead of budget options can double joint life, cutting repeat repair costs by about half.
🏠 Key Concepts Explained
The Science Behind It
A whistle is a fluid dynamics problem. When wind pressure forces air through a narrow slot, the airflow becomes turbulent at the edges, creating small vortices that vibrate at a regular frequency. That vibration is what you hear as a tone, and its pitch depends on the size and shape of the opening. This is the same principle behind a whistle or a blown bottle top.
The leak itself is driven by pressure differences, which come from wind pushing on one side of the house and from the stack effect, where warm air rises and escapes at upper levels while pulling replacement air in lower down. At night, outdoor temperatures drop and wind patterns often shift, which raises these pressure differences and makes leaks more noticeable.
Sealing the gap works because it removes the flow path rather than the noise. Caulk is an elastic polymer that fills irregular joints and flexes with seasonal expansion. Weatherstripping works through compression, pressing a flexible material against moving surfaces to block air without preventing the window from opening. Combined, they reduce infiltration, which the DOE identifies as a major source of avoidable heat loss and gain in homes.
Frequently Asked Questions
▼ Why is my window still whistling after I caulked it?
The leak is probably coming from the moving parts, not the frame. Test the sash edges and meeting rail with incense smoke, and replace worn weatherstripping or adjust the sash lock. If the sash is warped or the frame is out of square, you may need a professional repair or window replacement.
▼ Can renters do this without landlord permission?
Removable rope caulk, peel-and-stick weatherstripping, and clear window insulation film are generally renter-friendly because they leave no permanent changes. Permanent exterior caulking usually needs landlord approval, so ask first or send a repair request, since many landlords will cover a $10 fix.
▼ How long before I actually notice savings on my bill?
You will feel the draft reduction immediately, but bill savings show up over the next billing cycle or two, especially during extreme weather. A single window may save only $5 to $20 a year, while sealing 6 to 10 leaky windows and doors can save $50 to $150 annually depending on your climate and energy prices.
▼ What if my home is older than 30 years?
Older homes usually have more gaps, drier and more brittle old caulk, and sometimes single-pane or wood windows with worn sash cords. Start with caulk and weatherstripping since they are inexpensive, and consider storm windows or an energy audit if many windows are leaky. Check for lead paint before disturbing trim in homes built before 1978.
▼ Is it better to caulk the inside or outside of the window?
Seal the exterior first because it blocks wind and water before they reach the frame, and use flexible exterior-grade caulk. Then seal the interior trim joint to stop any remaining air movement. Doing both gives the best result, but if you only do one, the exterior is usually the priority.
Quick Tips
- Check all windows on a windy day, not just the one that whistles, because several often leak at the same time and fixing them together saves more.
- Use clear or paintable caulk labeled for exterior use outdoors, since interior-only products shrink and crack when exposed to weather.
- Buy a quality tube for $8 to $12 instead of the cheapest option, since better sealants last 10 to 20 years versus 2 to 5 for budget formulas.
- Close and lock the window fully before diagnosing, because an unlocked sash often leaves a small gap that mimics a frame leak.
- Re-inspect caulk joints every fall, and touch up any cracks before the heating season starts.
Variations for Your Situation
- Apartment/Rental: Focus on removable options like rope caulk ($5 to $8), peel-and-stick foam weatherstripping ($8 to $15), and shrink-to-fit window insulation film ($10 to $20 for several windows). These stay out of the way of lease rules and can be removed in spring without damaging the frame.
- Tight Budget (under $50): A single $7 to $10 tube of caulk and a free incense stick for leak testing handle most trim leaks. Add a $5 roll of foam weatherstripping for the sash, and use a rolled towel or draft snake at the bottom of the window for any remaining gaps until you can do more.
- Older Home (pre-1980): Expect larger gaps, brittle old caulk, and possibly lead paint. Use a flexible polyurethane or high-quality silicone-acrylic caulk that tolerates movement, consider adding interior or exterior storm windows ($80 to $200 per window), and test for lead before scraping or sanding old trim.