If you have ever stood near a window on a winter night and felt a cold draft even though the glass was closed, you have felt the problem firsthand. Glass is a poor insulator. A single-pane window has an R-value of about 1, and even a decent double-pane unit only reaches R-2 to R-3, compared with R-13 or more for a typical insulated wall. Per the Department of Energy, windows account for roughly 25 to 30% of residential heating and cooling energy use.
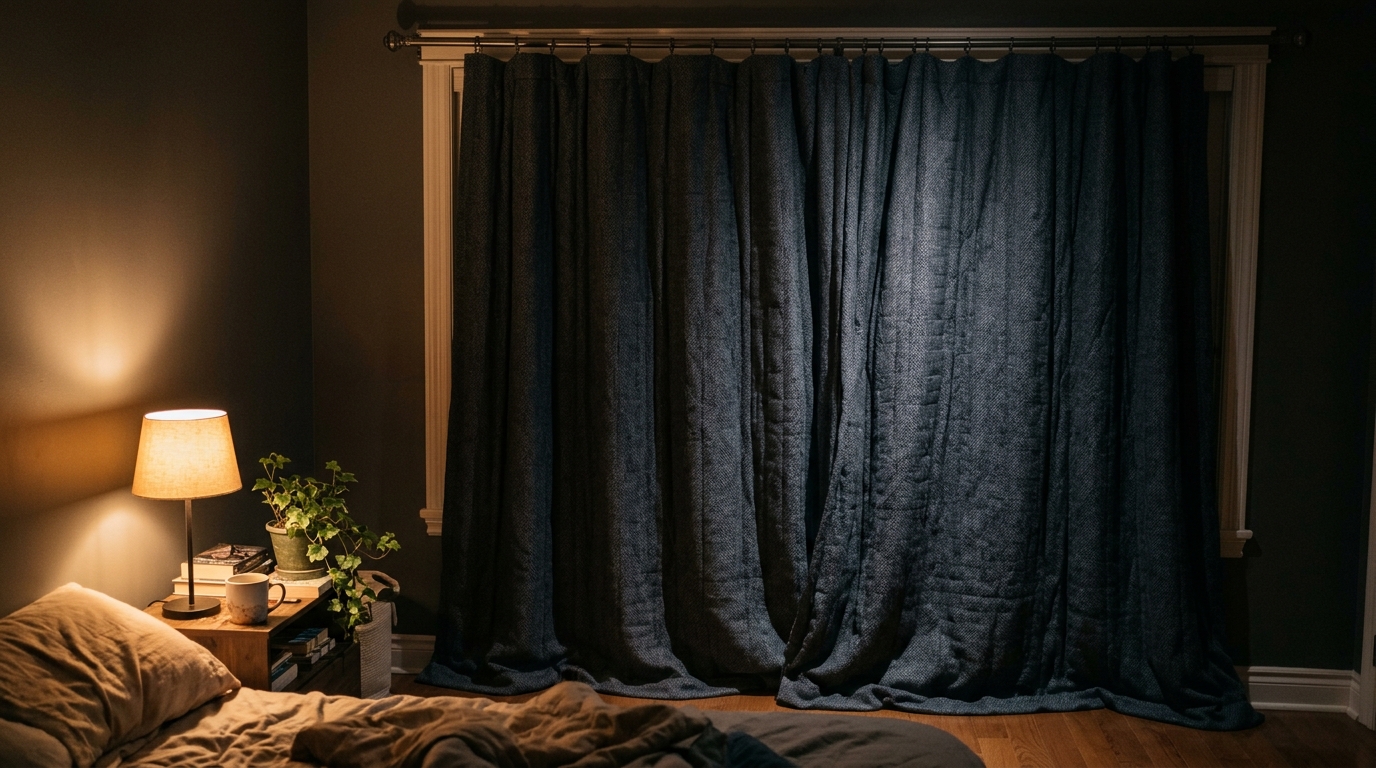
The good news is that you do not need to replace your windows to fix it. At night, when you are not relying on the view or on solar gain, you can build an extra layer of insulation right behind the glass. A well-made insulated curtain with a trapped air gap, a sealed top, and tight side edges works much like a second window. DOE research indicates that quality insulated window coverings can reduce heat loss through a window by up to 40% when properly installed.
This post covers how the setup works, two ways to build it (a no-sew quick fix and a more thorough DIY upgrade), what to avoid, and what savings you can realistically expect. The key detail most people miss is not the fabric. It is the seal around the edges.
What You’ll Need
Click on an item below to shop for the recommended items for this recipe on Amazon.
As an Amazon Associate, we earn from qualifying purchases.
How to Do It
- Hang your heaviest existing curtains as close to the window as possible, ideally within 2 inches of the glass, and make sure they reach the windowsill or floor.
- Raise the curtain rod or add a cornice or valance box above it so the top is closed off. Even a strip of cardboard wrapped in fabric works to stop air from rolling over the top.
- Use removable adhesive hook-and-loop strips or small magnets to pin the curtain edges against the wall or frame on both sides, closing the side gaps.
- Place a rolled towel or draft snake along the sill or floor to block air escaping at the bottom.
- Close the curtains at sunset every day and open them on sunny mornings to collect free solar heat.
- Measure the window width and add 6 to 8 inches on each side, then measure from 4 inches above the frame to the sill or floor. Your curtain should overlap the opening generously.
- Buy a thermal-backed curtain panel or sew your own using a decorative face fabric, a layer of insulating fleece or Insulbrite batting, and a tight-weave lining. Quilted or foam-backed fabrics add the most R-value.
- Install a curtain rod with deep returns that wrap back to the wall, or mount a track system so the curtain sits flush on both sides. Mount it 3 to 4 inches above the frame.
- Build or buy a simple valance or cornice to cap the top, and attach hook-and-loop tape or magnetic strips along the side edges so the curtain seals to the wall.
- Hem the bottom so it just touches the sill or floor, or add a small weighted hem so it hangs flat against the surface.
- Test on a cold night by holding your hand along the edges. If you feel airflow, add more tape or a thicker return.
Why It Works: The Benefits
Reducing winter window heat loss by up to 40% can trim total heating costs by 5 to 10% in a home with a lot of glass, which often means $50 to $150 per year.
Sealing the edges stops convective looping, so the chilly air that spills off the glass onto your floor and couch is sharply reduced.
Cold glass drops the mean radiant temperature of a room. Blocking it lets you feel comfortable at a thermostat setting 2 to 3 degrees lower.
Closed insulated curtains on sun-facing windows during the day can reduce solar heat gain by 20 to 30%, easing the load on your air conditioner.
Thick, layered curtains absorb sound and can noticeably reduce street noise, a bonus you get at no extra cost.
💰 Savings Impact by Action
A tightly sealed insulated curtain can cut nighttime heat loss through a window by up to 40%, according to DOE estimates.
Sealing the top, sides, and bottom stops convective looping and can cut felt drafts near windows by roughly 30%.
In a home with large window area, whole-house heating costs typically drop 5 to 10% with all major windows covered nightly.
Closing insulated curtains on sun-facing windows during the day can block 20 to 30% of unwanted solar heat.
🏠 Key Concepts Explained
The Science Behind It
Heat moves three ways: conduction, convection, and radiation. A bare window loses heat through all three at once. Glass conducts warmth outward, the cold surface cools nearby air and sets up a convective loop, and your body radiates heat toward the cold pane. An insulated curtain with sealed edges interrupts all three.
The fabric layers add resistance to conduction, and the trapped air pocket between the glass and the curtain adds more, because still air has an R-value of roughly 1 per inch at that scale. More importantly, sealing the edges stops the convective loop. Without a seal, cold air at the glass falls, escapes out the bottom, and pulls warm room air in at the top, effectively short-circuiting your curtain. With a seal, the air pocket stays put and works as insulation.
The opaque, dense face also blocks long-wave radiant exchange between you and the cold glass. That is why a room often feels noticeably warmer with the curtains drawn even when the thermostat has not changed. Per DOE guidance, a closed, tightly fitted insulated shade or curtain can cut winter heat loss through a window by up to 40%, with the biggest gains on older single-pane or poorly sealed double-pane windows.
Frequently Asked Questions
▼ Why do I still feel a draft near the window even with thick curtains closed?
The curtain is probably not sealed at the edges, so cold air is looping around it. Add a valance or cornice on top, magnetic or hook-and-loop strips on the sides, and a draft snake at the bottom. Also check the window itself for leaks around the frame and add caulk or weatherstripping if needed.
▼ Can renters do this without landlord permission?
Yes. Tension rods, adhesive hooks, removable hook-and-loop strips, and draft snakes require no drilling or permanent changes. A thick thermal curtain on a tension rod mounted inside the window frame is one of the easiest renter-safe upgrades.
▼ How long before I actually notice savings on my bill?
You will feel the comfort difference the first cold night. Bill savings show up within one full billing cycle, typically 5 to 10% on heating for homes with a lot of window area. A $60 DIY curtain per window usually pays back in 1 to 3 years.
▼ What if my home is older than 30 years?
Older homes tend to have leakier, lower-performing windows, so you will likely see bigger gains. Prioritize sealing the edges and consider adding interior window film or storm windows alongside the curtains for the best combined result.
▼ Will this cause mold or condensation on my windows?
It can if the curtains stay sealed over cold, humid glass for days. Open them for a few hours each day, run bathroom and kitchen exhaust fans, and keep indoor humidity between 30 and 50% in winter.
Quick Tips
- Close curtains at dusk and open them on sunny winter days to harvest free solar heat, which can cut heating needs on south-facing windows noticeably.
- Prioritize the largest, north-facing, and single-pane windows first, since they lose the most heat per square foot.
- Double up for extreme cold: add a clear window insulation film on the glass behind the curtain for an extra 10 to 20% reduction in heat loss.
- Reverse the strategy in summer by closing curtains on sun-facing windows during the day to block solar heat gain.
Variations for Your Situation
- Apartment/Rental: Use a tension rod mounted inside the window frame, hang a thermal-backed curtain, and add removable magnetic or hook-and-loop strips along the sides. Expect to spend $30 to $60 per window with zero damage to the walls, and take it all with you when you move.
- Tight Budget (under $50): Hang the heaviest curtains you already own, close the top with a cardboard-and-fabric valance, pin the sides with binder clips or tape, and block the bottom with a rolled towel. This costs under $15 and delivers a meaningful portion of the benefit.
- Older Home (pre-1980): Pair the curtains with clear interior window film and a bead of rope caulk around the frame, since older windows leak more air. The combination can reduce window heat loss by 40 to 50% and often pays back in under 2 years.