
Most homeowners walk past failing caulk every single day without giving it a second thought. That thin line of sealant around your bathtub, shower surround, or bathroom sink is doing serious work: it is the last barrier between everyday splash water and the wood framing, drywall, and subfloor hidden behind your tile. When it cracks, peels, or turns black with mold, that barrier is gone.
Water intrusion from failed bathroom caulk is one of the leading causes of hidden structural damage in homes. A slow leak behind a shower wall can quietly rot framing for months before you ever notice a soft spot in the floor or a bubbling paint patch on a neighboring wall. Remediation for mold and water-damaged subfloor can run anywhere from $500 to over $10,000 depending on how far the damage spreads. Replacing caulk costs under $15 and takes less than an hour.
This guide walks you through two approaches, from a quick surface refresh for minor caulk deterioration to a full remove-and-replace job for caulk that has failed completely. You will learn the right products to use, the steps that actually make caulk stick and last, and the common mistakes that cause new caulk to fail within weeks.
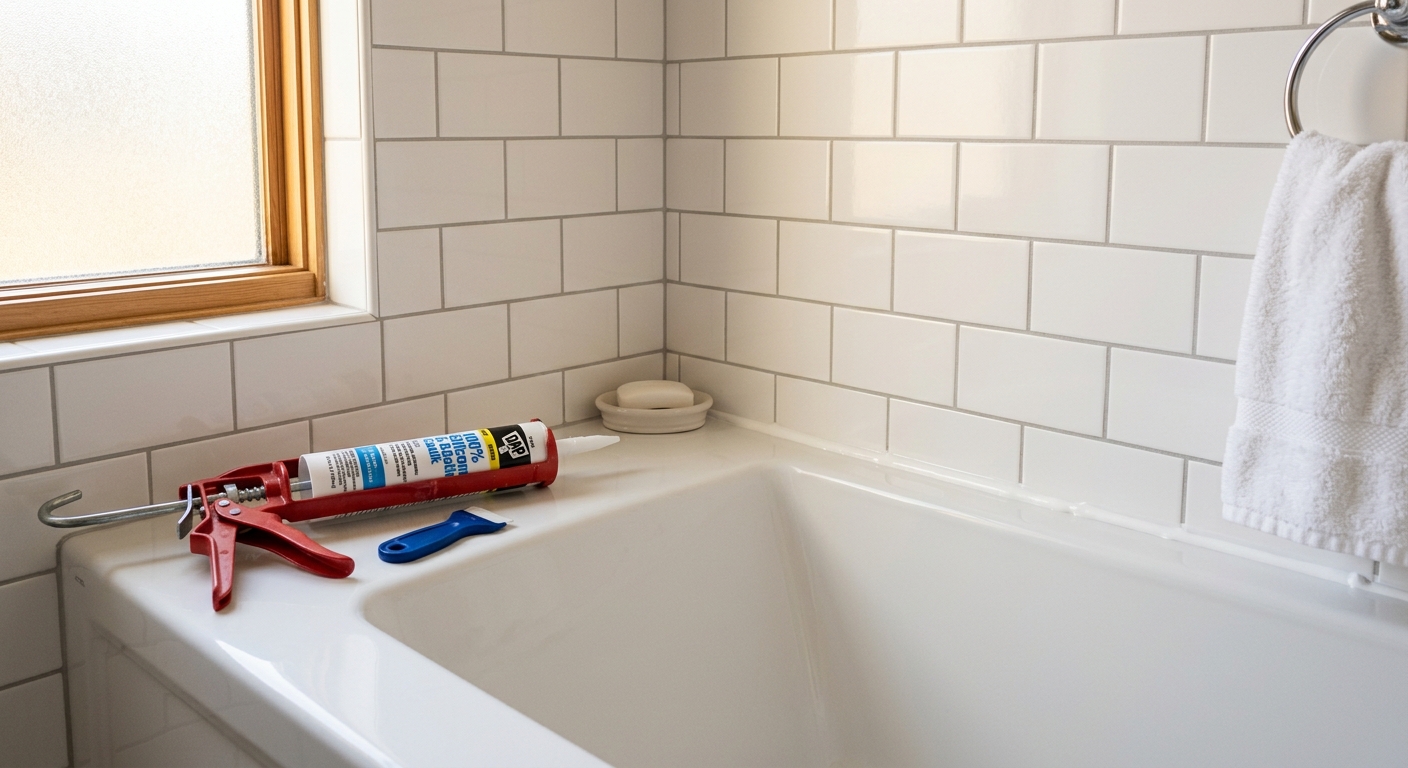
What You’ll Need
Click on an item below to shop for the recommended items for this recipe on Amazon.
As an Amazon Associate, we earn from qualifying purchases.
How to Do It
- Inspect all caulk lines around the tub, shower pan, and sink. Press lightly with your fingernail along the joint. If the caulk springs back and is bonded on both sides, a surface refresh is appropriate. If it lifts, peels, or feels hollow, remove it entirely.
- Scrub the existing caulk surface thoroughly with a mold-killing bathroom cleaner or a 10-to-1 water and bleach solution. Use an old toothbrush to work into the caulk texture. Rinse and allow to dry completely, at least 30 minutes.
- Apply a thin bead of color-matched 100% silicone or siliconized latex caulk over the existing line, pressing it firmly into any visible cracks with a gloved fingertip or a caulk tool.
- Smooth the bead in one continuous stroke using a wet gloved finger or a plastic caulk smoothing tool. Wipe away any excess with a damp cloth before it skins over.
- Allow to cure fully before exposing to water. Most silicone caulks require 24 hours. Check the label for your specific product, as some require 48 hours in low-ventilation bathrooms.
- Score the old caulk on both edges using a utility knife or a dedicated caulk removal tool, cutting along the joint between the caulk and each surface. Be careful not to gouge tile or the tub surround.
- Pull out the old caulk in strips using needle-nose pliers or your fingers. Use a plastic scraper or oscillating tool with a scraper blade to remove any remaining residue without scratching surfaces.
- Clean both surfaces aggressively with rubbing alcohol or a dedicated caulk remover product. Any soap film, mold residue, or old caulk fragments will prevent the new caulk from bonding properly. Allow surfaces to dry completely for at least 30 to 60 minutes.
- Apply painter’s tape along both edges of the joint, set back about 3 to 4 millimeters from the joint center. This creates clean, straight lines and makes the job look professional even for a first-timer.
- Cut the caulk tube tip at a 45-degree angle to match the width of your joint, typically 3 to 5 millimeters. Apply a steady, continuous bead without stopping. Move at a consistent pace so the bead is uniform in width.
- Smooth the bead immediately with a wet gloved finger in one direction, then peel the painter’s tape at a 45-degree angle while the caulk is still wet. Allow to cure for 24 to 48 hours before running water over it.
Why It Works: The Benefits
Replacing failed caulk for under $15 can prevent subfloor and framing repairs that routinely cost $1,500 to $10,000 or more, making this one of the highest-return maintenance tasks in any home.
Fresh silicone caulk with mildewcide cuts off the moisture pathway that feeds bathroom mold colonies, reducing airborne mold spore counts and improving indoor air quality without chemical cleaners.
Yellowed, cracked, or black caulk is one of the first things buyers and guests notice in a bathroom. Fresh white or clear caulk immediately makes a bathroom look cleaner and better maintained.
Water that gets behind tile loosens the adhesive mortar and causes tiles to crack or pop off. Maintaining a watertight caulk joint can extend the life of a tile installation by 10 to 20 years.
Sealing wall and floor penetrations reduces the volume of moisture that escapes into wall cavities, which lowers ambient bathroom humidity by a measurable margin and reduces condensation on mirrors and windows.
💰 Savings Impact by Action
Properly sealed caulk joints eliminate the primary water intrusion pathway responsible for up to 95% of bathroom subfloor and wall cavity moisture damage.
Replacing failed caulk with mildewcide-infused silicone reduces visible mold regrowth by approximately 70% compared to standard acrylic caulk in the same environment.
A $15 caulk refresh eliminates the need for subfloor and framing repairs that average $1,500 to $8,000, representing near-total avoidance of a high-probability failure cost.
Maintaining a watertight flexible joint at tub and shower corners can extend the adhesive bond of surrounding tile by 40% or more by preventing water from reaching the mortar bed.
🏠 Key Concepts Explained
The Science Behind It
Water does not need a visible hole to cause serious damage. Capillary action allows liquid water to travel through gaps as narrow as a fraction of a millimeter, drawn by surface tension into the porous edges of drywall, grout, and wood framing. A caulk joint that looks visually intact but has lost adhesion on one side is already allowing this process to happen with every shower.
The reason bathroom caulk fails faster than caulk used elsewhere in the house comes down to repeated mechanical stress combined with moisture cycling. A standard bathtub holds 40 to 60 gallons of water weighing 330 to 500 pounds. Every time the tub fills and drains, the tub shell flexes measurably, and the joint between the tub and wall opens and closes. Over hundreds of cycles, any sealant that cannot elastically recover from this movement will develop micro-fractures that are invisible to the eye but fully permeable to water. This is why 100% silicone or a siliconized hybrid caulk is the only appropriate product for tub and shower joints. Standard paintable acrylic caulk simply does not have the elongation and recovery properties to survive in this environment.
The mold you see on bathroom caulk is almost always Cladosporium or Aspergillus species feeding on the plasticizers within the caulk itself as well as on soap and skin cell residue trapped in micro-texture. Once mold colonizes caulk, it degrades the polymer structure from within, accelerating cracking and adhesion failure. Mildewcide-infused silicone caulks do not prevent mold permanently but they meaningfully slow colonization, extending useful caulk life from roughly two to three years for standard caulk to five to seven years for quality silicone with mildewcide in a properly ventilated bathroom.
Frequently Asked Questions
▼ Why does my new caulk keep peeling off within a few weeks?
The most common cause is residual moisture or soap film on the surface when the caulk was applied. Even surfaces that look dry may have invisible soap residue that prevents a chemical bond. Strip the new caulk, wipe both surfaces thoroughly with rubbing alcohol, allow at least 60 minutes of dry time in a ventilated bathroom, and reapply. Also confirm you used silicone or siliconized caulk rather than standard paintable acrylic.
▼ Can I caulk over existing caulk to save time?
Only if the existing caulk is fully bonded on both sides with no lifting, no mold, and just minor surface cracking. In all other cases, caulking over old caulk leads to premature failure because the new caulk cannot form a direct bond with the tile or tub surface. The 20 minutes it takes to remove old caulk properly will save you from redoing the job in a few weeks.
▼ My caulk line looks fine but I can smell mildew in the bathroom. Is the caulk the problem?
Possibly. Caulk can appear visually intact while being fully detached from the wall behind the visible surface, creating a hidden water pathway. Press firmly along the entire caulk line and watch for any give or movement. Also check the caulk at the base of the toilet, around the sink drain, and along any wall-floor transitions, which are frequently overlooked. If the caulk passes inspection, the source may be inside the exhaust fan housing or inside the wall, and you may need a plumber or mold inspector.
▼ What type of caulk should I use for a shower with natural stone tiles?
Use a neutral-cure 100% silicone caulk, not a standard acetoxy-cure silicone. Acetoxy-cure silicone releases acetic acid during curing, which reacts with calcium carbonate in marble, travertine, and limestone, leaving permanent brown or rust-colored stains. Neutral-cure products are clearly labeled as safe for natural stone and are available at any tile specialty store or home center.
▼ How often should I completely replace bathroom caulk?
In a regularly used bathroom with good ventilation, quality 100% silicone caulk with mildewcide should last five to seven years before needing a full replacement. Lower-quality products or poor ventilation can cut that to two to three years. Inspect annually and replace at the first sign of lifting, cracking, or pervasive discoloration rather than waiting for visible water damage.
Quick Tips
- Choose a caulk specifically labeled for kitchens and baths with built-in mildewcide. Generic all-purpose caulk will turn black and fail significantly faster in high-humidity environments.
- Run your bathroom exhaust fan for at least 20 minutes after every shower. Lower ambient humidity is the single biggest factor extending caulk lifespan between refreshes.
- Check all bathroom caulk lines every six months as part of a seasonal home walkthrough. Catching a small crack early is a 20-minute fix. Missing it for two years can mean a full bathroom renovation.
- When buying caulk, squeeze the tube slightly before purchase to confirm it has not hardened in the store. Caulk has a shelf life of about 12 months once manufactured, and old stock is common at hardware stores.
Variations for Your Situation
- Apartment/Rental: Tenants are typically responsible for minor maintenance and are generally permitted to recaulk a tub or shower without landlord approval, but check your lease. Use a removable silicone caulk product if you want the ability to restore original condition. Document the before and after with photos. If you discover water damage behind the caulk, notify your landlord in writing immediately to avoid being held liable for preexisting damage.
- Tight Budget (under $15): A single tube of GE Silicone 1 Kitchen and Bath Caulk costs around $8 at any home center and is sufficient for an entire bathroom. Skip the caulk smoothing tool and use a wet gloved finger instead. The only other cost is painter’s tape at roughly $4. The full remove-and-replace job is entirely achievable for under $15 with no specialized tools if you already own a utility knife.
- Older Home (pre-1980): Bathrooms in homes built before 1980 may have used oil-based or solvent-based caulk compounds that are much harder to remove than modern products. Apply a dedicated caulk softener gel and allow it to soak for several hours before attempting removal. Also inspect carefully for any asbestos-containing materials in floor tile or tile adhesive before scraping aggressively. If the floor tiles are 9-inch vinyl squares or you see a black adhesive, consult an asbestos abatement professional before disturbing them.