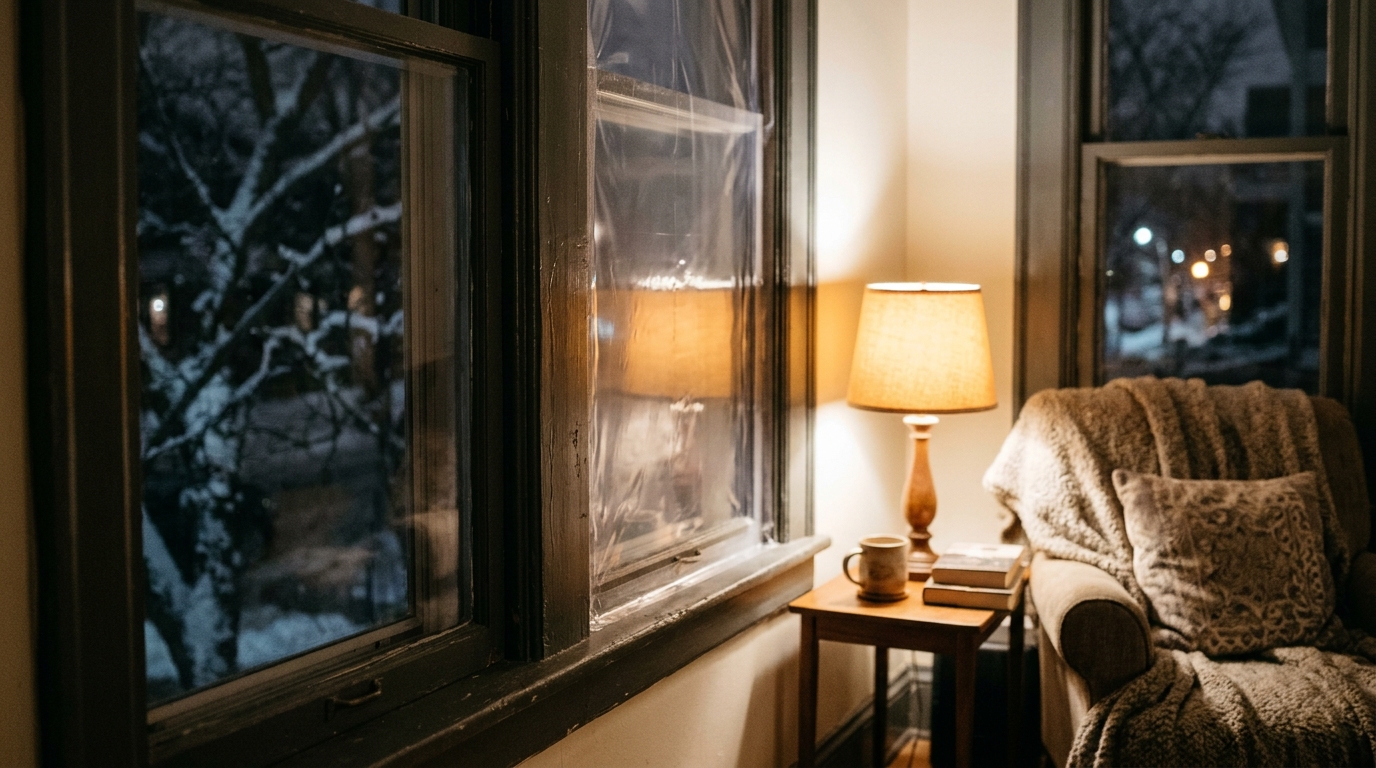
Walk up to a window on a cold January night and hold your hand near the glass. That chill you feel is your heating system losing the battle. According to the U.S. Department of Energy, windows account for 25 to 30 percent of residential heating and cooling energy use, and the problem is worst overnight, when there is no solar gain to offset the heat escaping through the glass.
The good news is that you do not need to replace your windows to fix it. Window insulation film, both the seasonal shrink-to-fit kind and the permanent low-e adhesive kind, adds a thin layer of trapped air or a reflective coating that dramatically slows heat transfer. Tests by university extension programs and the DOE have shown interior shrink film can cut window heat loss by 25 to 40 percent, which is where the roughly 30 percent figure comes from.
In this post, we cover how the film works, which type to pick, two step-by-step approaches (a seasonal quick fix and a permanent retrofit), what it costs, and the common mistakes that cause film to wrinkle, peel, or fail. If you have drafty windows, a high winter heating bill, and a weekend afternoon, this is one of the best dollar-for-dollar upgrades available.
What You’ll Need
Click on an item below to shop for the recommended items for this recipe on Amazon.
As an Amazon Associate, we earn from qualifying purchases.
How to Do It
- Clean the window frame thoroughly with rubbing alcohol or a mild cleaner and let it dry completely. Tape will not stick to dust, grease, or moisture.
- Apply the double-sided tape to the frame around the entire window perimeter, pressing firmly and overlapping at the corners with no gaps.
- Measure the window and cut the film roughly 2 to 3 inches larger on every side. Leave the backing on the tape until the film is positioned.
- Peel the tape backing, press the film onto the tape starting at the top, and pull it taut and wrinkle-free down each side. Smooth the edges with a credit card.
- Use a hair dryer on medium heat, held 2 to 3 inches from the film, and move it in slow sweeps until the film shrinks tight and clear. Do not hold it in one spot.
- Trim the excess film with a sharp utility knife or scissors, and check the edges for any gaps or leaks.
- Check compatibility first: avoid applying low-e film to windows that are already low-e coated, are triple-pane, or have cracked or failed seals, as it can cause thermal stress.
- Clean the glass inside surface with a squeegee and a solution of water and a few drops of dish soap, removing every speck of dust and residue.
- Measure the glass and cut the film roughly one inch larger on all sides. Spray the glass and the adhesive side of the film generously with the slip solution.
- Peel the liner, apply the film to the wet glass, and position it. The slip solution lets you slide it into place without it grabbing.
- Starting from the center, squeegee outward to push out all water and air bubbles, using firm, overlapping strokes.
- Trim the edges about 1/16 inch from the frame with a sharp blade and a straightedge, then let the film cure for the time listed in the product directions before cleaning.
Why It Works: The Benefits
Reducing window heat loss by up to 30 percent typically trims whole-home heating costs by 5 to 15 percent, or roughly $50 to $150 per winter for a typical home with older windows.
A $15 to $25 shrink film kit covers 2 to 5 windows, so most homeowners recoup the cost within the first few weeks of cold weather.
Sealing the window perimeter stops air leaks and raises glass surface temperature, so seating areas near windows feel noticeably warmer at the same thermostat setting.
A warmer interior glass surface means less moisture condenses on it, which protects window sills and frames from rot and mold.
Shrink film uses removable double-sided tape and comes off in minutes at the end of winter, so no permanent changes to the window are needed.
💰 Savings Impact by Action
Shrink film adds a sealed air layer that cuts heat loss through treated glass by about 30 percent, especially overnight.
Taping film to the frame blocks air infiltration around the sash, which can account for up to 20 percent of a window’s total loss.
Treating most of a home’s windows typically trims total heating costs by around 10 percent.
Low-e film reflects infrared heat back indoors and can reduce window heat loss by 30 to 40 percent versus bare glass.
🏠 Key Concepts Explained
The Science Behind It
Heat always moves from warm to cold through three paths: conduction, convection, and radiation. A single pane of glass is only about 1/8 inch thick and conducts heat almost as easily as it admits light, giving it an R-value near R-1. Even a standard double-pane window only reaches around R-2 to R-3, far below the R-13 to R-20 found in typical walls. That is why windows are such a disproportionate source of loss.
Shrink film works mainly by trapping a thin layer of still air between the film and the glass. Air itself is a poor conductor, but only when it is not moving. The sealed pocket prevents convection currents from forming, and the film stops outdoor air from leaking around the sash. Together these effects can raise a window’s effective R-value by 1 or more, which is a 50 to 100 percent improvement for a single-pane unit and the source of the roughly 30 percent reduction in overnight loss.
Low-e film adds a second mechanism. Its microscopic metallic coating has low emissivity, meaning it reflects long-wave infrared radiation rather than absorbing and re-emitting it. In winter, that reflects room heat back inside. According to DOE data, low-e coatings can reduce window heat loss by 30 to 50 percent compared with uncoated glass, which makes them a strong option for cold-climate homes with older double-pane units.
Frequently Asked Questions
▼ Why is my shrink film wrinkled or sagging even after using the hair dryer?
The film was most likely not pulled tight before heating, or the tape lost adhesion because the frame was dusty or cold. Remove it, re-clean the frame with rubbing alcohol, and reapply on a warmer day, pulling the film flat before you apply heat. Wrinkles near the edges can often be fixed by gently warming just that area.
▼ Can renters use window insulation film without landlord permission?
Seasonal shrink film is usually fine for renters because it uses removable tape that comes off with little or no residue, but check your lease and try a small test patch first. Avoid permanent low-e film, which bonds to the glass and could count as an alteration. Mounting the tape on the interior trim instead of painted surfaces also reduces the risk of lifting paint.
▼ How long before I notice savings on my bill?
You will usually feel the difference in comfort the first night, with fewer drafts near the window. On your bill, expect to see the change in the next full billing cycle, particularly during colder months. A typical home with several older windows may save $50 to $150 over a single winter.
▼ What if my home is older than 30 years?
Older homes usually benefit the most, since they tend to have single-pane or early double-pane windows with leaky frames. Seal around the frames with caulk or rope caulk first, then apply shrink film over the whole window. If your windows are old wood with deteriorating glazing or any lead paint concerns, consult a professional before disturbing them.
▼ Will the film make my windows look cloudy or hard to see through?
Properly installed shrink film is nearly invisible, though you may notice a slight distortion or sheen, especially at an angle. Low-e film can add a slight tint. If you see significant haze, the film is likely wrinkled or was overheated.
Quick Tips
- Apply shrink film on a warm, dry day so the tape adheres well and the film shrinks evenly.
- Leave the film on until spring, since removing and reapplying mid-winter weakens the tape and tears the film.
- Pair film with heavy or cellular shades at night to compound the savings, since each layer adds its own insulating air gap.
- Seal visible gaps around window trim with caulk before applying film, since air leaks around the frame will undermine the film’s performance.
Variations for Your Situation
- Apartment/Rental: Use removable shrink film kits ($15 to $25) rather than permanent low-e film, apply the tape to the window trim or frame instead of painted walls, and remove it in spring by gently peeling it off and warming any stubborn adhesive with a hair dryer. Combine it with a draft stopper at the bottom of the sash for extra protection.
- Tight Budget (under $50): Buy a single multi-window shrink film kit for about $20 and cover your north-facing and drafty windows first. Add a $5 tube of caulk to seal the trim and a $10 roll of rope caulk for sash gaps, which together can deliver most of the benefit for under $40.
- Older Home (pre-1980): Prioritize air sealing first with caulk and weather stripping, since leaky older frames lose more heat than the glass itself. Then add shrink film to single-pane windows for the biggest improvement, and avoid disturbing any painted frames if lead paint is a concern.