The furnace dies at 2 a.m. in January. The AC quits on the hottest Saturday of July. In both cases, the technician who shows up finds something small and preventable: a filter so clogged it looked like felt, a frozen evaporator coil, a condensate drain packed with algae. According to industry data, a large share of emergency HVAC calls trace back to basic maintenance that was skipped.
Your HVAC system is the biggest energy user in your home, typically 40 to 50% of your utility bill. When it runs dirty, it works harder, wears out faster, and fails at the worst possible moment, which is exactly when every HVAC company in town is booked solid and charging premium rates. The DOE notes that replacing a dirty filter alone can cut system energy use by 5 to 15%.
This post gives you a practical two-tier approach: a 15-minute monthly quick check that any homeowner can do, and a deeper seasonal DIY tune-up that handles the things most likely to leave you stranded. We will also cover when to bring in a licensed pro, because a few tasks truly need one.
What You’ll Need
Click on an item below to shop for the recommended items for this recipe on Amazon.
As an Amazon Associate, we earn from qualifying purchases.
How to Do It
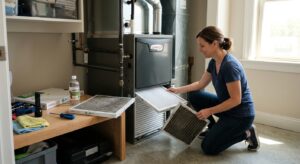
- Turn the thermostat to OFF, then locate your air filter at the return grille or inside the air handler. Slide it out and hold it up to a light. If you cannot see light through it, replace it. Most 1-inch filters need changing every 1 to 3 months; pets or allergies mean monthly.
- Check that the filter arrow points toward the blower, in the direction of airflow. A backward filter performs poorly and can collapse into the system.
- Walk the house and confirm every supply vent and return grille is open and unblocked by furniture, rugs, or curtains. Closing too many vents raises system pressure and strains the blower.
- Go outside and clear leaves, grass clippings, and debris from around the outdoor unit. Maintain at least 2 feet of clearance on all sides and trim shrubs back.
- Run the system for a few minutes and listen. Grinding, squealing, rattling, or banging are early warnings. Note the sound and call a pro if it persists.
- Cut power to the outdoor unit at the disconnect box and at the breaker. Remove debris from the top, then gently rinse the condenser coil fins from the inside out with a garden hose on low pressure. Avoid pressure washers, which bend the fins.
- Straighten any bent fins with a fin comb, available for about $10. Bent fins block airflow and reduce heat transfer.
- Locate the condensate drain line, usually a white PVC pipe near the indoor unit. Pour 1 cup of distilled white vinegar into the access tee to kill algae and slime. Repeat every 3 months during cooling season. A wet/dry vacuum on the drain outlet can pull out stubborn clogs.
- Inspect the indoor evaporator coil if you can access it. Look for ice, heavy dust, or slime. Ice means an airflow or refrigerant problem and needs a pro. Light dust can be cleaned with a no-rinse coil cleaner spray.
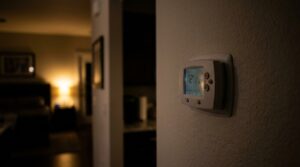
- Check that your thermostat reads accurately by comparing it to a separate thermometer placed nearby. Replace the batteries yearly and confirm the schedule is set correctly.
- For furnaces, inspect the flue pipe for rust, gaps, or loose joints, and test your carbon monoxide detectors. Replace detector batteries and any unit older than 7 to 10 years.
- Schedule your tune-up before the season starts, not during a heat wave. Many companies offer maintenance plans that include priority scheduling and 10 to 15% discounts on repairs.
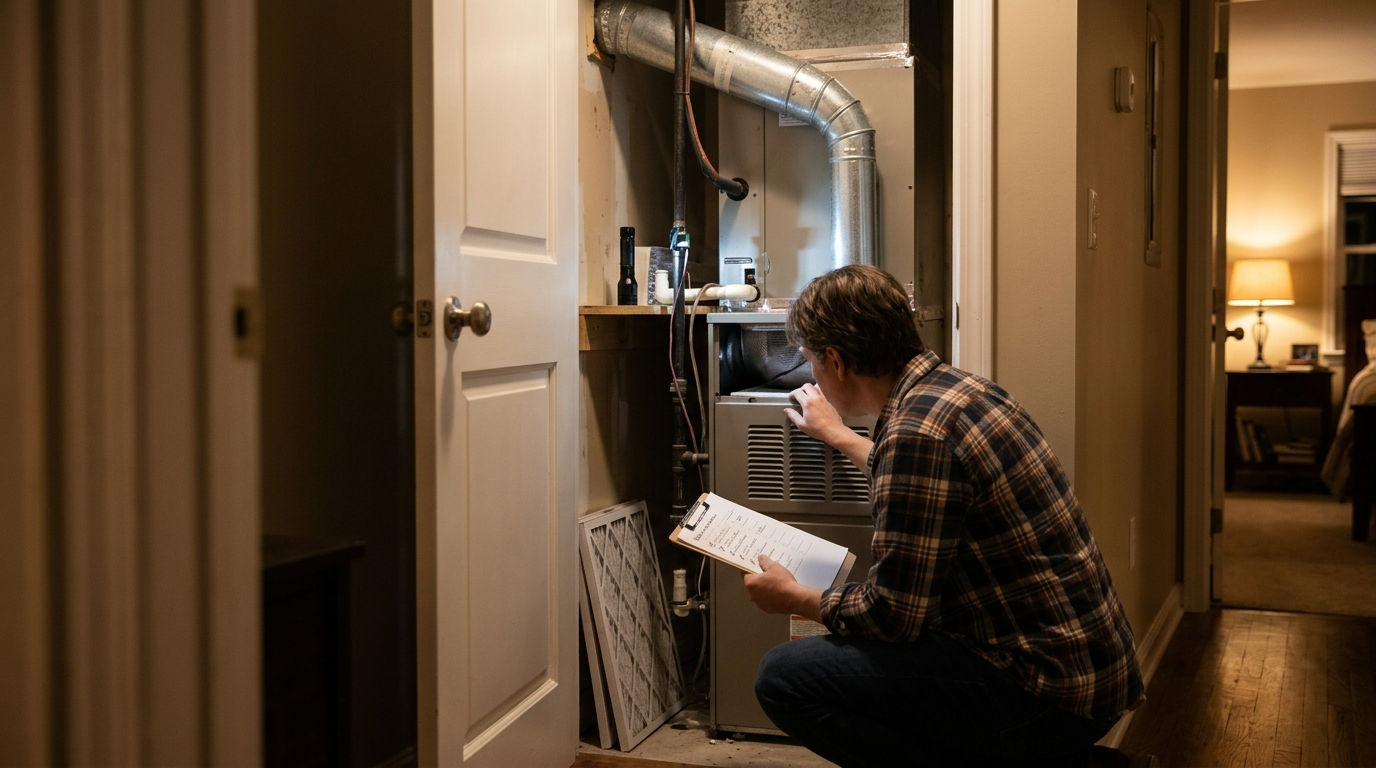
- Ask the technician to measure refrigerant pressure and temperature split, test capacitor and contactor health, check amp draw on motors, and inspect the heat exchanger for cracks.
- Request a combustion analysis and carbon monoxide test on gas furnaces, plus a flue and burner cleaning if needed.
- Ask for a written report with readings and any recommended repairs ranked by urgency. Fixing a $25 capacitor now beats an emergency call later.
- Keep the service record in a folder. It supports warranty claims and adds value when you sell the home.
Why It Works: The Benefits
A clean, well-tuned system uses 5 to 15% less energy than a neglected one. On a $2,000 annual HVAC spend, that is $100 to $300 back in your pocket every year.
Emergency service calls typically cost $300 to $600 or more with after-hours surcharges. Regular maintenance catches worn parts before they take the system down.
A well-maintained system can last 15 to 20 years, while a neglected one often fails closer to 10 to 12. Delaying a $7,000 to $12,000 replacement by even 3 years is real money.
Fresh filters and clean coils reduce dust, pollen, and mold spores circulating through your home, which matters for allergy and asthma sufferers.
Many manufacturers require documented annual maintenance to honor parts warranties, typically 5 to 10 years on major components.
💰 Savings Impact by Action
Replacing a clogged filter restores airflow and cuts HVAC energy use by 5 to 15% according to DOE guidance.
Removing dirt from condenser and evaporator coils improves heat transfer and can reduce cooling energy use by up to 10 to 15%.
Correcting a 10 to 20% undercharge can recover 10 to 20% of lost cooling efficiency.
An accurate, properly scheduled thermostat prevents overcooling and wasted runtime, saving about 5 to 10% yearly.
Sealing leaky ducts can recover up to 20% of conditioned air that would otherwise be lost to attics and crawlspaces.
🏠 Key Concepts Explained
The Science Behind It
HVAC systems work by moving heat, not creating it. Your air conditioner absorbs heat from indoor air across the evaporator coil and rejects it outdoors through the condenser coil. Anything that interferes with that exchange, whether dirt on the fins, restricted airflow, or low refrigerant, forces the compressor to run longer and hotter to hit the same temperature. Compressors are the most expensive component, and heat is their biggest enemy.
Airflow is the foundation. Most residential systems are designed to move roughly 400 cubic feet of air per minute per ton of cooling. A clogged filter or closed vents drop that number, which can cause the evaporator coil to get too cold and freeze. Once ice forms, it blocks airflow even further, creating a cycle that ends with the system shutting down or flooding the drain pan when it thaws.
Electrical components wear through simple physics too. Capacitors store the energy motors need to start, and they degrade with heat and age, usually after 5 to 10 years. A weak capacitor makes a motor draw extra current and run hot, until one day it simply will not start. Replacing a worn capacitor during a scheduled tune-up costs roughly $150 to $250 installed, versus a far higher emergency price with a stranded system.
Frequently Asked Questions
▼ Why is my AC still running all day even after I changed the filter and cleaned the coil?
Check for ice on the indoor coil or refrigerant lines, which points to low refrigerant or an airflow problem a pro should diagnose. Also confirm your thermostat is accurate and that your ducts are not leaking, since duct leakage can waste 20 to 30% of conditioned air. If the system never reaches the set temperature on a normal day, schedule a service visit.
▼ Can renters do this without landlord permission?
Yes, for the basics. Replacing filters, clearing vents, and keeping the area around indoor equipment clean are all reasonable tenant tasks, though check your lease about who supplies filters. Leave coil cleaning, refrigerant, electrical, and furnace work to the landlord’s HVAC contractor, and report problems in writing.
▼ How long before I actually notice savings on my bill?
A fresh filter and clear vents can show up within the next billing cycle, often as a 5 to 10% drop in runtime. Coil cleaning and a full tune-up deliver gains that show over a full season. The bigger savings come from avoiding a single emergency repair or premature replacement.
▼ What if my HVAC system is older than 15 years?
Older systems benefit even more from maintenance, but set expectations: after 15 to 20 years, efficiency and parts availability decline. If repair costs exceed 50% of replacement cost, or the system uses R-22 refrigerant, start budgeting for replacement. A tune-up gives you data on how much life is left.
Quick Tips
- Buy filters in bulk and write the install date on the frame with a marker so you never guess when it was last changed.
- Use a MERV 8 to 11 filter for most homes. Higher MERV ratings can restrict airflow on systems not designed for them.
- Keep a 3-foot clear zone around your furnace or air handler. Stored boxes and paint cans create fire risks and block airflow.
- Check your outdoor unit after storms, lawn mowing, and in fall when leaves collect against the cabinet.
Variations for Your Situation
- Apartment/Rental: Focus on what you control. Change the filter on a schedule ($5 to $15 each), keep vents and return grilles clear, and keep the thermostat set to avoid short cycling. Photograph any issues and email maintenance requests to your landlord so there is a paper trail.
- Tight Budget (under $50): Do the monthly check, buy filters in multi-packs, rinse the outdoor coil with a garden hose, and flush the drain line with a cup of vinegar. These steps cost under $40 total and capture most of the savings and reliability benefits.
- Older Home (pre-1980): Expect leakier ducts and possibly undersized or aging equipment. Have the ducts inspected for leaks, check for asbestos-wrapped ductwork before disturbing any, and make sure carbon monoxide detectors are installed on every level since older gas appliances carry higher risk.