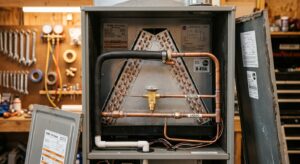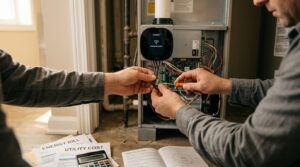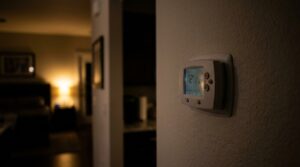
Most people only think about backup heat after the lights go out, and by then the house is already losing heat. A typical home with average insulation loses roughly 3 to 5 degrees per hour once the furnace stops on a 20 degree night, and a gas furnace will not run without electricity even though it burns gas. The blower, igniter, and control board all need power, so a gas furnace is just as dead as an electric one during an outage.
The stakes go beyond comfort. Indoor temperatures below 50 degrees put pipes at risk of freezing, and prolonged cold is a real health hazard for infants, older adults, and anyone with a chronic condition. The other danger is the improvised fix: carbon monoxide poisoning from grills, camp stoves, and generators run indoors or too close to the house sends hundreds of people to the hospital every winter.
This post walks through two practical approaches. The first is a quick, low-cost plan you can set up this weekend using a single warm room and safe, listed equipment. The second is a more permanent DIY-plus-professional upgrade that gives you real heating capacity for multi-day outages. Both are built around one rule: never trade a cold house for a carbon monoxide risk.
What You’ll Need
Click on an item below to shop for the recommended items for this recipe on Amazon.
As an Amazon Associate, we earn from qualifying purchases.
How to Do It
- Pick one small interior room, ideally a bedroom or den with few windows and a door that closes. Interior rooms lose less heat than rooms with exterior walls.
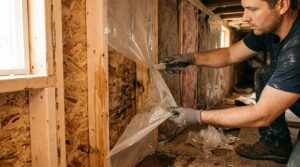
- Seal the room: roll a towel along the bottom of the door, hang a heavy blanket over any window, and close the closet door. A $10 roll of removable window insulation film also works.
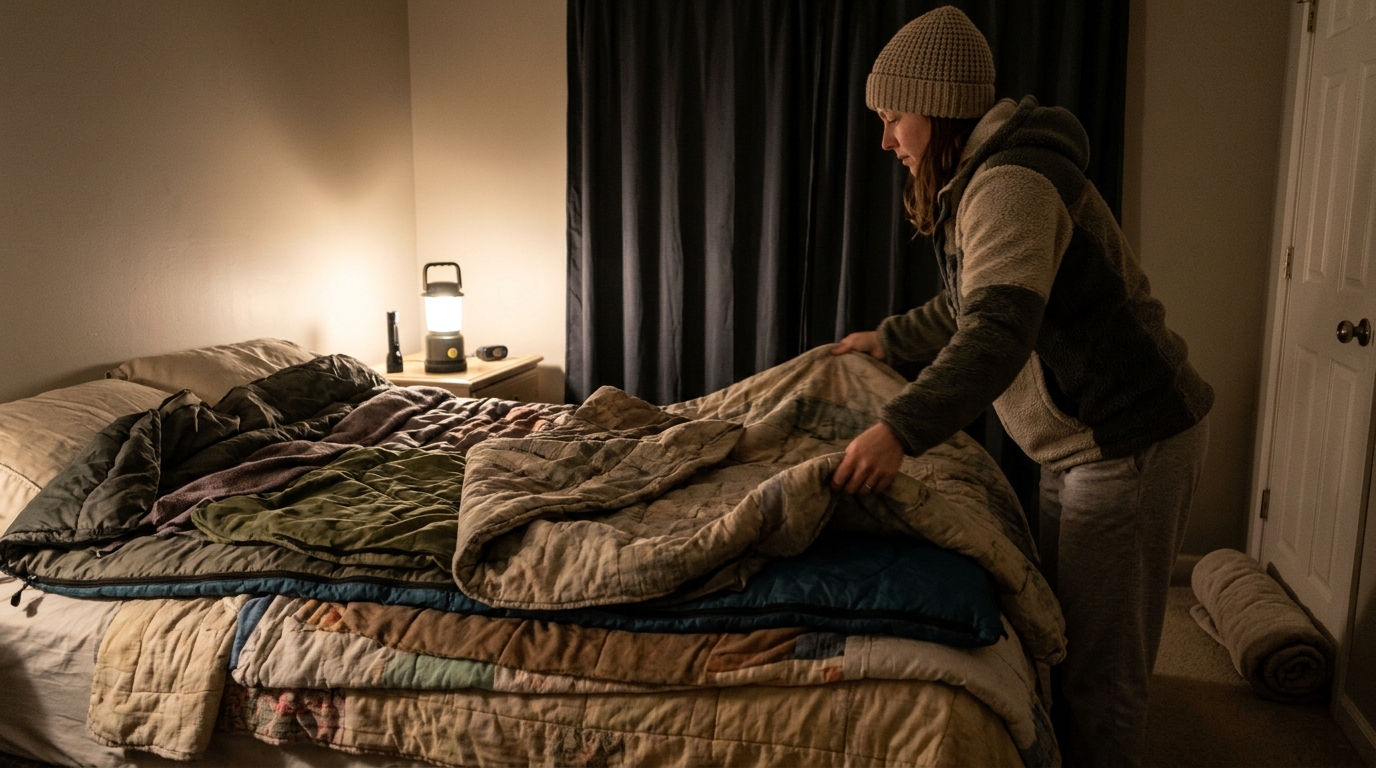
- Stage a cold-weather kit in that room: a sleeping bag or two rated to 20 degrees, wool blankets, hats, and insulated mats to keep sleepers off a cold floor. A foam pad under a mattress cuts heat loss to the floor.
- Add a battery-powered backup: keep fresh batteries for flashlights and a battery-powered carbon monoxide and smoke alarm, plus a portable power bank to keep phones charged.
- Protect the pipes before bed: open cabinet doors under sinks on exterior walls and let faucets drip slowly. Moving water resists freezing far longer than still water.
- Sleep in layers and stay together in the one warm room. Body heat from two or three people can raise a small sealed room 5 to 10 degrees over several hours.
- Choose a heater designed for indoor use, rated for your room size. Allow about 20 BTU per square foot, so a 200 square foot room needs roughly 4,000 BTU. Look for an oxygen depletion sensor and tip-over shutoff.
- Store the right fuel: a standard 1 pound cylinder lasts only about 3 to 6 hours at 4,000 BTU per hour, so plan on a 20 pound tank with the manufacturer’s approved hose and regulator for longer outages. Keep fuel outdoors or in a ventilated garage until needed.
- Install a battery-powered CO alarm in the same room, about 5 to 20 feet from the heater, and test it. Add a second alarm in the hallway outside sleeping areas.
- Crack a window about 1 inch for fresh-air supply if the heater manual calls for it, and keep the heater at least 3 feet from bedding, curtains, and furniture on a flat, stable surface.
- Do a dry run before you need it: light the heater for 15 minutes on a calm day, confirm the alarms stay quiet, and note how much fuel it burns so you can calculate real runtime.
- Never leave the heater running while everyone sleeps unless the manufacturer explicitly rates it for unattended or overnight use. If not, use the heater to warm the room before bed and rely on your cold-weather kit through the night.
- Decide between a vented heater and a power solution. A direct-vent gas wall furnace or vented propane heater runs without electricity and typically costs $1,500 to $4,000 installed, while a transfer switch plus portable generator runs $500 to $1,500 installed plus the generator itself.
- Hire a licensed pro to size the unit and install the vent through an exterior wall so combustion gases leave the house entirely. Direct-vent units pull combustion air from outside and exhaust back outside, which is the safest design.
- If you choose a generator, have a transfer switch or interlock installed on your panel so power flows safely into the house without backfeeding the utility lines. Never plug a generator into a wall outlet.
- Place any generator at least 20 feet from the house, away from windows, doors, and vents, with the exhaust pointed away from the building. Never run one in a garage, even with the door open.
- Install hardwired or battery-backup CO alarms on every level and near sleeping areas, then schedule an annual inspection and test run each fall before heating season.
Why It Works: The Benefits
Keeping one bedroom or living area above 55 to 60 degrees prevents cold-related health risks, especially for infants and older adults who lose body heat faster.
A single burst pipe averages $5,000 to $12,000 in repairs and cleanup. Basic pipe protection during an outage costs a few dollars in towels, faucet drips, and insulation.
A prepared home can ride out a 24 to 72 hour outage in place, avoiding hotel costs of $100 to $200 per night and the stress of evacuating in bad weather.
A listed vented or radiant heater can warm a seldom-used room for far less than running a whole-house system, trimming heating costs in that space by 30 to 50 percent.
Having tested equipment, fuel, and a written plan means a 2 a.m. outage becomes an inconvenience instead of an emergency.
💰 Savings Impact by Action
Heating one 200 square foot room instead of the whole house requires roughly 85 percent less heat output to stay at a safe temperature.
Blocking drafts with towels, blankets, and window film can reduce heat loss in the chosen room by about 20 percent.
Heavy curtains or insulating film over windows cut nighttime window heat loss by 10 to 25 percent.
Dripping faucets and open cabinet doors dramatically lower the chance of a burst pipe, preventing an average $5,000 to $12,000 repair.
Two or three people sharing a sealed small room can raise its temperature roughly 5 to 10 percent above an empty room over several hours.
🏠 Key Concepts Explained
The Science Behind It
Your house loses heat through conduction, convection, and air leakage, and all three speed up as the temperature difference between inside and outside grows. At a 50 degree gap, even a well-built home continuously sheds heat through walls, windows, and the attic. When the furnace stops, the interior drifts toward the outdoor temperature at a rate set by your insulation, air tightness, and thermal mass.
That is why zone heating works so well. A heater’s output is measured in BTU per hour, and the heat needed to hold a room at a safe temperature scales with the room’s volume and exposed surface area. A 200 square foot interior room might need 3,000 to 4,000 BTU per hour to stay near 60 degrees, while a whole house might need 40,000 BTU per hour or more. Concentrating limited heat in a small, sealed space is far more efficient than trying to maintain the whole structure.
Combustion safety comes down to oxygen and venting. Burning propane or natural gas consumes room oxygen and releases carbon monoxide when combustion is incomplete. Indoor-rated catalytic heaters include an oxygen depletion sensor that shuts the unit off when oxygen drops below about 18 percent, and vented units send exhaust outside entirely. Without those safeguards, a sealed room can build up toxic CO levels within an hour or two.
Frequently Asked Questions
▼ Why is my gas furnace not working during a power outage?
Gas furnaces need electricity to run the blower, igniter, and control board, so they shut down even though gas is still flowing. Do not try to bypass the safeties. Use a listed indoor-safe heater or a generator with a proper transfer switch, and call an HVAC pro if you want a permanent solution.
▼ Can I use my gas oven or stove to heat the house?
No. Ovens and stovetops are not designed for space heating and can produce dangerous levels of carbon monoxide in a closed home. Use a heater rated for indoor use with a working CO alarm, or rely on the warm-room plan and layered bedding.
▼ How long will a propane tank last in a backup heater?
A 20 pound cylinder holds about 430,000 BTU, so a 9,000 BTU per hour heater runs roughly 40 to 45 hours of continuous burn. Divide the tank’s BTU by your heater’s hourly rating to estimate runtime, and keep a spare tank for outages longer than two days.
▼ Can renters set up a backup heat source without landlord permission?
Yes, as long as you stay with non-permanent options. The warm-room plan, sleeping bags, window film, and a listed indoor-safe portable heater with CO alarms need no modifications. Avoid anything requiring venting, gas line work, or electrical changes, and check your lease for rules on propane storage.
▼ How cold does it have to get before my pipes freeze?
Pipes in unheated spaces can start freezing after several hours at or below 20 degrees, and exterior-wall pipes go first. Open cabinet doors, let faucets drip, and keep the interior above 50 degrees if possible. If a pipe does freeze, shut off the main water supply and call a plumber before it bursts.
Quick Tips
- Fill your bathtub with water before a forecasted storm; it gives you flushing and washing water if pipes freeze.
- Keep a printed outage checklist taped inside a closet, since phones and Wi-Fi may be down.
- Close curtains at night to cut window heat loss by roughly 10 to 25 percent, and open south-facing ones in daylight to gain free solar heat.
- Store at least 3 days of fuel per heater based on your tested burn rate, and rotate it every year.
Variations for Your Situation
- Apartment/Rental: Stick to the no-combustion warm-room plan. A 0 degree rated sleeping bag runs $60 to $120, removable window film is about $15, and a battery-powered CO alarm is $20 to $40. Avoid propane storage and any gas appliances, since most leases and fire codes prohibit them indoors.
- Tight Budget (under $50): Spend on three things only: a battery CO alarm ($20), a roll of window insulation film ($10 to $15), and extra wool blankets or a thermal sleeping pad from a thrift store ($10 to $20). Pair that with the one-room strategy and dripping faucets, and you cover most overnight risk.
- Older Home (pre-1980): Expect faster cooling because of higher air leakage and thinner insulation, often 30 to 50 percent more heat loss than a modern build. Seal the chosen room more aggressively with weatherstripping and draft snakes, protect pipes in crawlspaces and exterior walls with foam sleeves ($1 to $3 each), and consider a professionally installed vented heater, since older homes often lack a safe chimney or vent path for improvised heat.
- Cold Climate (regular sub-zero nights): Plan for a 72 hour outage. Invest in a vented direct-vent heater or generator with a transfer switch, stock 2 to 3 spare 20 pound propane tanks, and consider draining pipes or installing heat tape on vulnerable lines.